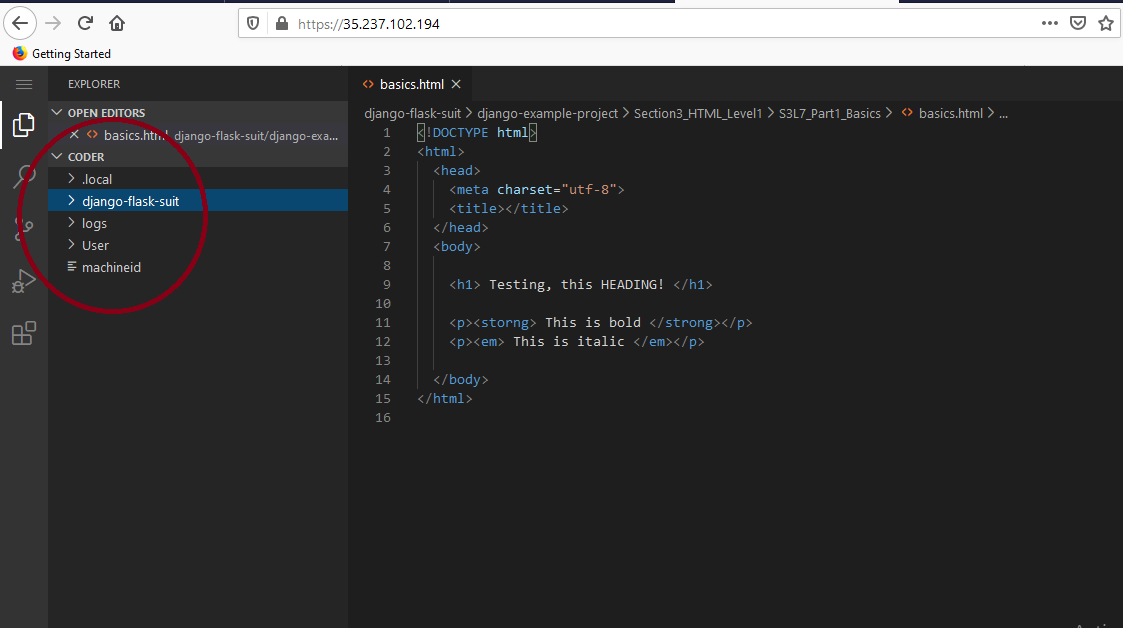
Note: Visual Studio Code is configured to use /home/coder as the project home folder. Any new files and folders during development must be created under /home/coder .

Follow below steps to create and run the demos:
Make sure to create new django projects inside the /home/coder/ directory, so that your new projects will be available in the Browser based Visual Studio Code.
Once your project is created, navigate to your project directory where manage.py file exist. for example as shown in below screenshot.
cd /home/coder/myproject

sudo python manage.py runserver 0:80

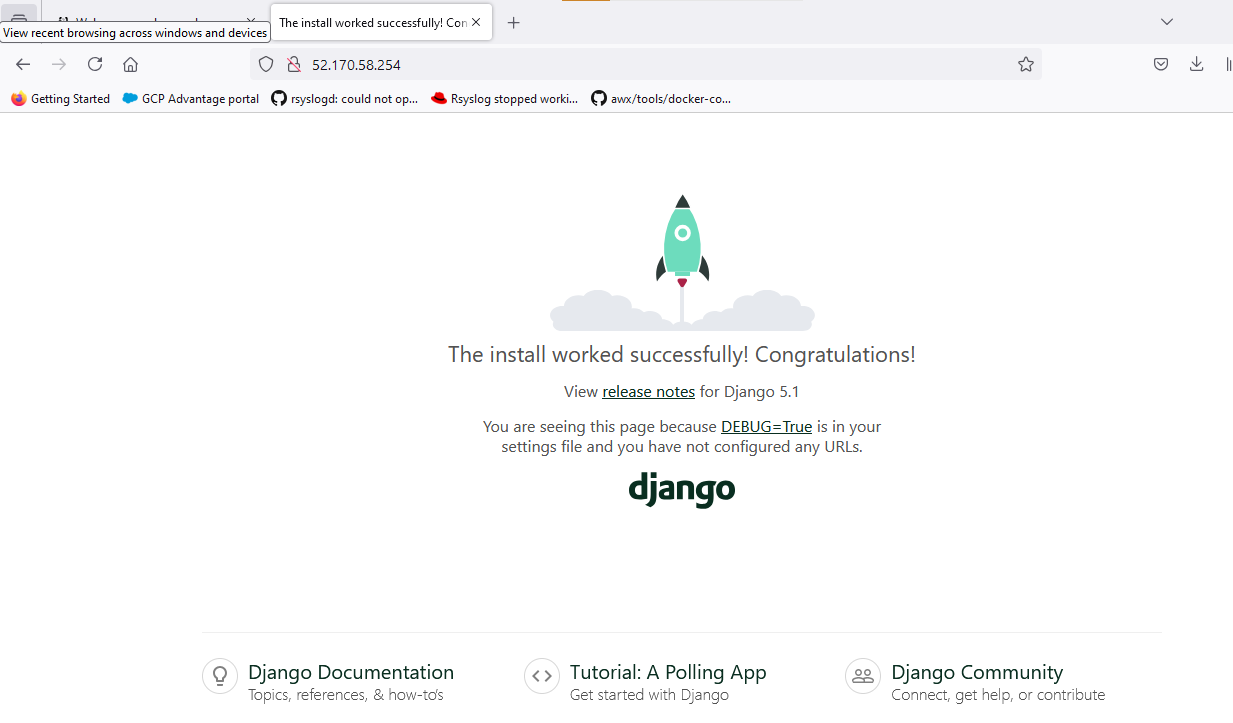
After running the command, open http://publicip and you should see the demo page displayed. Make sure to use http and not https.

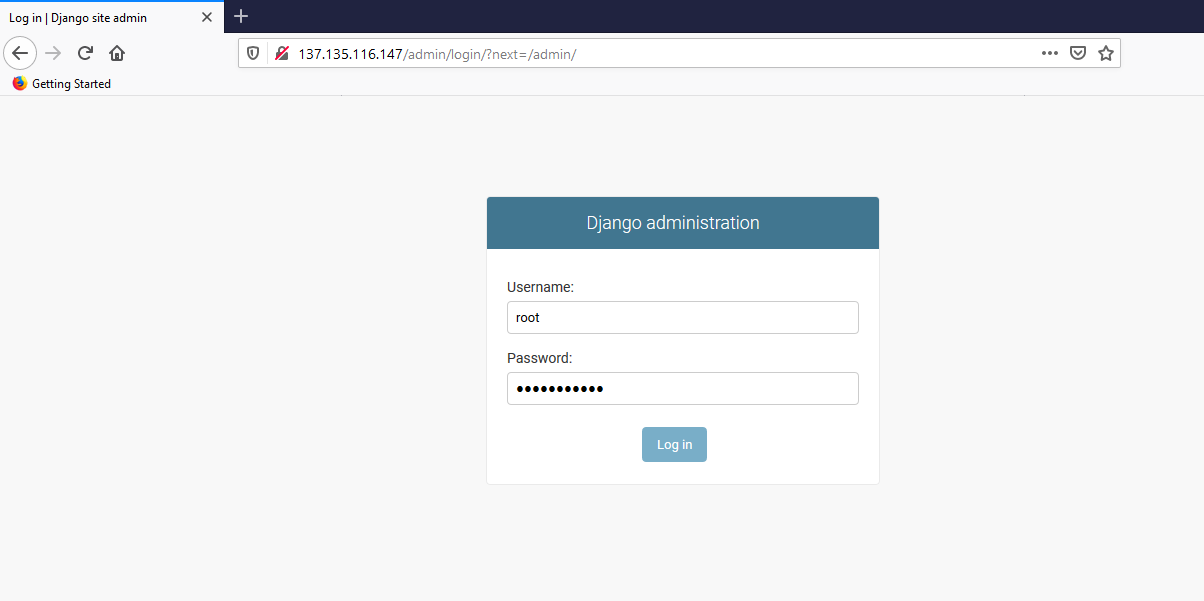
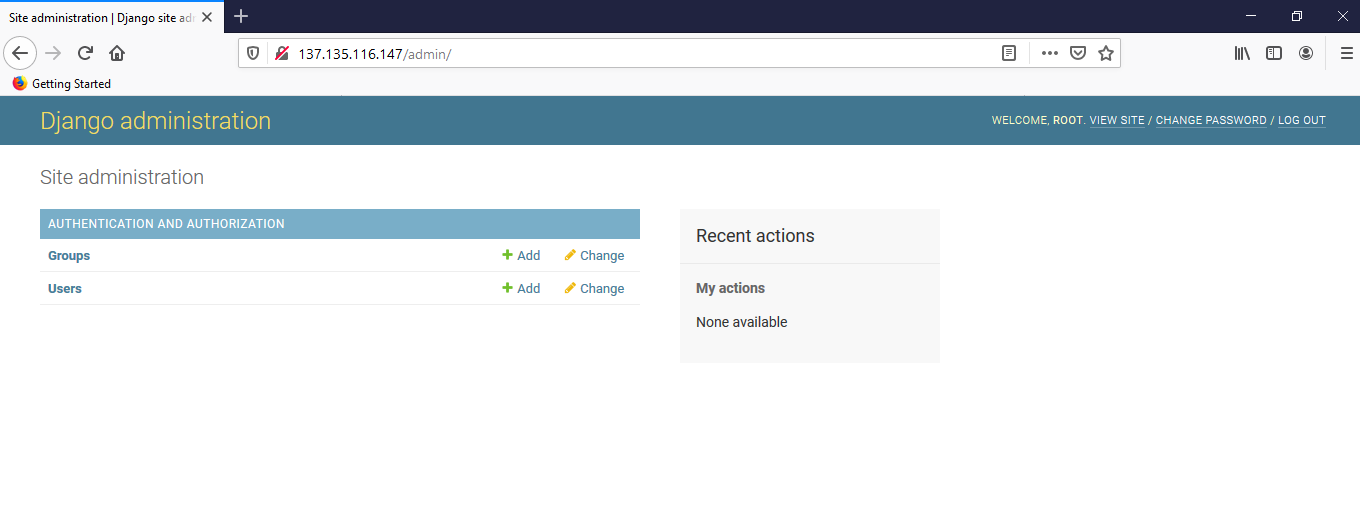
Some demos require creating super/admin user . To create admin user, run below command from the demo’s home directory and follow the instructions.
sudo python manage.py createsuperuser


