
This section describes how to provision and connect to ‘Dify AI: Build & Launch GenAI Apps’ VM solution on GCP.
Open Dify AI: Build & Launch GenAI Apps listing on GCP Marketplace.
Click Get Started.

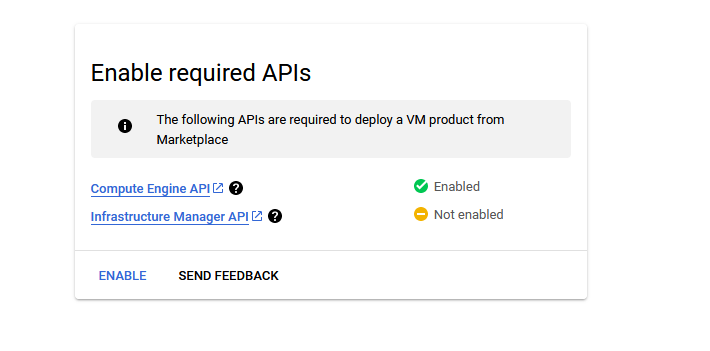
It will ask you to enable the API’s if they are not enabled already for your account. Please click on enable as shown in the screenshot.
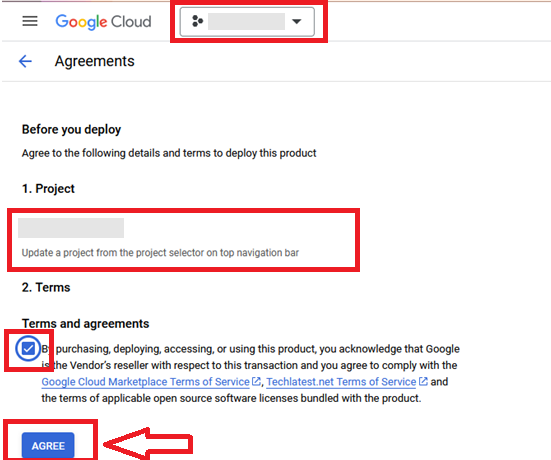
It will take you to the agreement page. On this page, you can change the project from the project selector on top navigator bar as shown in the below screenshot.
Accept the Terms and agreements by ticking the checkbox and clicking on the AGREE button.
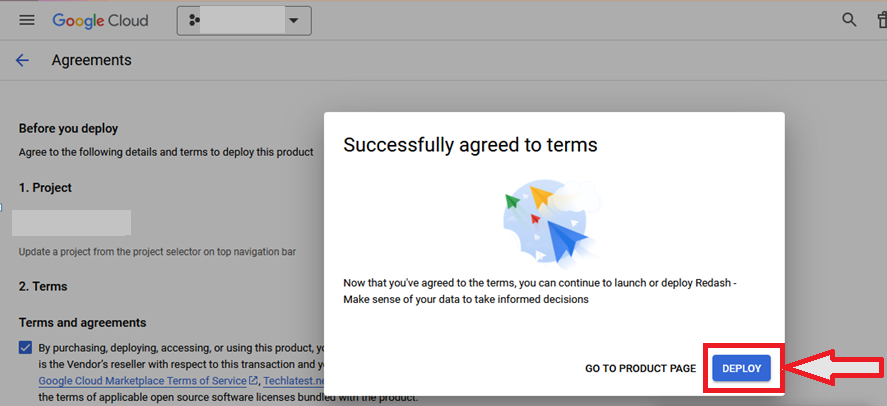
It will show you the successfully agreed popup page. Click on Deploy.
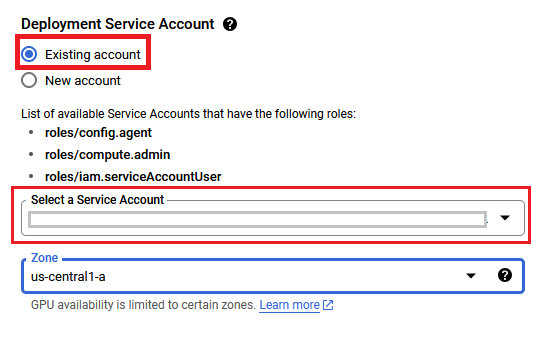
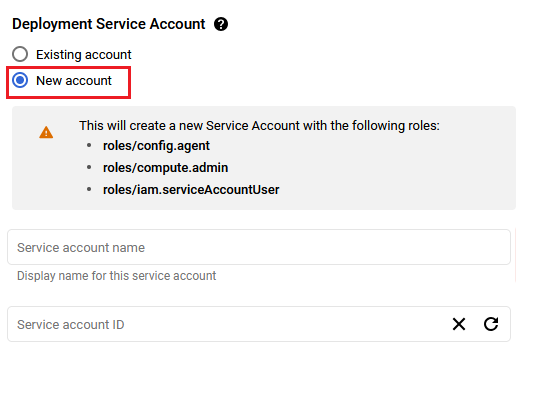
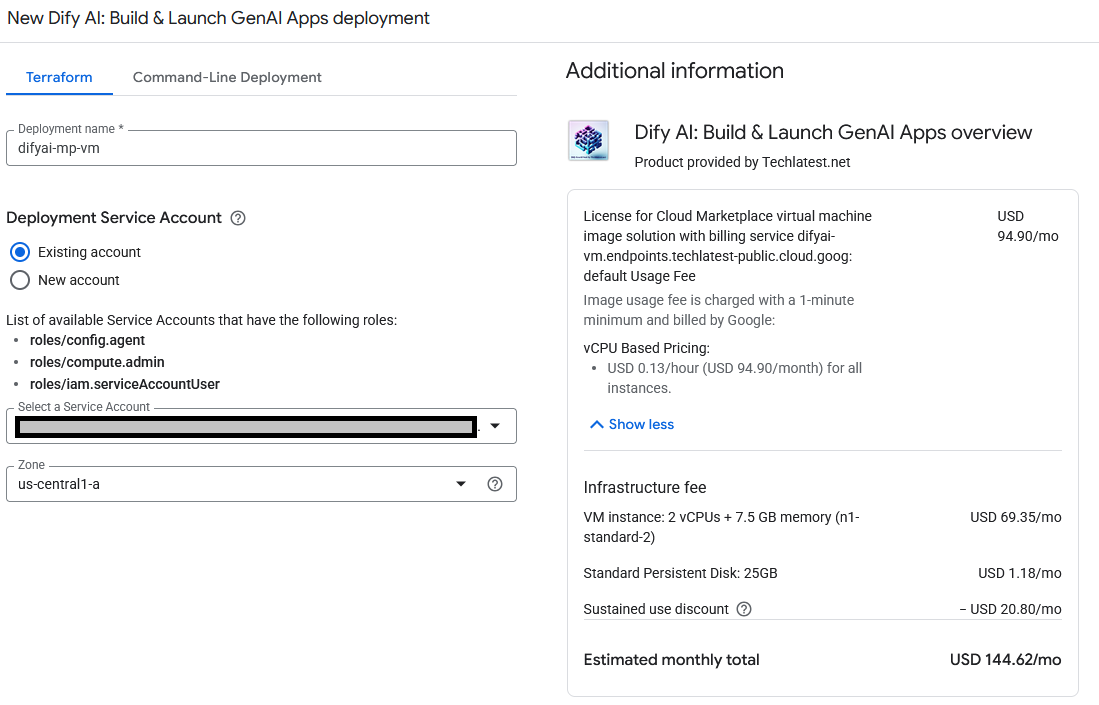
On deployment page, give a name to your deployment.
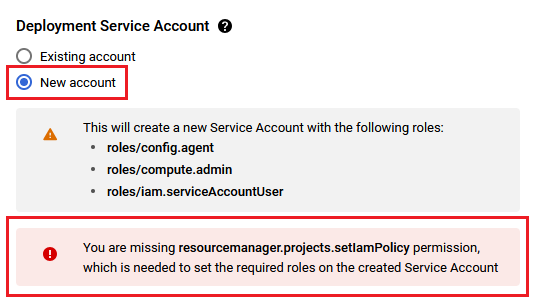
You are missing resourcemanager.projects.setIamPolicy permission, which is needed to set the required roles on the created Service Account
Minimum VM Specs : 7.5GB Memory /2vCPU

A summary page displays when the compute engine is successfully deployed. Click on the Instance link to go to the instance page .
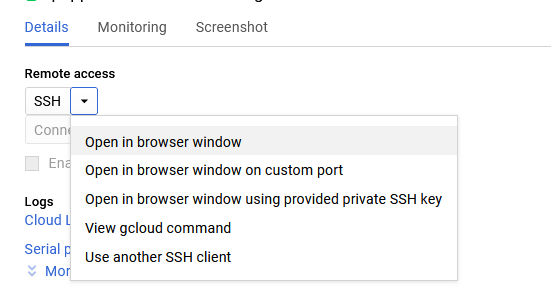
On the instance page, click on the “SSH” button, select “Open in browser window”.
sudo su ubuntu
cd /home/ubuntu/
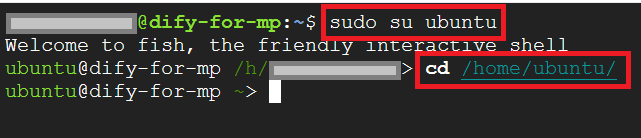
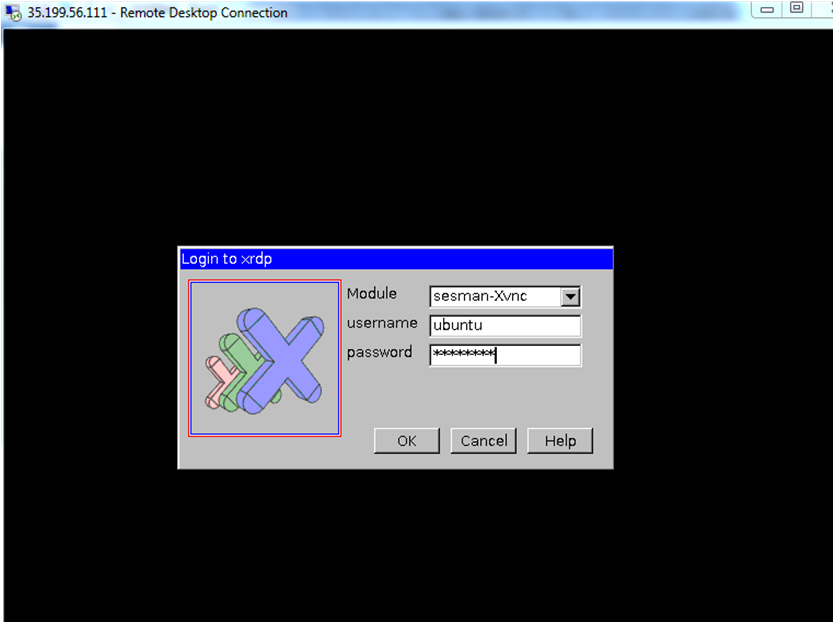
sudo passwd ubuntu

Now the password for ubuntu user is set, you can connect to the VM’s desktop environment from any local windows machine using RDP or linux machine using Remmina.
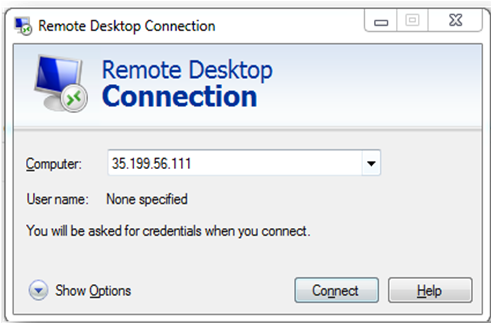
To connect using RDP via Windows machine, first note the external IP of the VM from VM details page as highlighted below

Then From your local windows machine, goto “start” menu, in the search box type and select “Remote desktop connection”
In the “Remote Desktop connection” wizard, paste the external ip and click connect

Note: If you don’t have Remmina installed on your Linux machine, first Install Remmina as per your linux distribution.


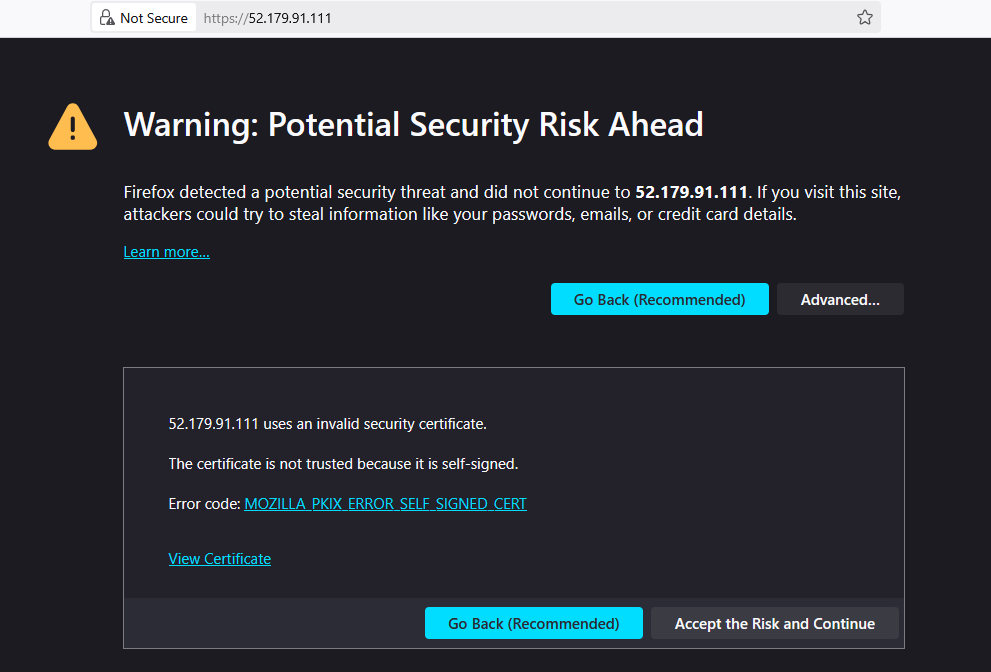
Browser will display a SSL certificate warning message. Accept the certificate warning and Continue.
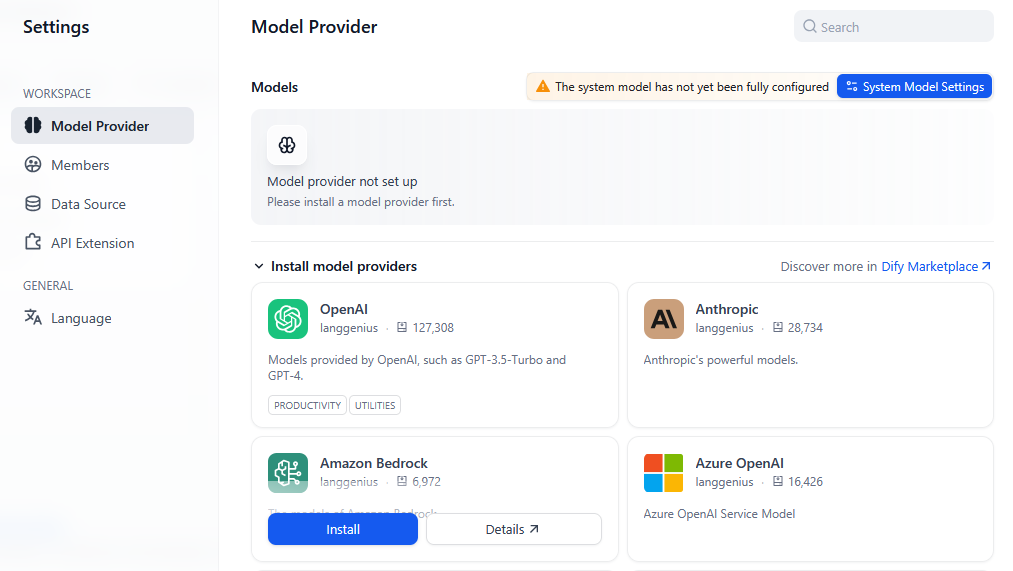
Dify supports major model providers like OpenAI’s GPT series and Anthropic’s Claude series. Each model’s capabilities and parameters differ, so select a model provider that suits your application’s needs. Obtain the API key from the model provider’s official website before using it in Dify. Read More
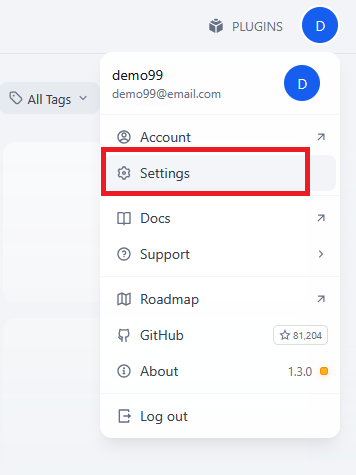
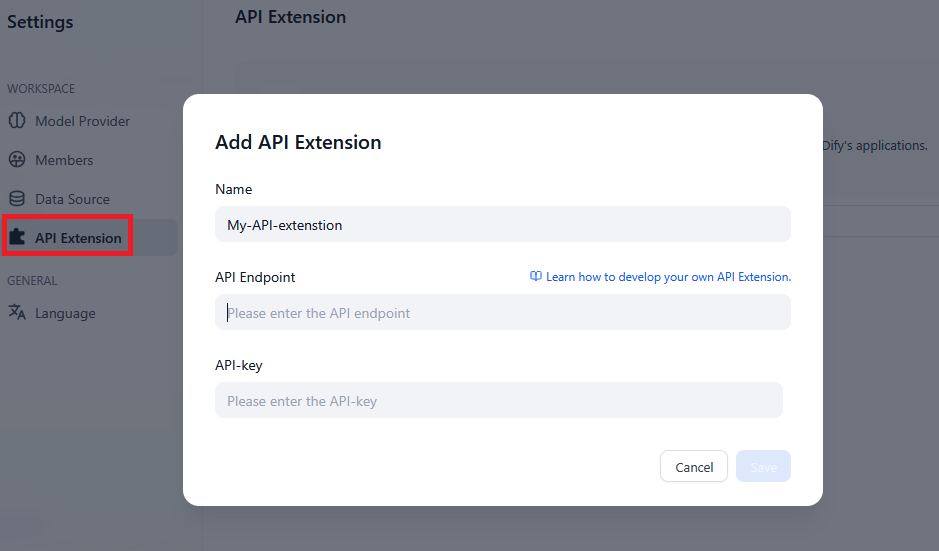
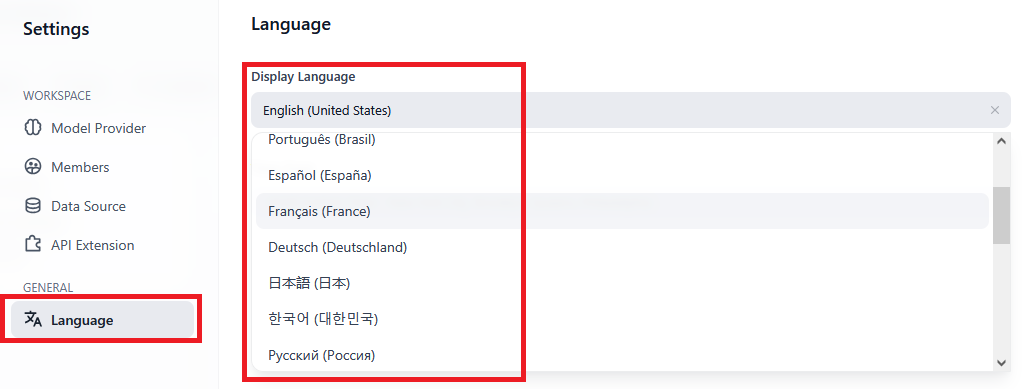
Under settings you will see different options like -
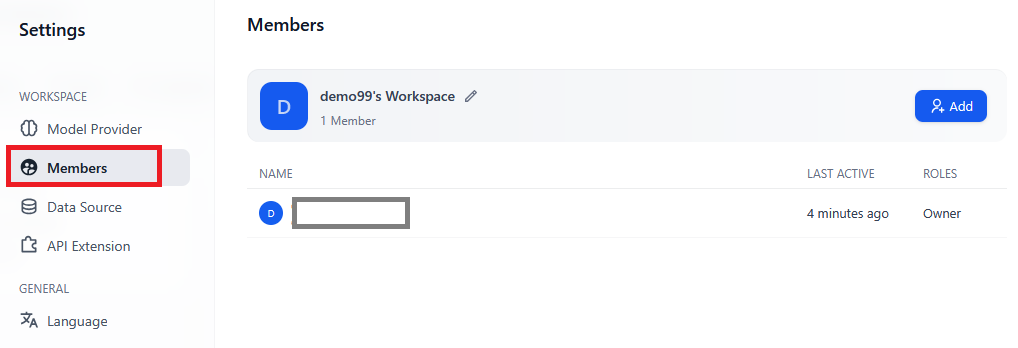
Members: allows you to add more members
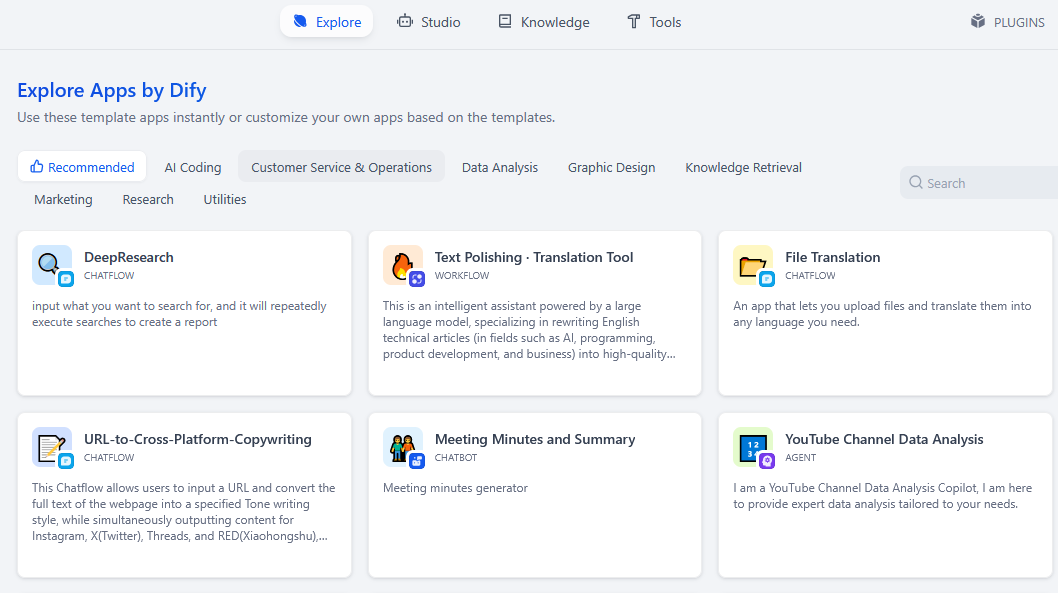
Explore:
The Explore tab in the Dify AI user interface is designed to help users discover and utilize pre-built AI application templates. These templates cover various domains such as human resources, assistants, translation, programming, and writing.
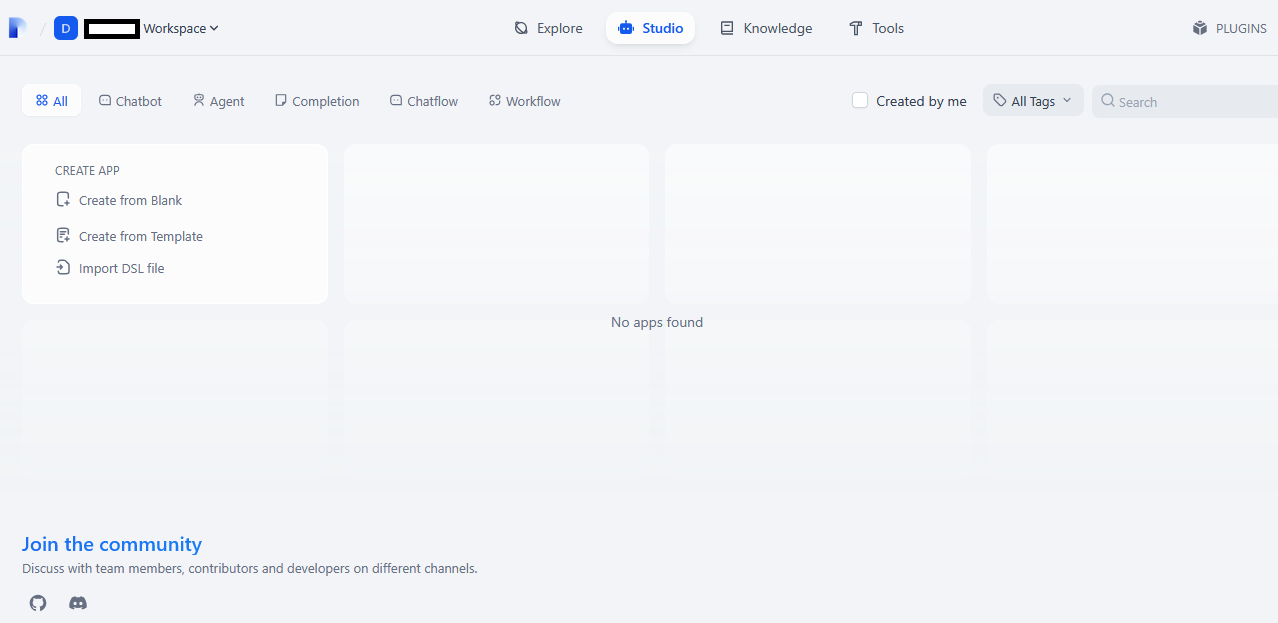
Studio:
The Studio tab in Dify AI serves as a comprehensive interface for developing, managing, and deploying AI applications powered by large language models (LLMs) like GPT. It integrates various tools and features to streamline the AI application development process.

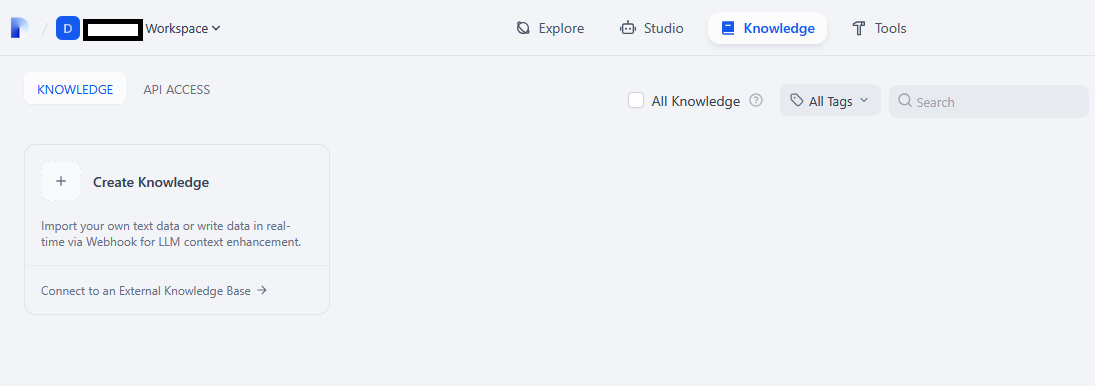
Dify’s Knowledge feature visualizes each stage of the RAG pipeline, providing a friendly UI for application builders to easily manage personal or team knowledge. It also allows for seamless integration into AI applications.
Developers can upload internal company documents, FAQs, and standard working guides, then process them into structured data that large language models (LLMs) can query. Read more
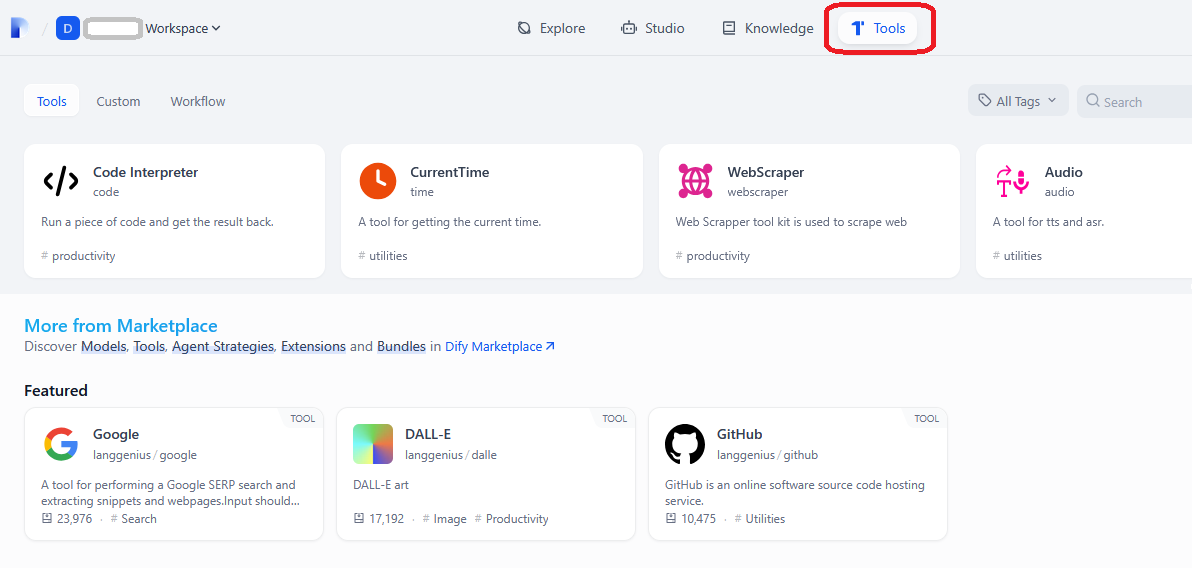
The Tools tab in Dify AI is designed to extend the functionality of your AI applications by integrating external services and APIs. These tools can be utilized within Chatflow, Workflow, and Agent applications to perform specific tasks, such as web searches, data extraction, or image generation
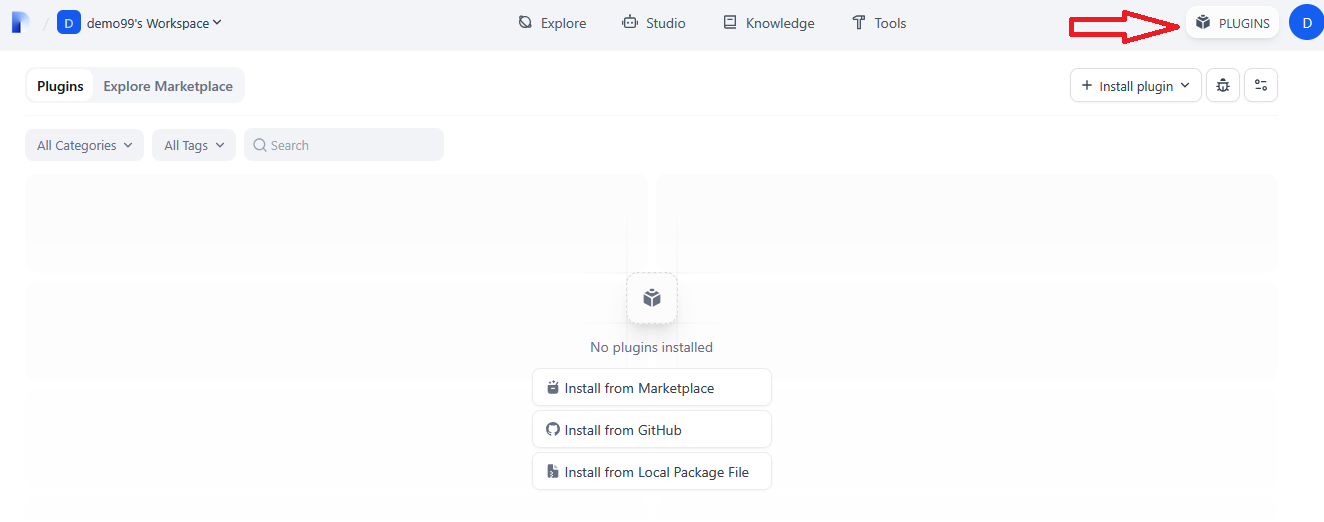
Plugins:
Plugin is a more developer-friendly and highly extensible third-party service extension module. It contains five distinct plugin types, each designed to solve well-defined scenarios, giving developers limitless freedom to customize and enhance Dify applications.
Additionally, the plugin system is designed to be easily shared. You can distribute your plugins via the Dify Marketplace, GitHub, or as a Local file package. Read more
For more details, please visit Official Documentation page
For more details on customizing environment variables, please refer to Overview of environment file