
Quick Start Guide to Use CrewAI Studio (GUI):

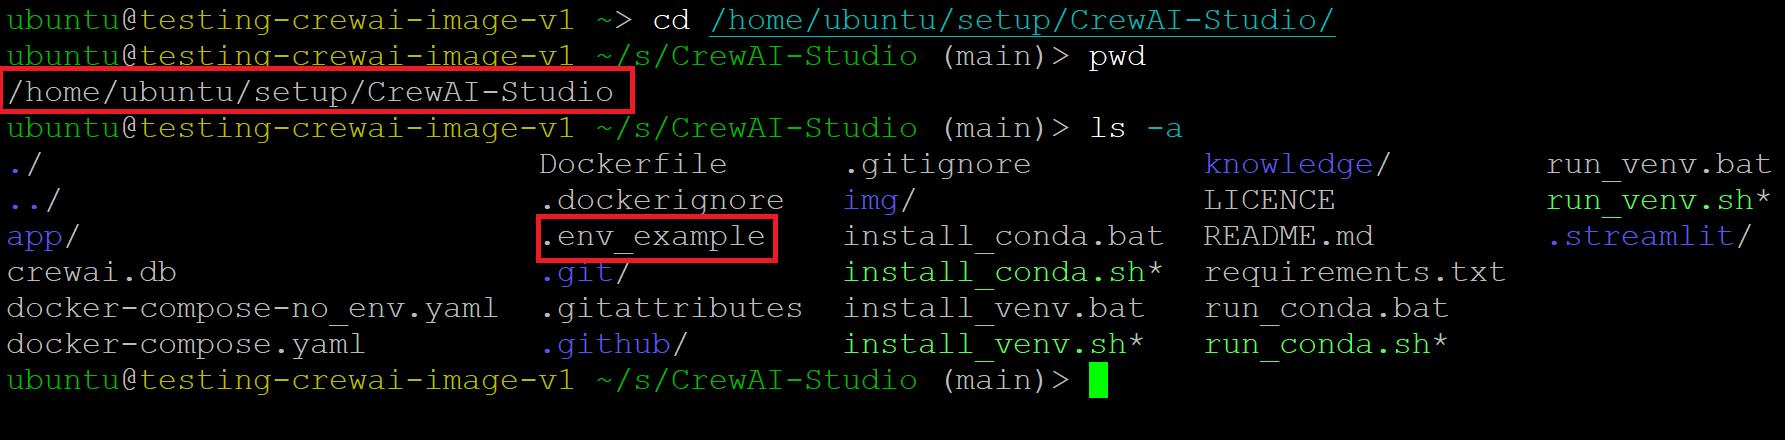
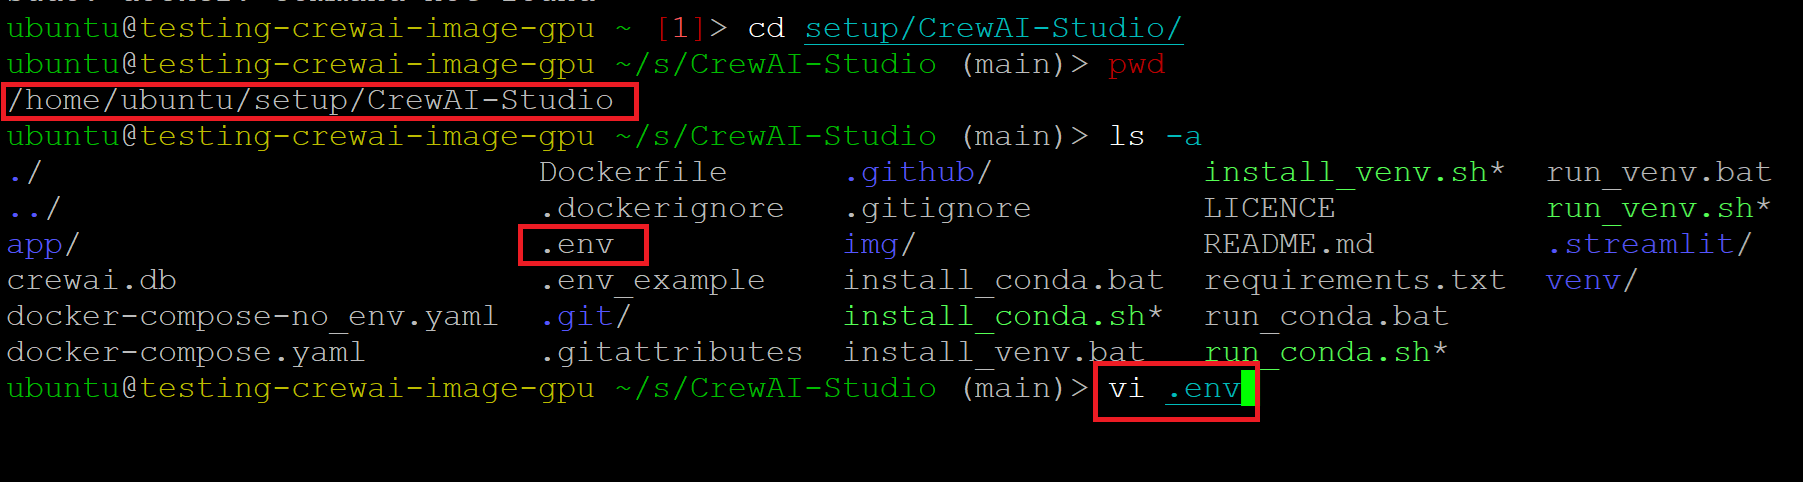
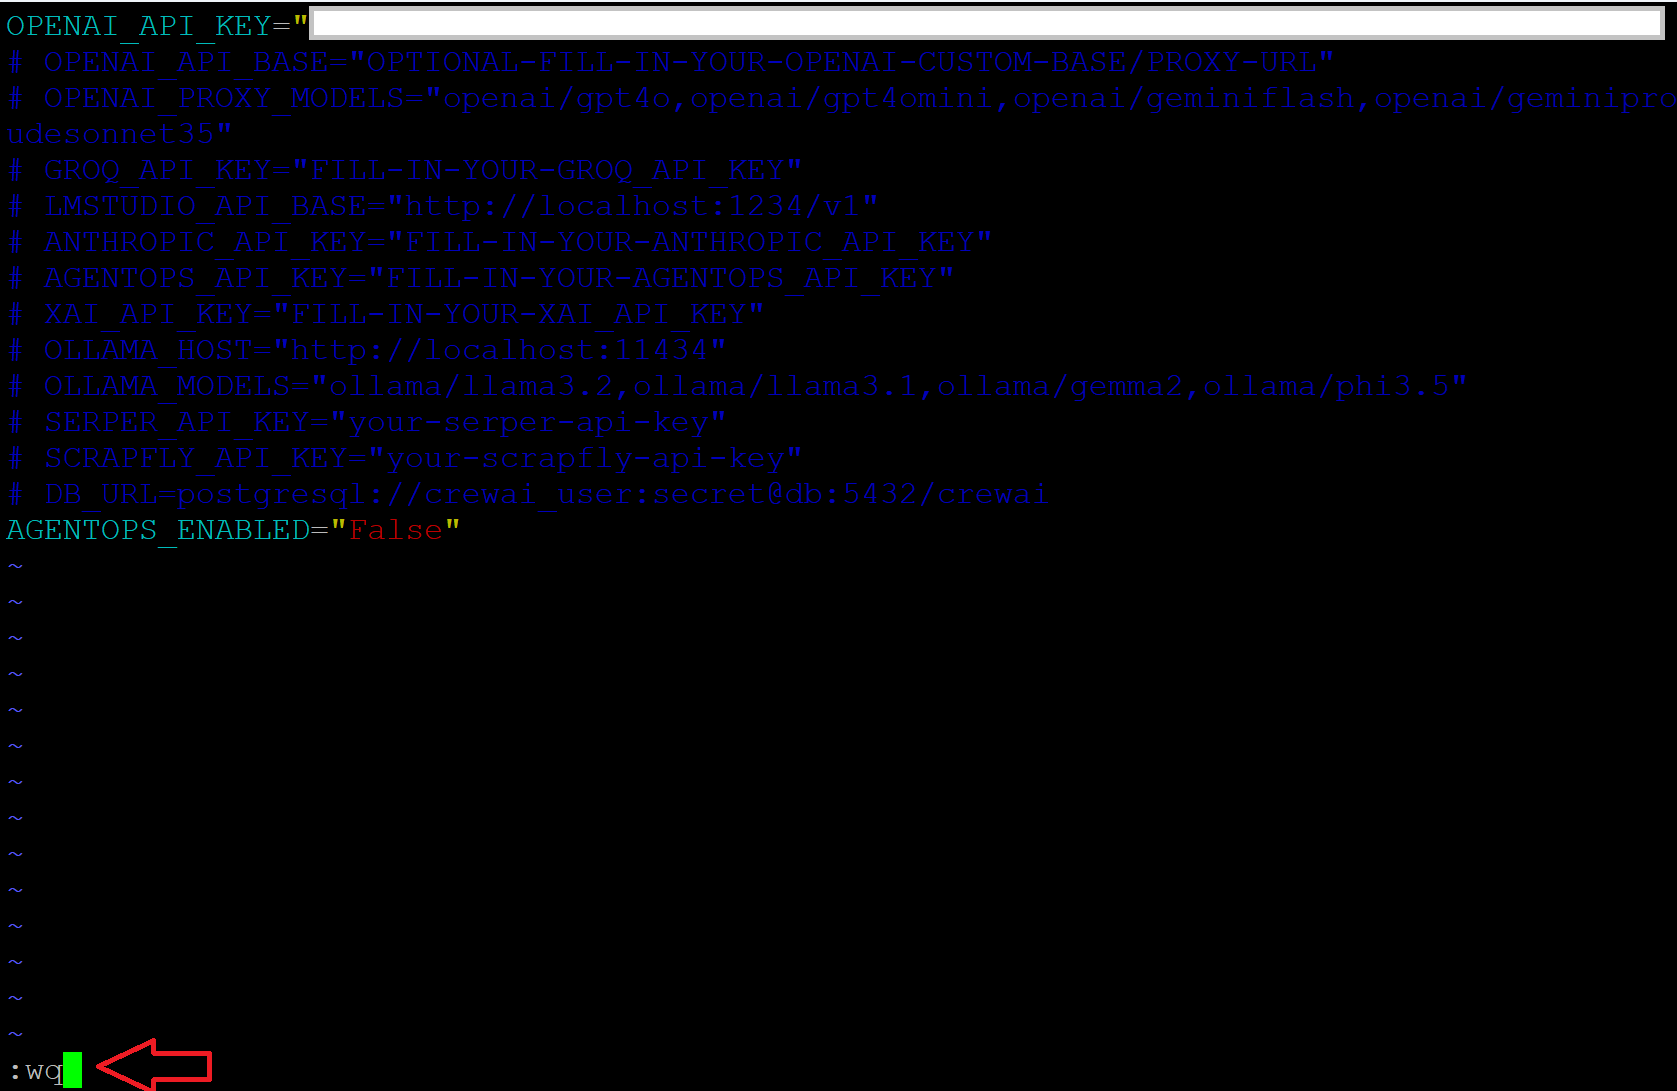
Before starting, create or edit the .env file in the project folder to add your API keys for supported LLM providers (e.g., OpenAI). The .env_example file is provided as a template. To edit the .env file
cd /home/ubuntu/setup/CrewAI-Studio/
cp .env_example .env
vi .env
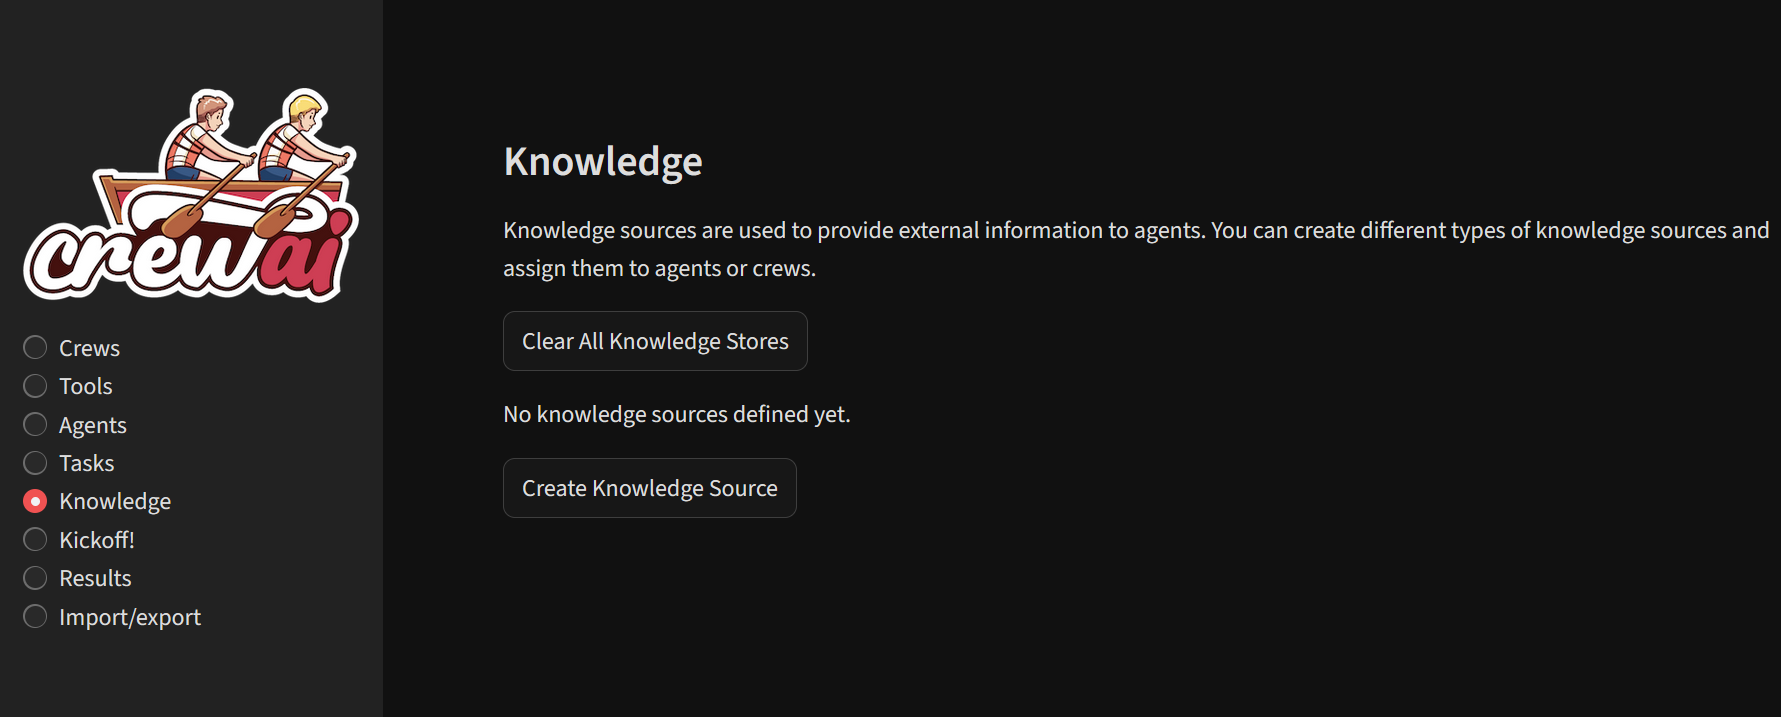
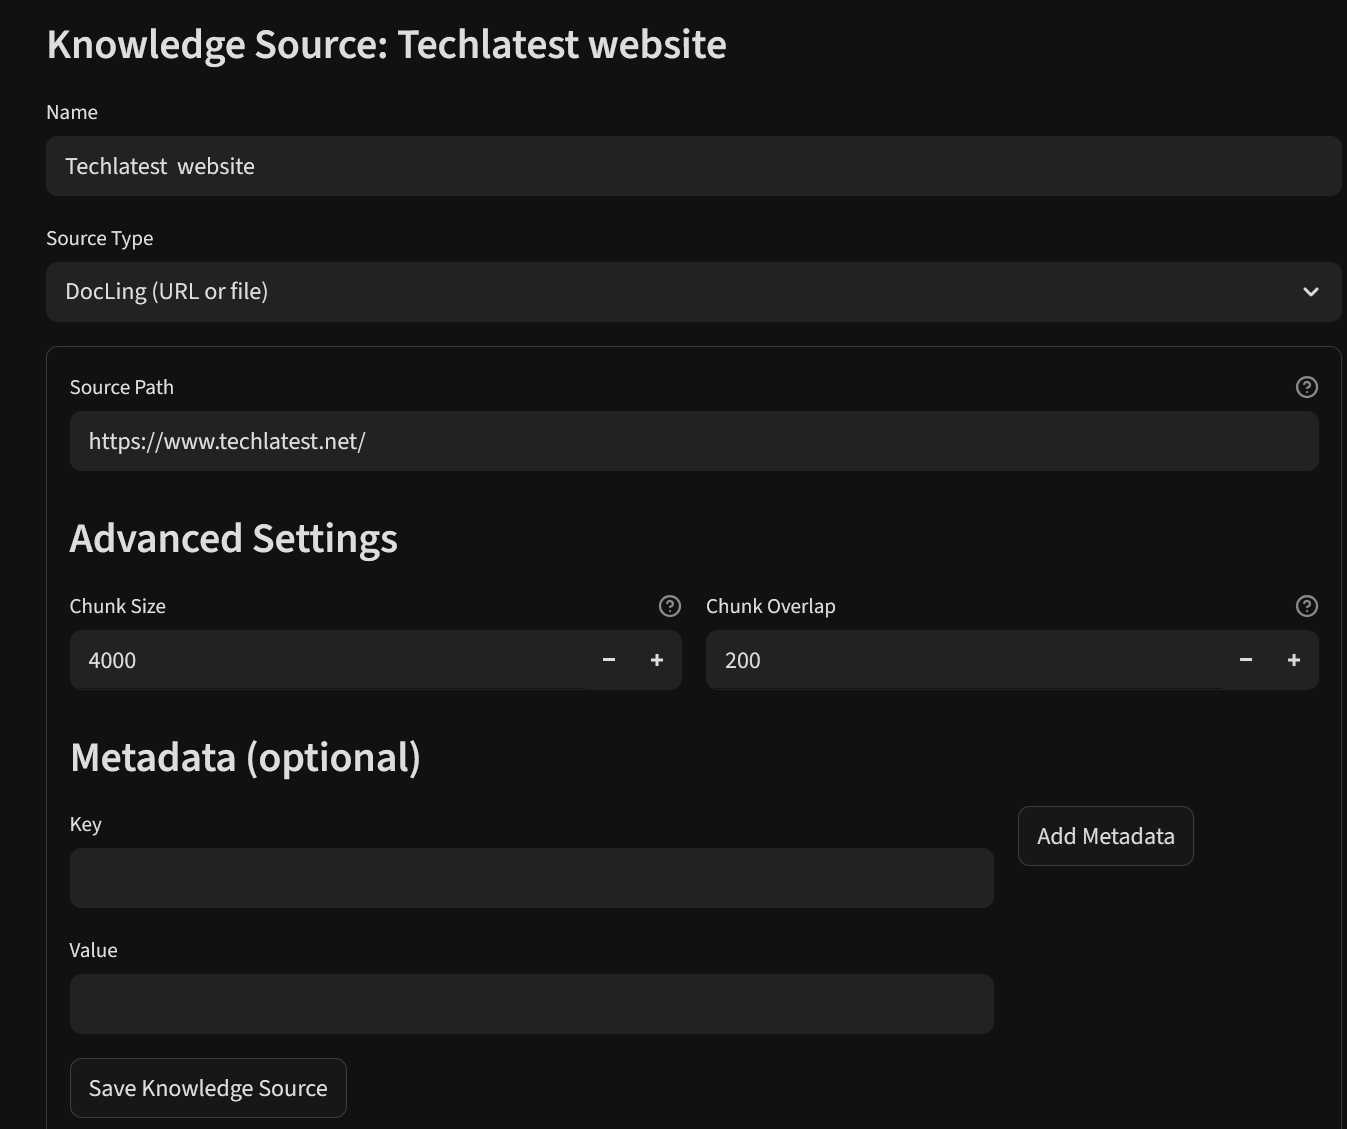
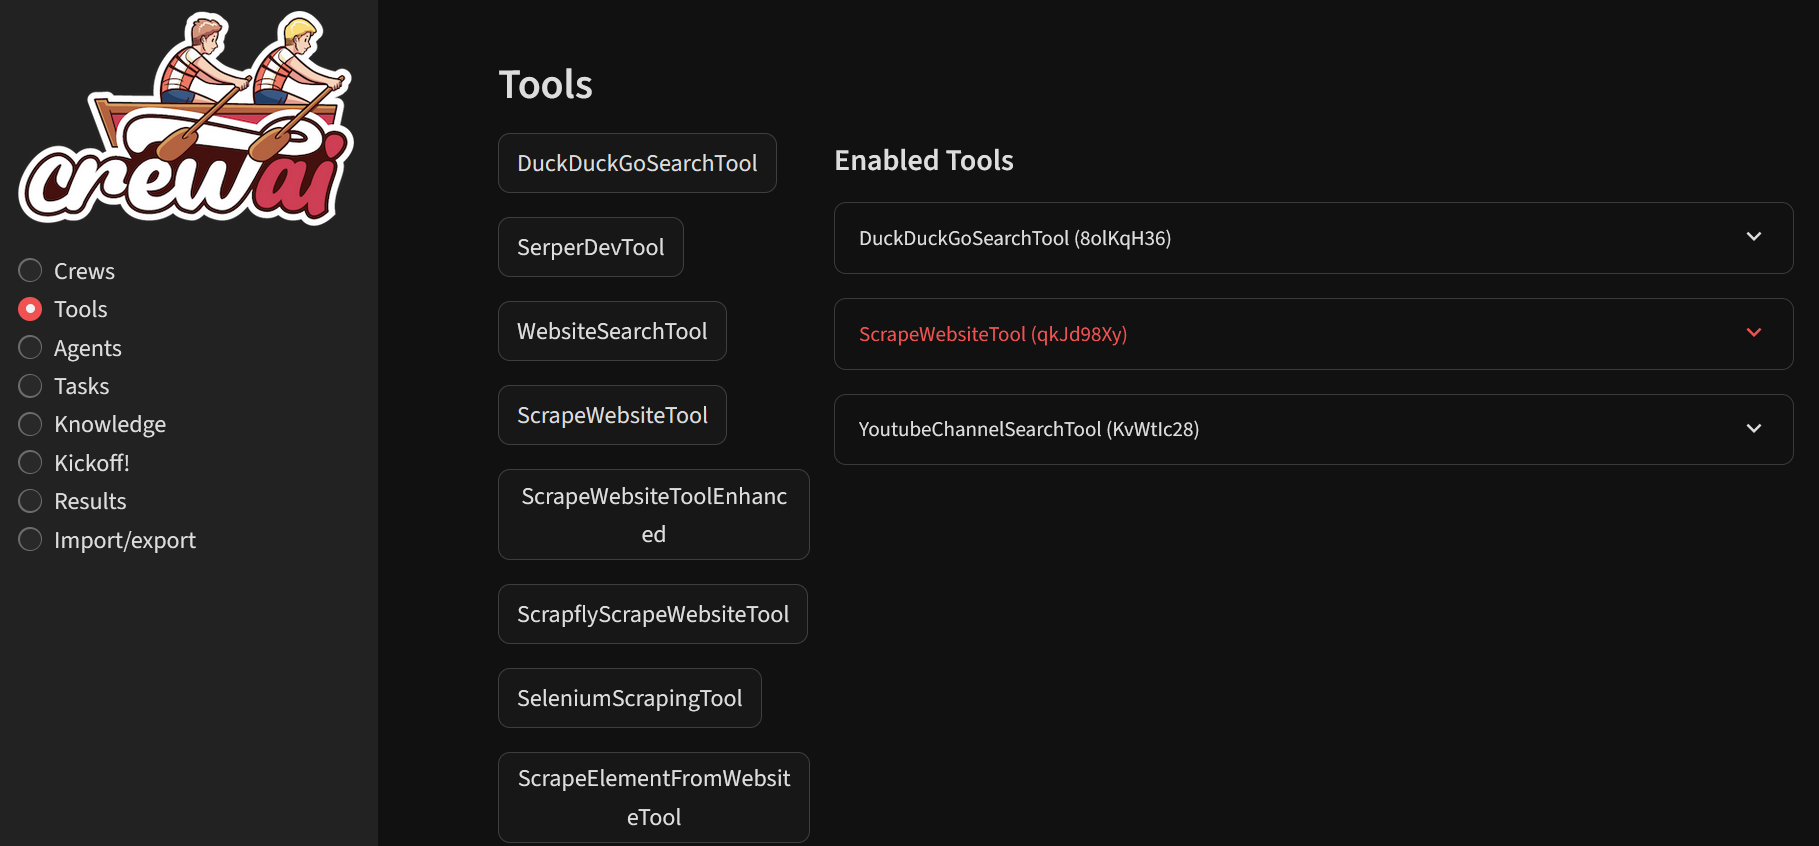
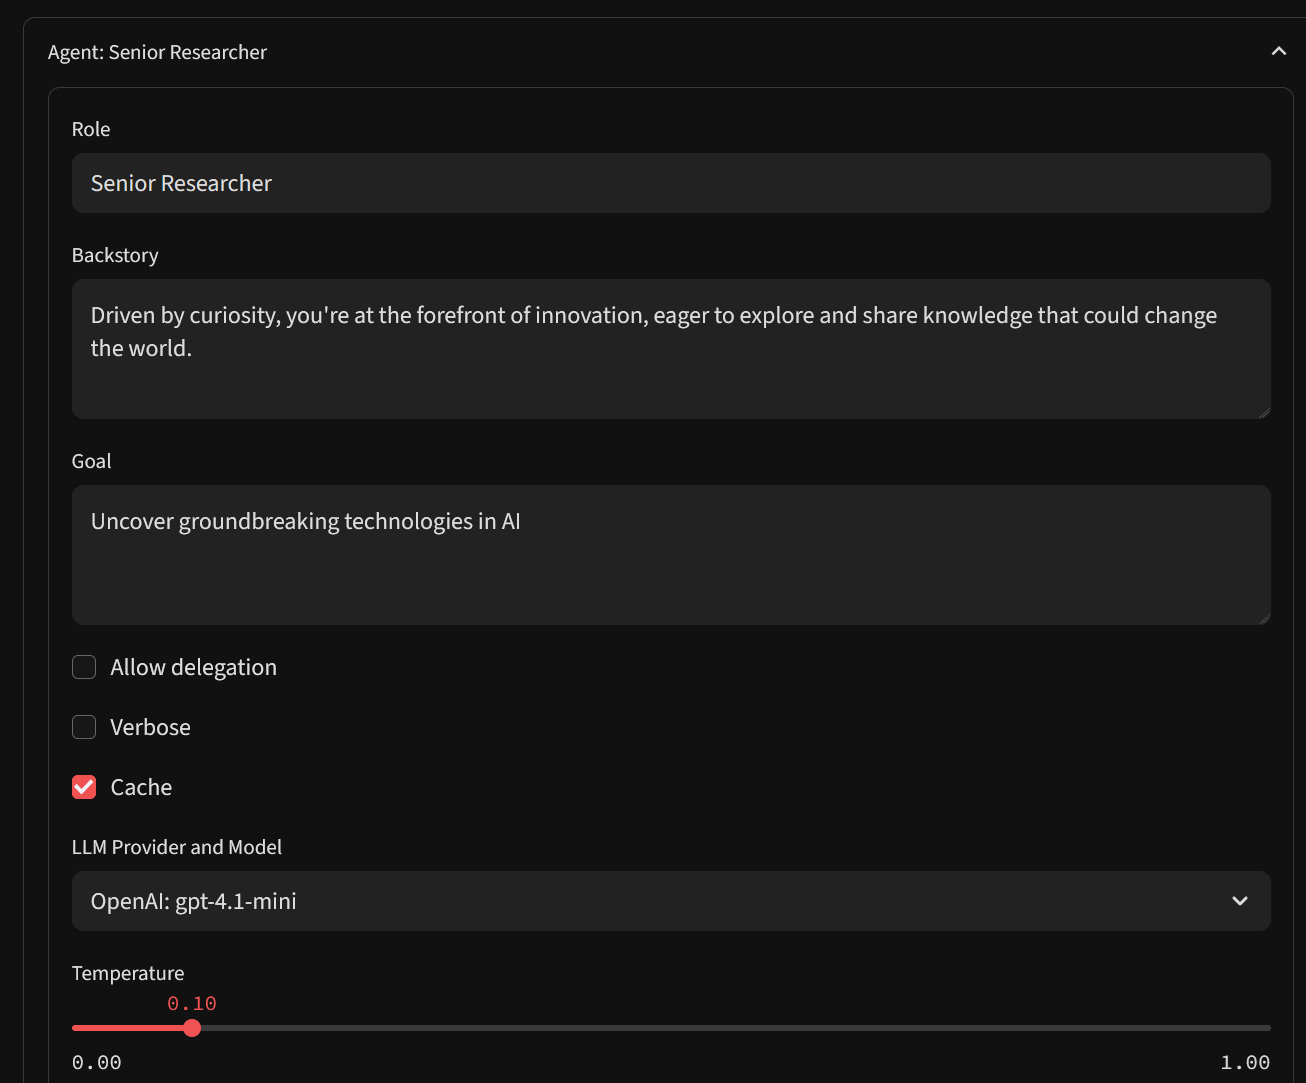
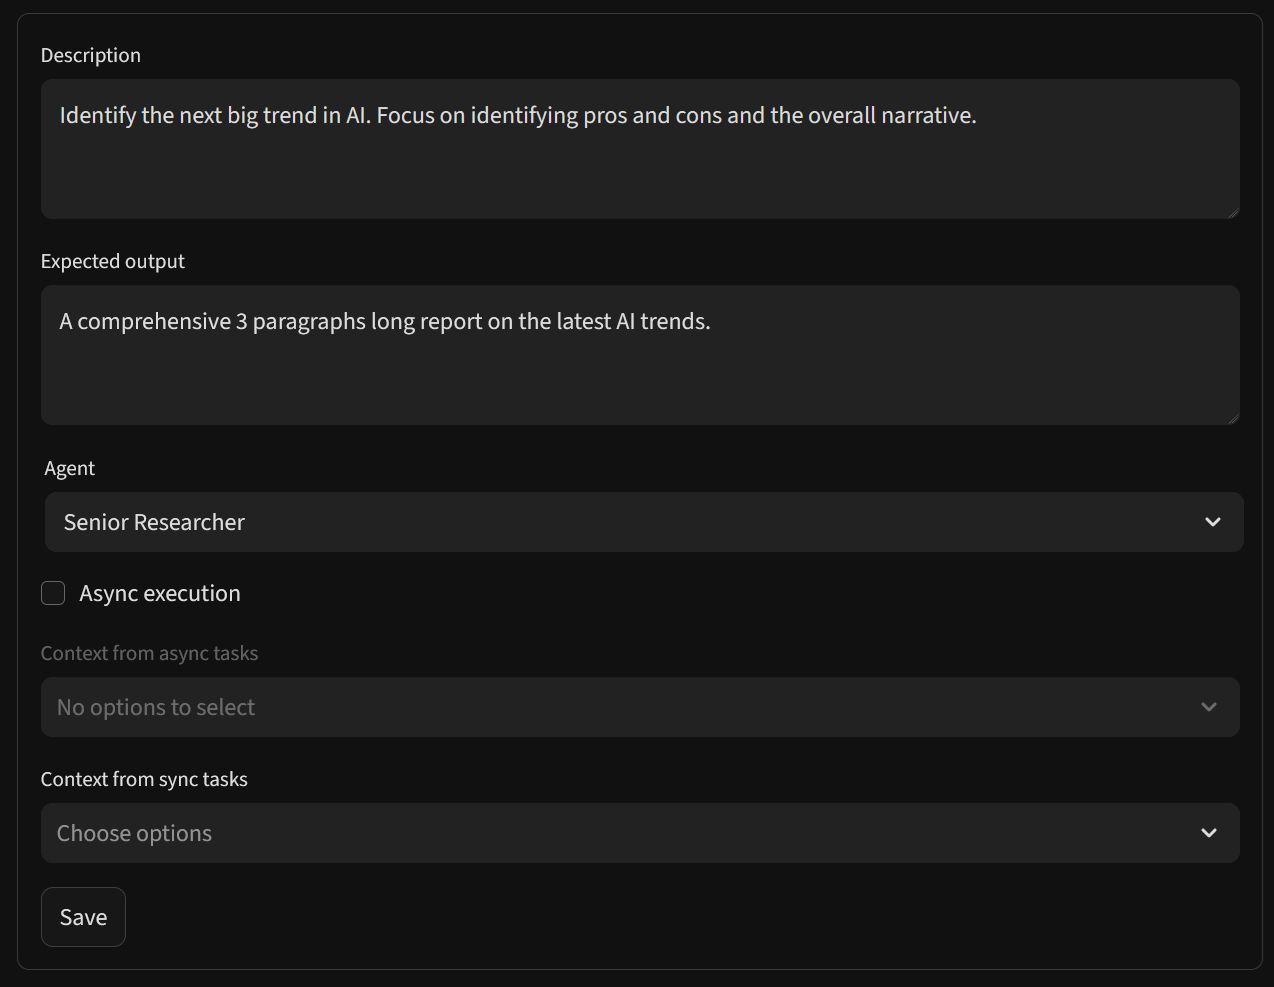
Agents are specialized AI entity designed to perform specific roles within a collaborative framework of Crews. Provide Role , Goal and Backstory for your agent, select the LLM provider you set in your .env file as explained above in step 2. You can create AI agents visually, specifying roles, tasks, and tool integrations without coding.
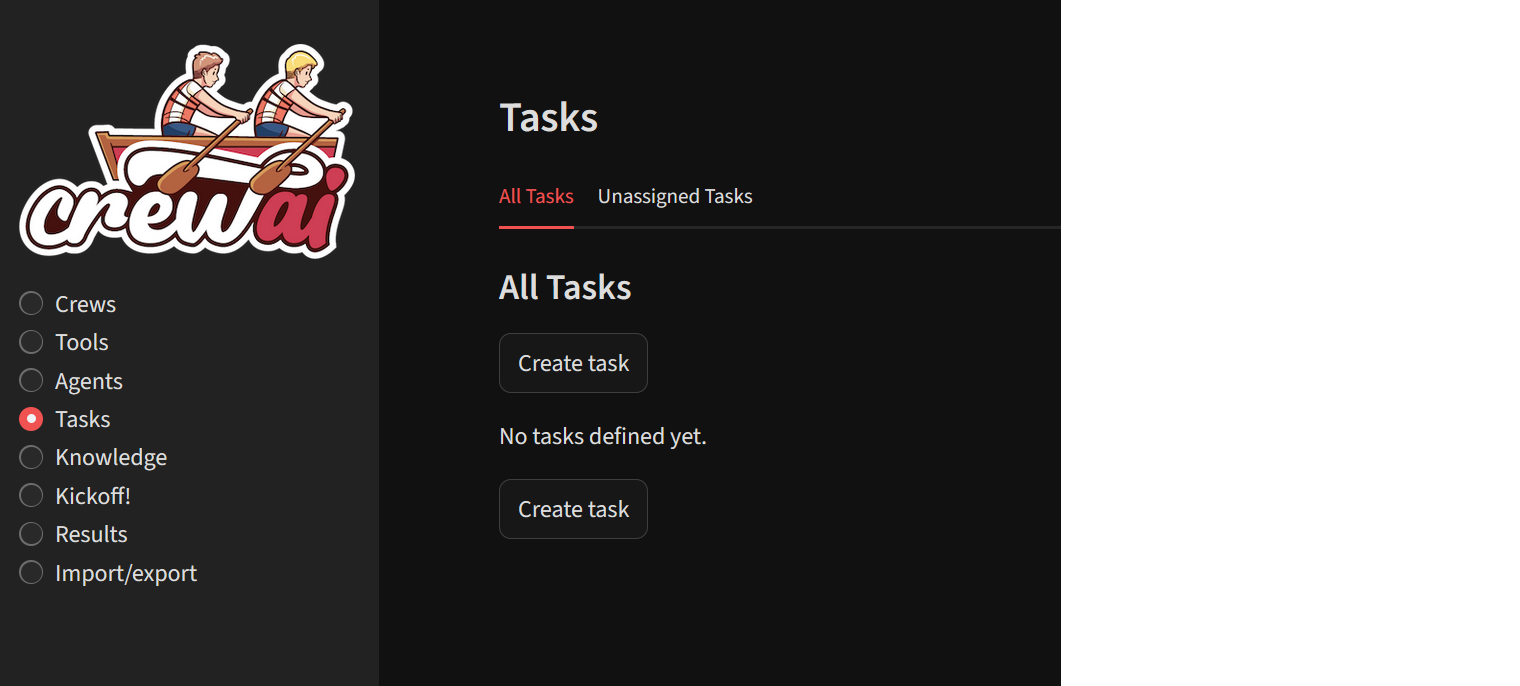
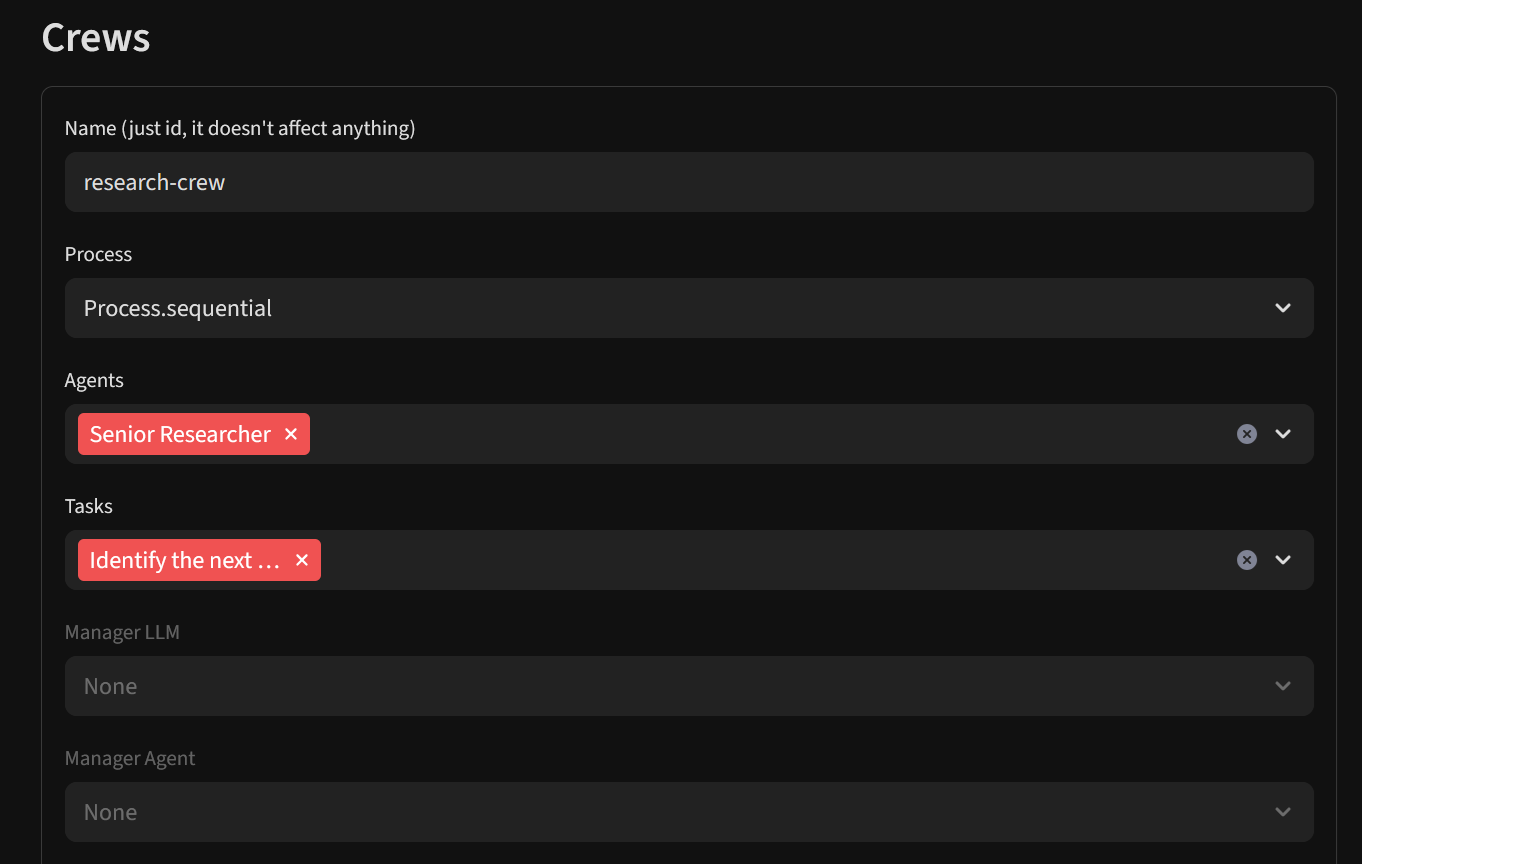
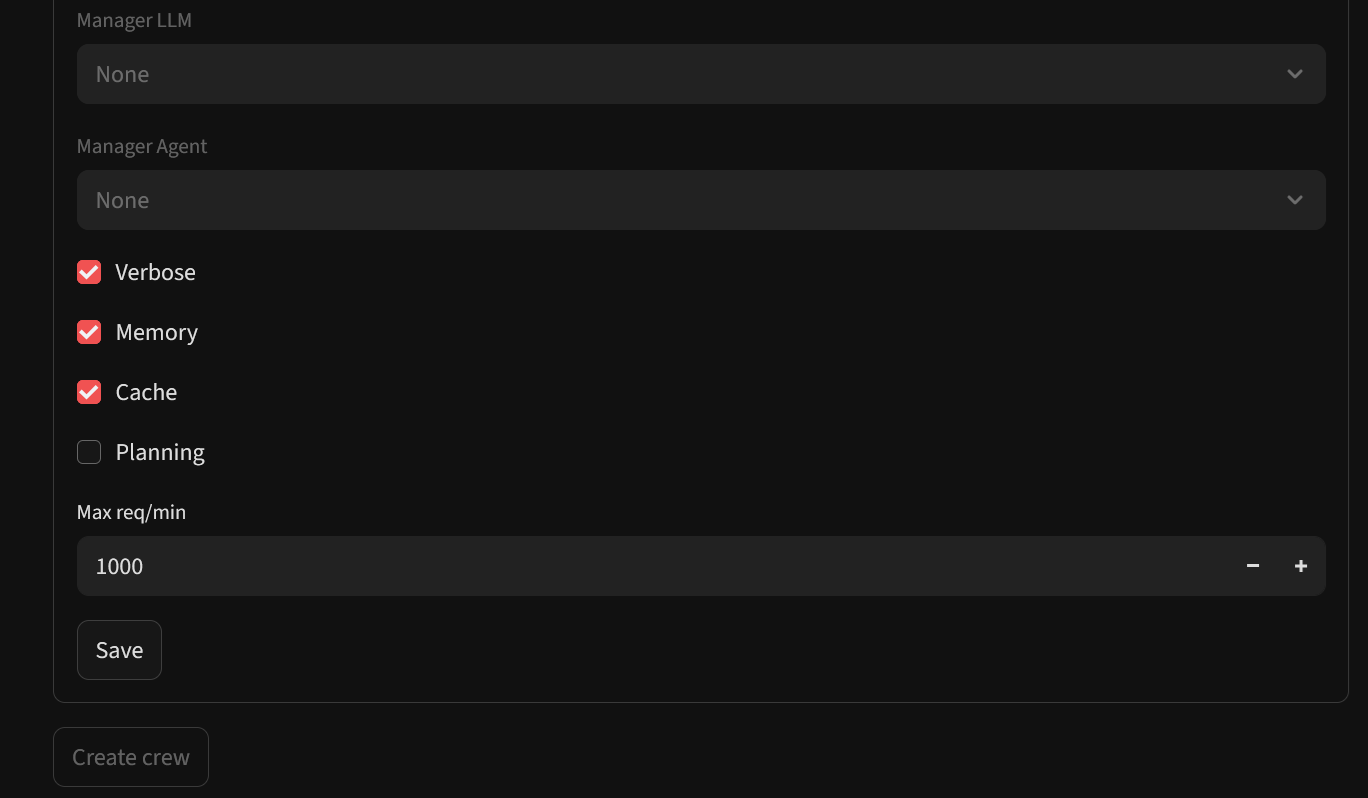
In the GUI, click on the option to create a new crew/project. Crea is a collection of agents working together to complete a mission. Give a name to your crew, provide whether you want to run the tasks sequentially or hierarchically (parallelly) , select agents, task , llm provider and other configuration on this page. Save the changes.
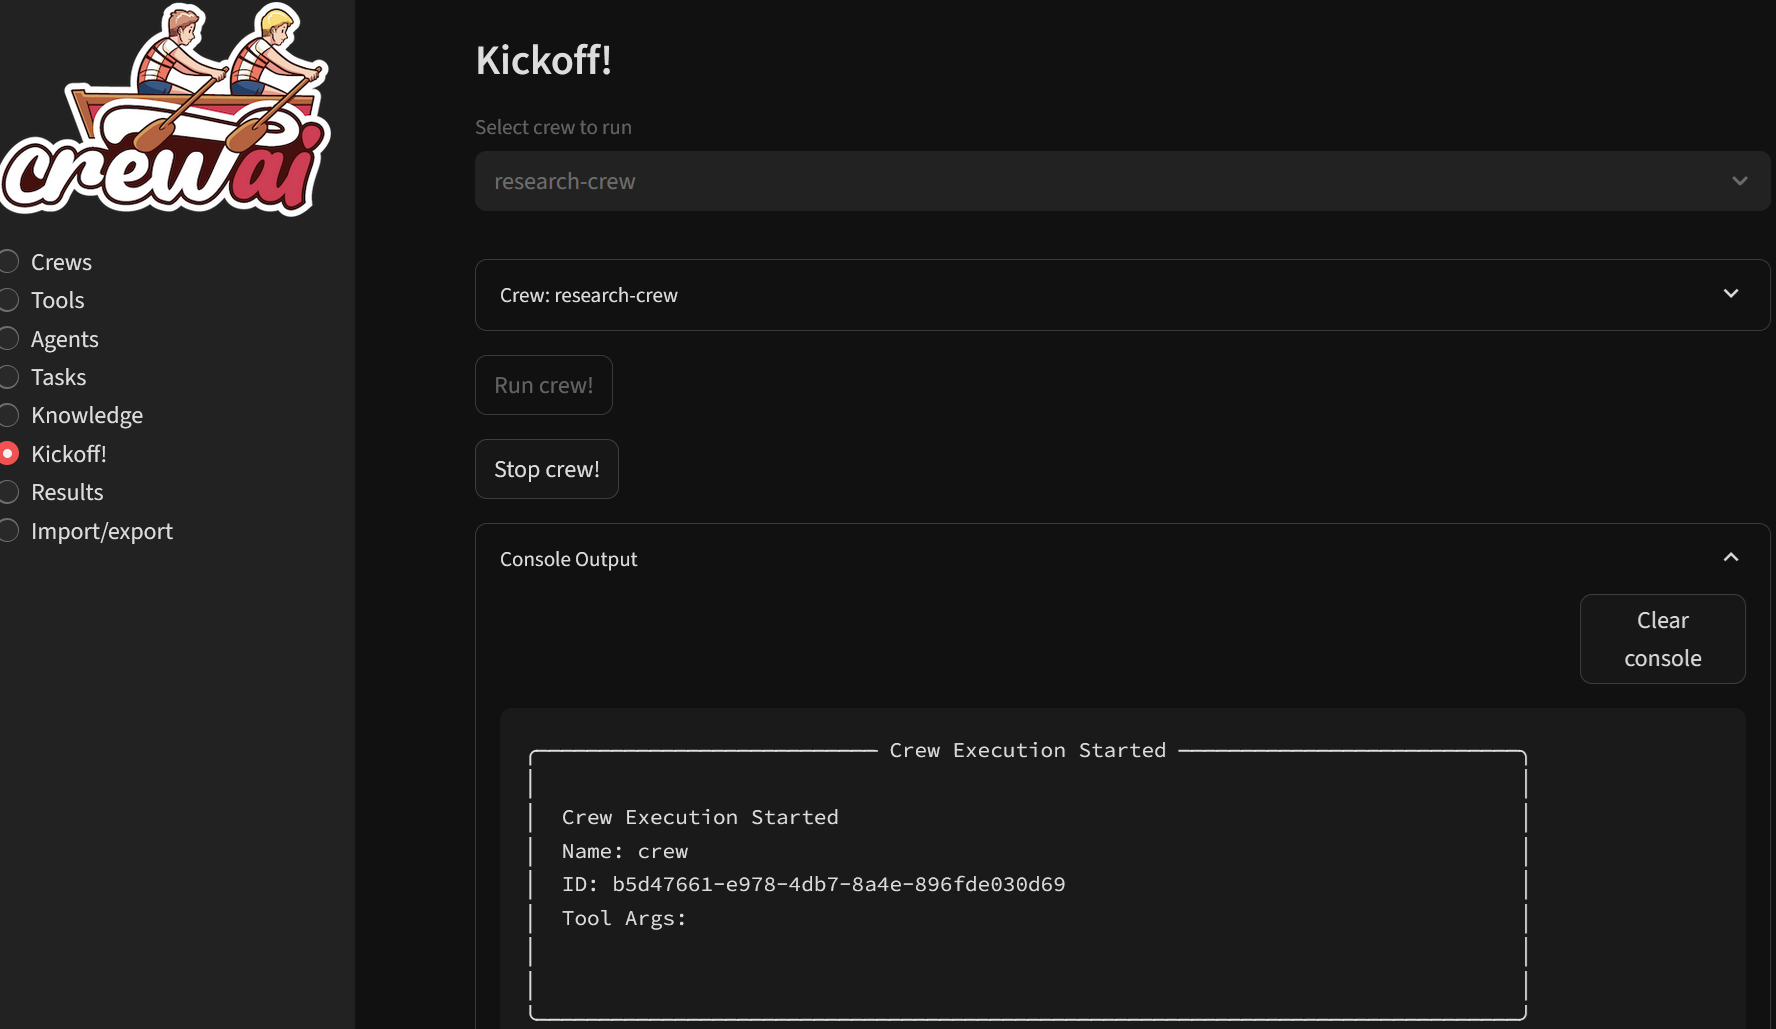
Once you are ready with your crew, navigate to Kickoff page, select your crew to run and hit Run Crew button. You can expand the Console Output to see the output of the kickoff process.

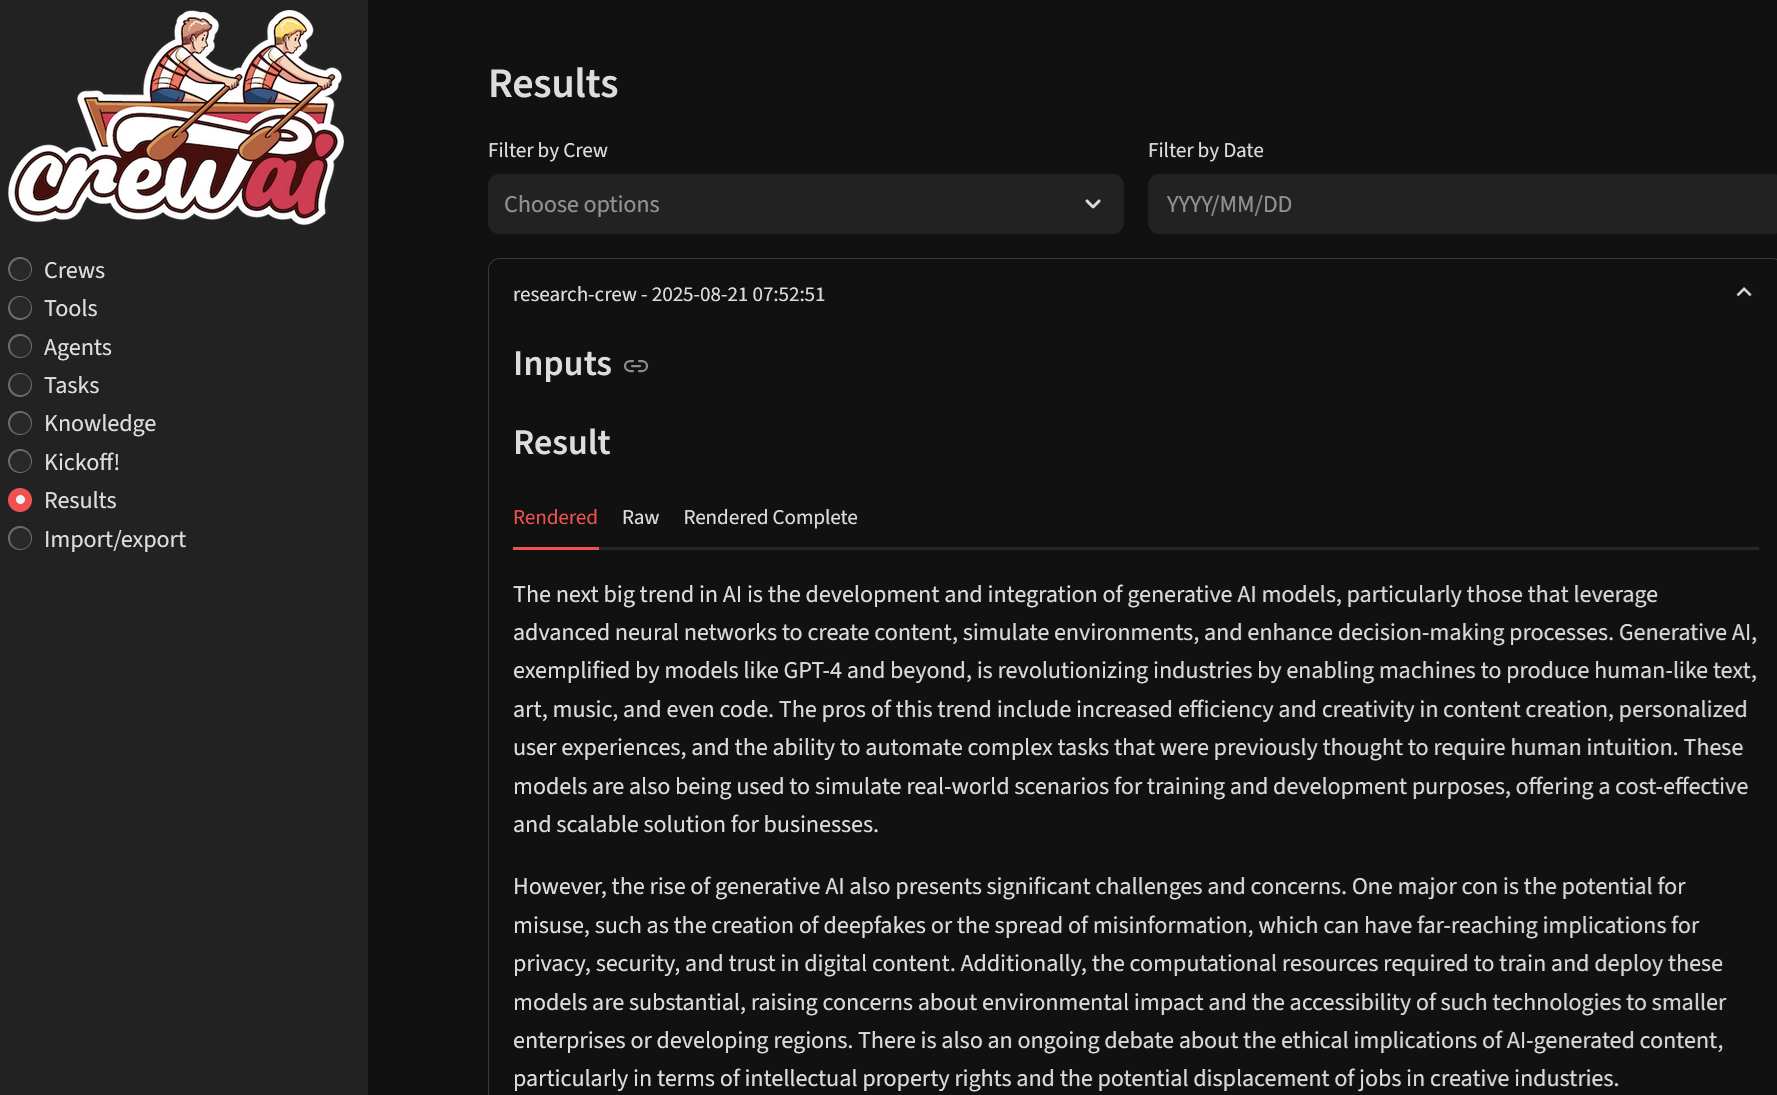
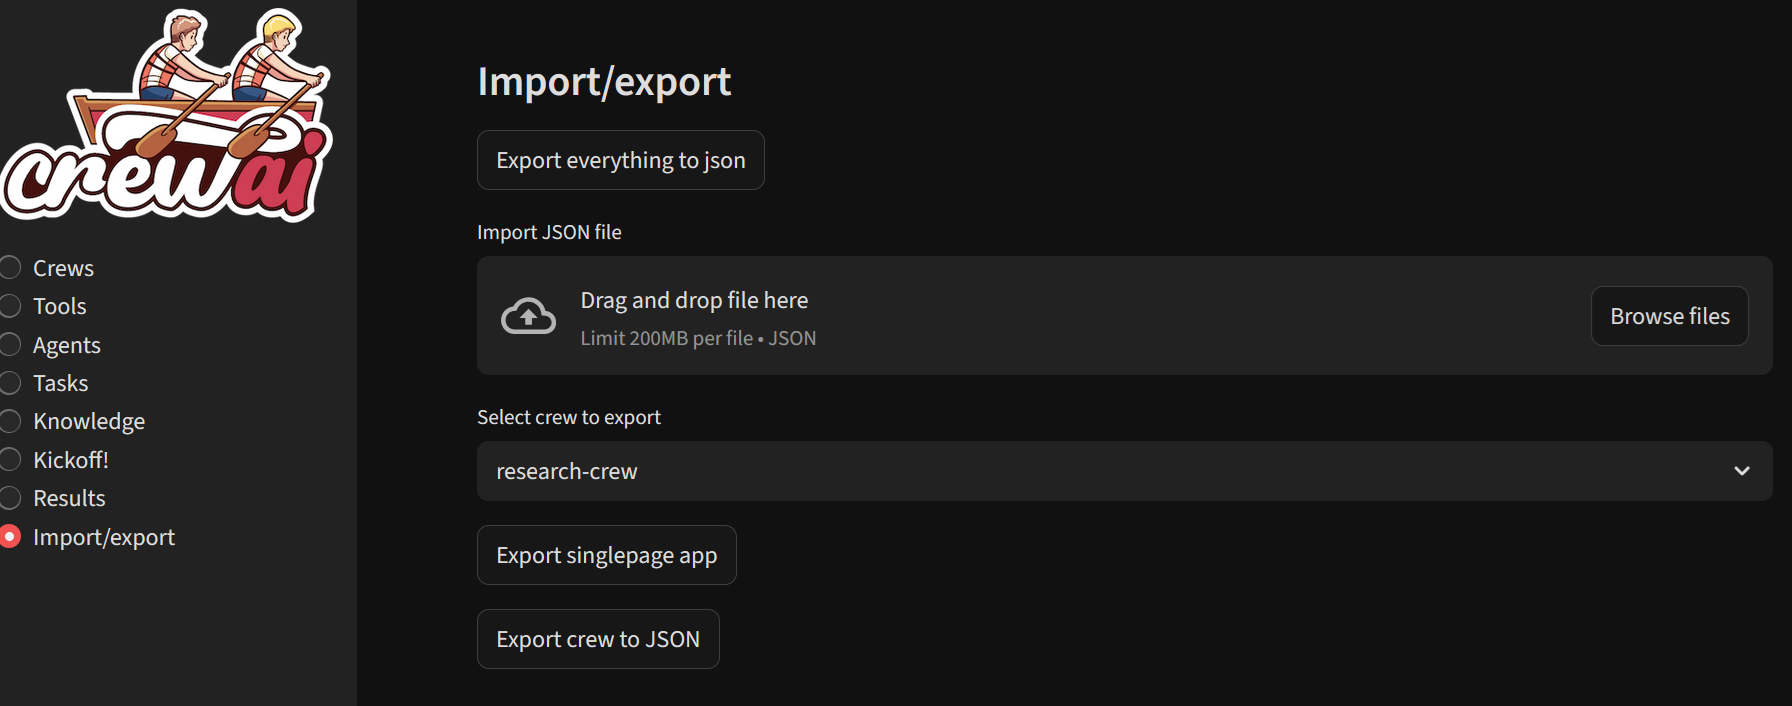
You can browse previous runs and export crews or results as single-page apps or code if desired.
Save configurations and manage different AI agent projects from one central GUI.
CrewAI Studio makes it easy to build, manage, and run multi-agent AI projects without writing code while supporting advanced customizations via config and tools when needed.
To get started with CrewAI Platform please visit CrewAI Quickstart Guide
To Learn more about JupyterHub, multiuser environment and installing new python packages on this VM visit JupterHub Guide
For more details, please visit Official Documentation page