Go back

How to create and run CrewAI Projects

In this guide we will walk you through the steps to create and run CrewAI projects on this Virtual Machine.

  1. Connect via terminal and navigate to /home/ubuntu/setup folder using
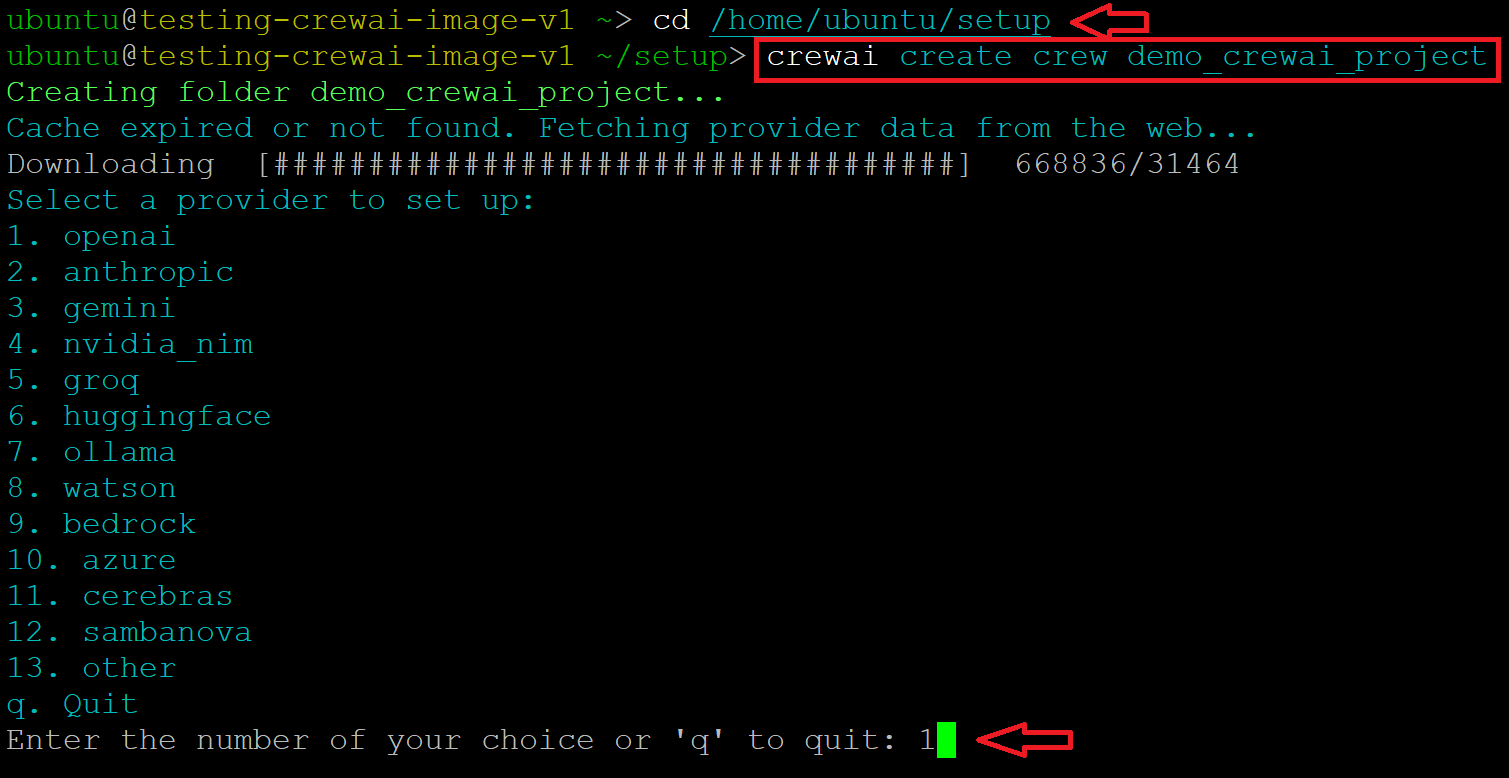
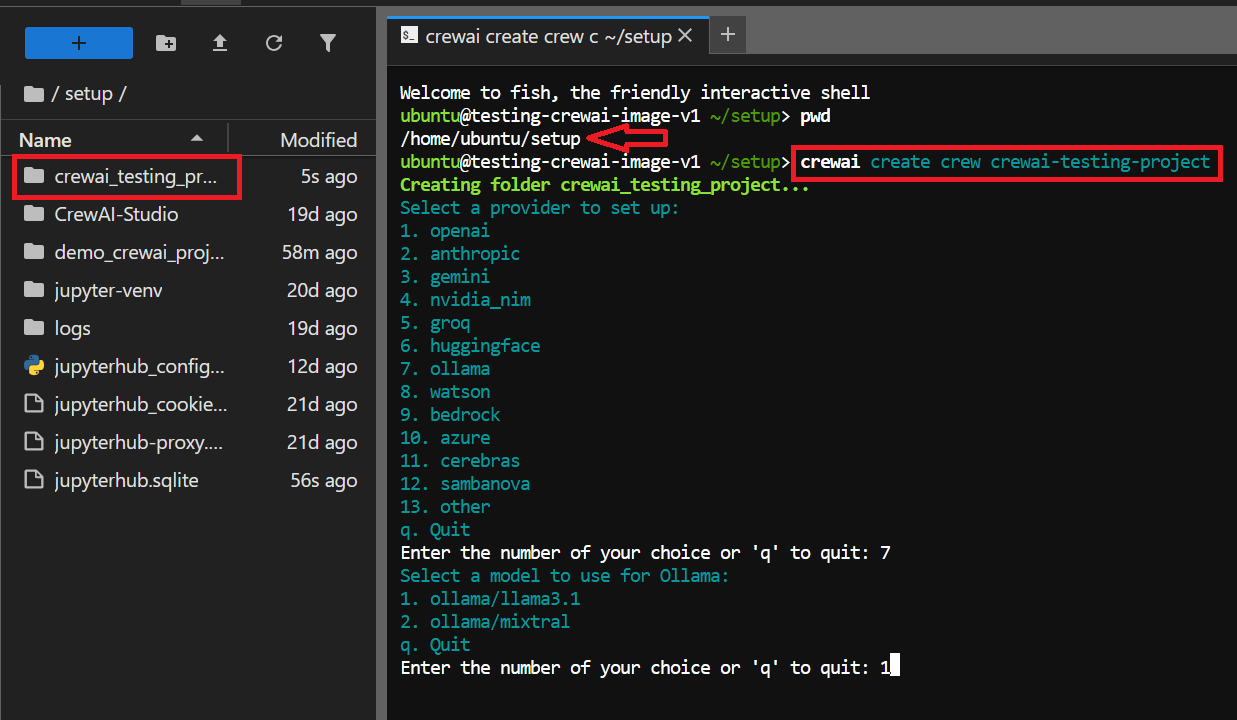
cd /home/ubuntu/setup

You can create CrewAI projects in any folder however setup folder is configured with jupyterhub ,CrewAI and CrewAI Studio setup files. We recommend to create new CrewAI projects in this directory.

  1. To create a new CrewAI Project run -
crewai create crew name_of_the_project

e.g crewai create crew demo-crewai-project

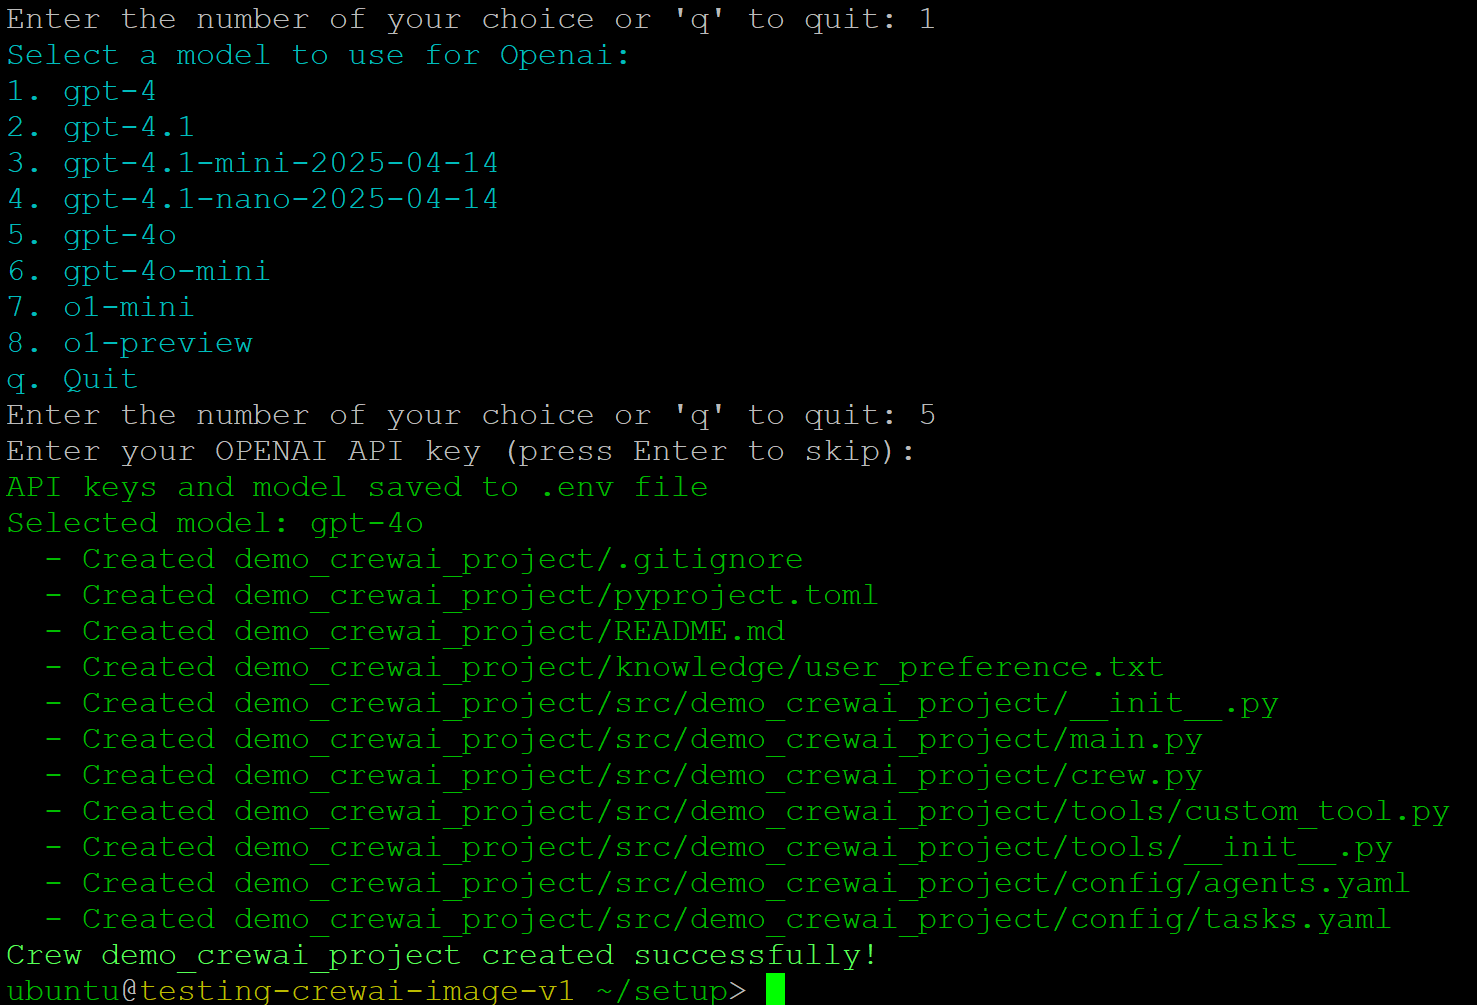
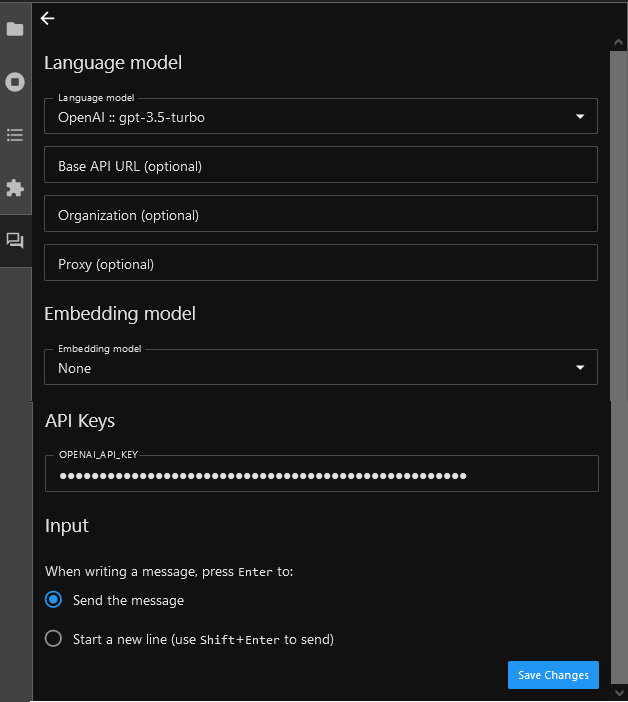
Enter the option of your choice. It will ask you a series of questions depending on the provider you choose. You can provide all the details right here or you can edit the .env file later once the project is created.

/img/azure/crewai-vm/create-crewai-project.png

/img/azure/crewai-vm/create-crewai-project=2.png

  1. This command creates a new project folder with basic template. Navigate to your project using below command. You can see the files and folders available here.
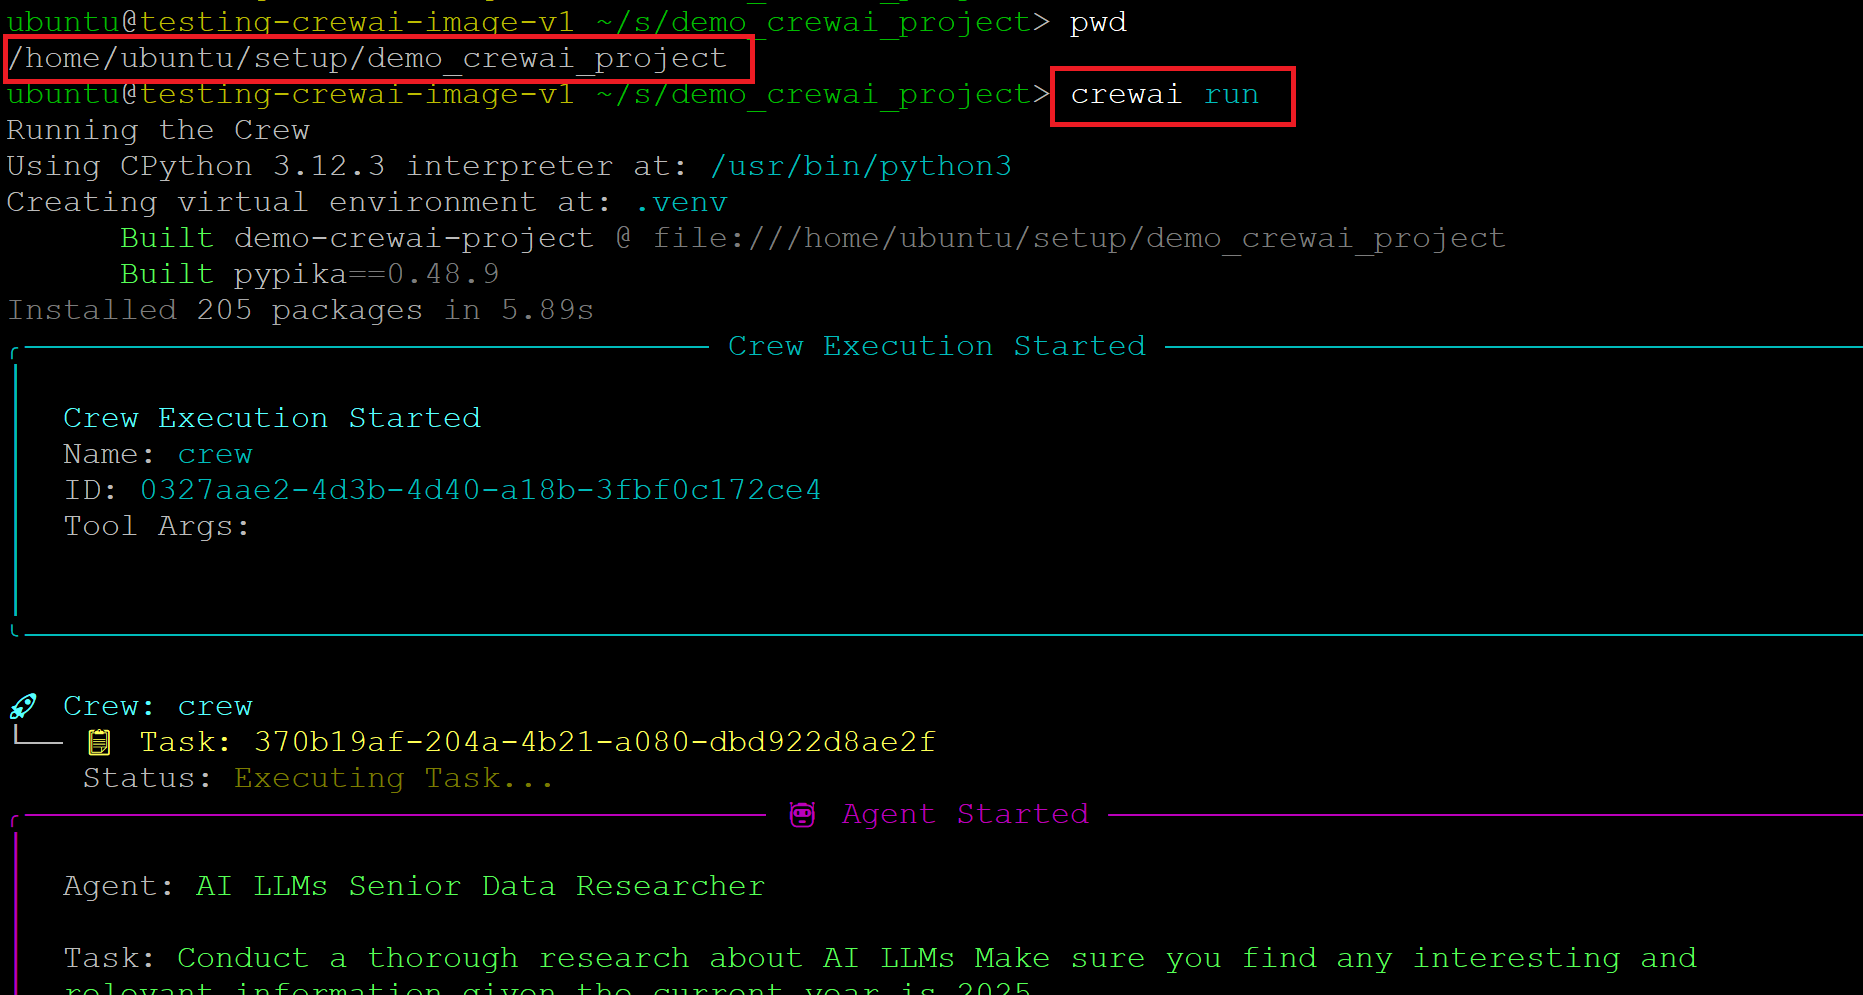
cd name_of_the_project
ls

/img/azure/crewai-vm/crewai-project-structure.png

  1. Add the required functionality in your project by editing src/demo_crewai_project/config/agents.yaml , src/demo_crewai_project/config/tasks.yaml, src/demo_crewai_project/crew.py and src/demo_crewai_project/main.py files .

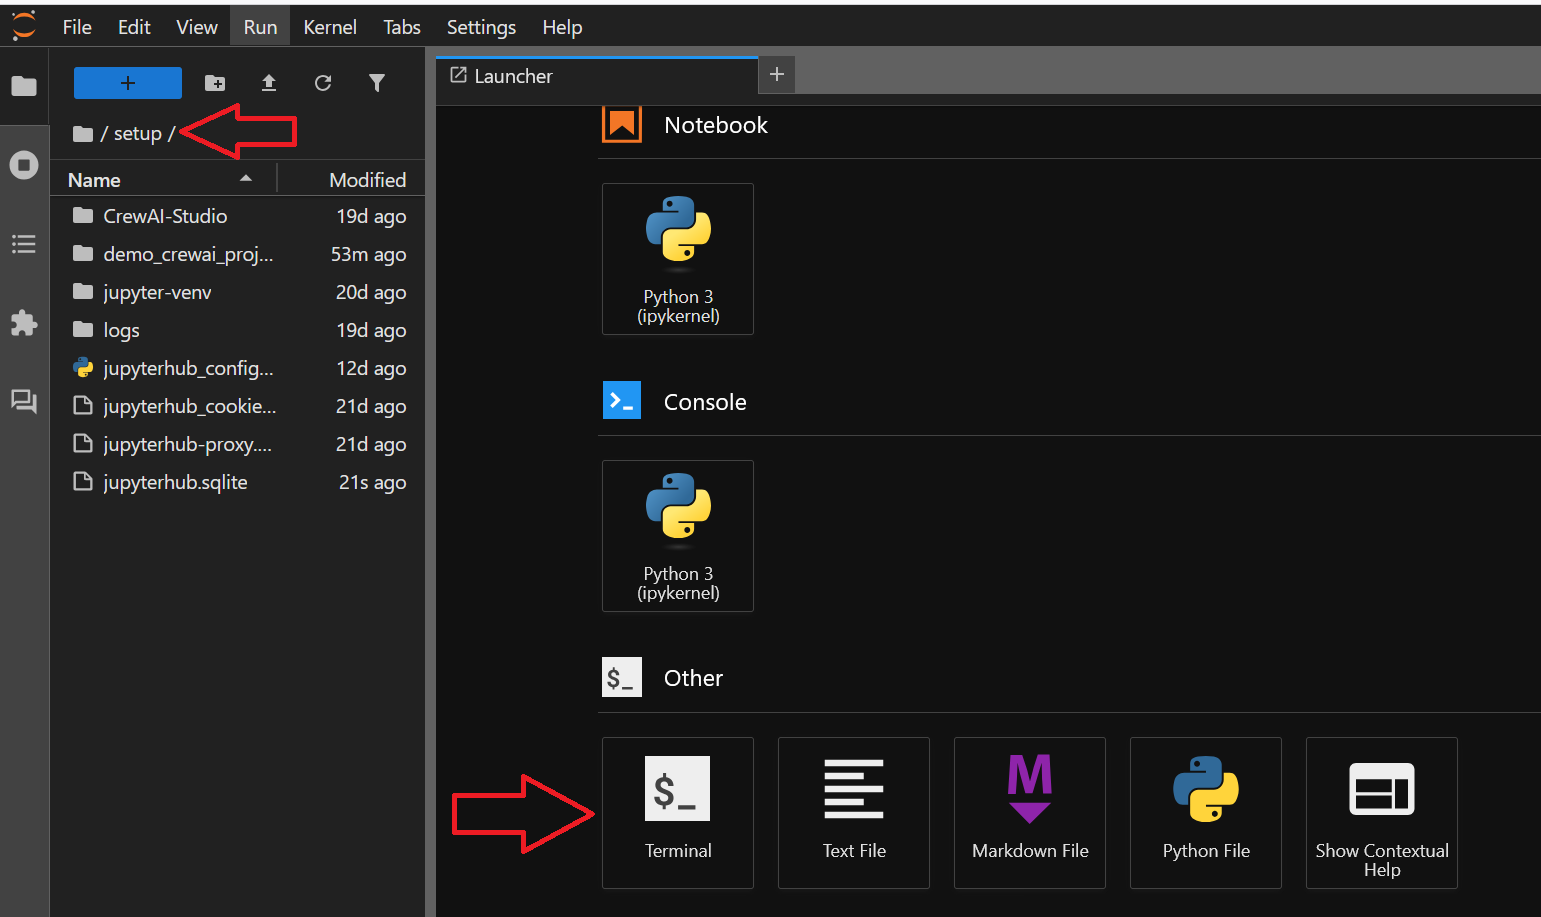
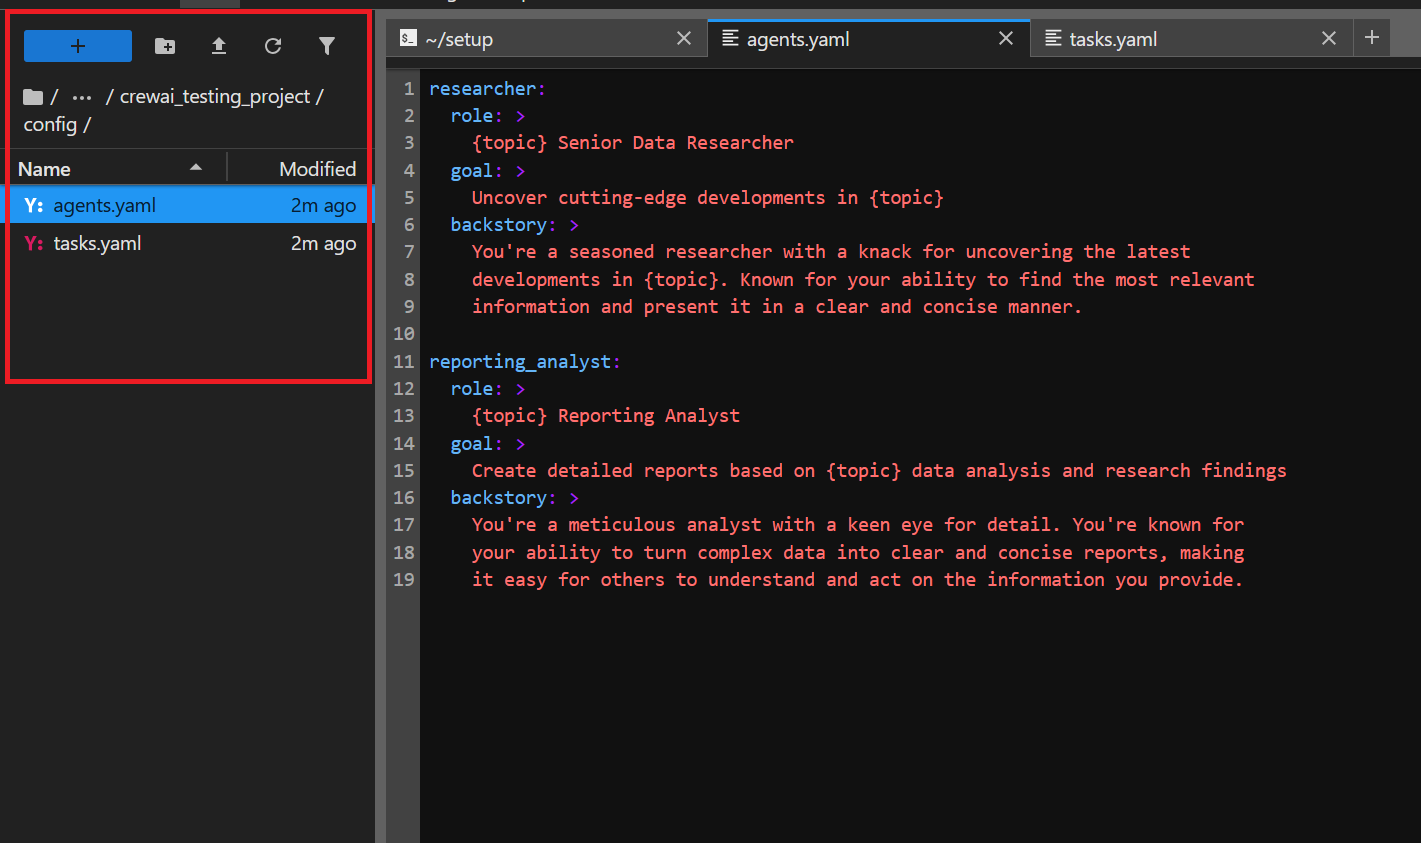
You can edit the files using nano or vi editor in the same terminal. Alternatively we have JupyterHub configured to edit and run CrewAI projects. To edit and run projects via JupyterHub please follow steps 8 onwards of this guide.
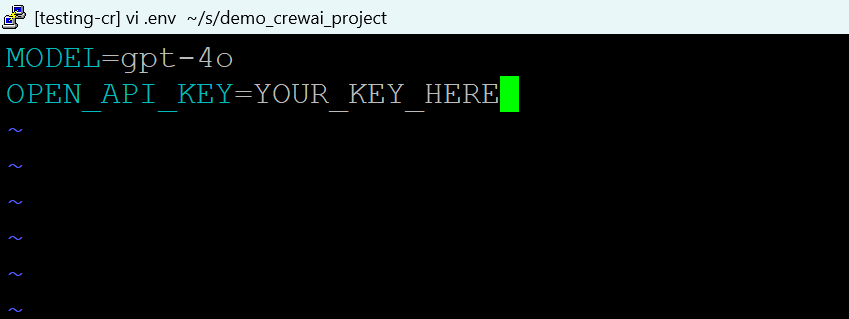
/img/azure/crewai-vm/config-crewai-files.png

  1. Set your environment variables by using the .env file created by the project. This file contains details about your LLM provider. If you entered these details when creating the project (step 2), they will already be saved in the .env file. To update or change these values, simply open and edit the .env file.
vi .env

Press i to enable edit mode , edit the file and save the changes by pressing ESC key followed by :wq.

/img/azure/crewai-vm/edit-env.png

/img/azure/crewai-vm/provide-llm-details.png

  1. Once you are ready , to run your crew, execute the following command in the root of your project: Make sure you are in the root of your new project directory.
crewai run
  1. You should see the output in the console as shown below.

/img/azure/crewai-vm/crewai-output.png

  1. Alternatively, you can create and edit CrewAI Projects using our preconfigured JupyterHub in your local browser. To access the JupyterHub , copy the public ip of the VM and paste it in the browser as https://public_ip_of_vm . Login with ubuntu user and its password.

/img/azure/crewai-vm/jupyter-login.png

  • Note: If for some reason you get spawn failed error after login as shown below, then Click on Home tab at top left and click on Start My Server Button.

/img/azure/crewai-vm/jupyter-spawn-error.png

/img/azure/crewai-vm/start-my-server.png

  1. Once you are logged into the JupyterHub, Select the directory from left pane where you want to create your CrewAI project and click on Terminal option from right pane. This will open the terminal in the selected directory. Follow steps 2 till step 7 from above guide to create and run new CrewAI Project but this time from JupyterHub Terminal.

/img/azure/crewai-vm/open-jupyterhub-terminal.png

/img/azure/crewai-vm/create-and-run-crewai-project.png

  1. You can select and edit CrewAI Project files here. No need to use vi or nano editors from terminal.

/img/azure/crewai-vm/editing-crewai-files.png

Below are some of the benefits of using JupyterHub over SSH terminal for running CrewAI Projects:

  • Jupyter Notebook makes it easy to run code in sections (called “cells”) and see results immediately, making it easy to test, debug, and experiment with code in real time.

  • Allows Easy sharing and collaboration with team.

  • You can use Jupyter in any web browser, on different devices.

  • Multiuser feature: Add more users with the benefit of each user getting their own notebook server and workspace, ensuring they don’t interfere with each other’s code, files, or environment.

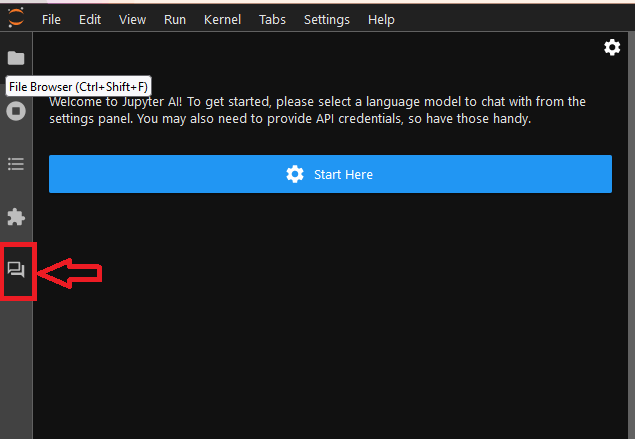
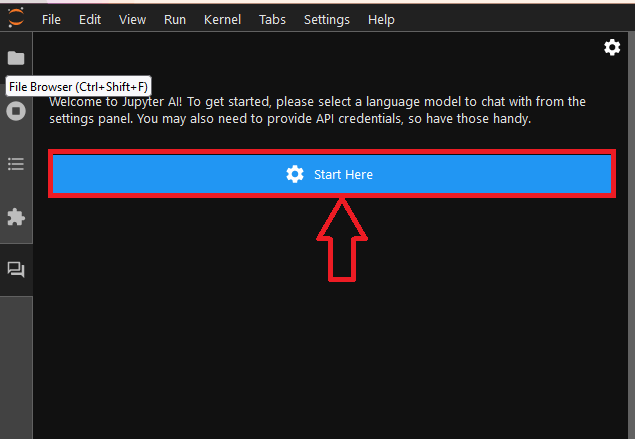
  • Preinstalled JuputerAI plugin allows you to access Chat UI in the JupyterLab. This can be used for AI-conversation with lots of LLMs via APIs. It has support for chatgpt and lots of other LLMs. Configure it using your LLM provider and start using for your projects.

/img/gcp/jupyter-python-notebook/chatui.png

/img/gcp/jupyter-python-notebook/start-here.png

/img/gcp/jupyter-python-notebook/configure-chat-ui.png

To run your Crews using GUI please visit CrewAI Studio Quickstart

To know more about accessing JupyterHub please refer to our JupyterHub Guide page

To learn more about CrewAI, please refer to CrewAI Official Documentation page.

Go back