This section describes how to launch and connect to ‘Comfy UI: Stable Diffusion AI Image Generation Made Simple’ in a Google Compute environment using the available Cloud Launcher offering.
Open Comfy UI: Stable Diffusion AI Image Generation Made Simple listing on GCP Marketplace
Click Launch.

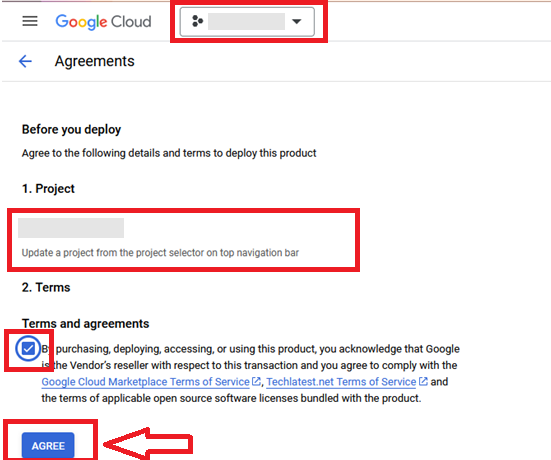
It will take you to the agreement page. On this page, you can change the project from the project selector on top navigator bar as shown in the below screenshot.
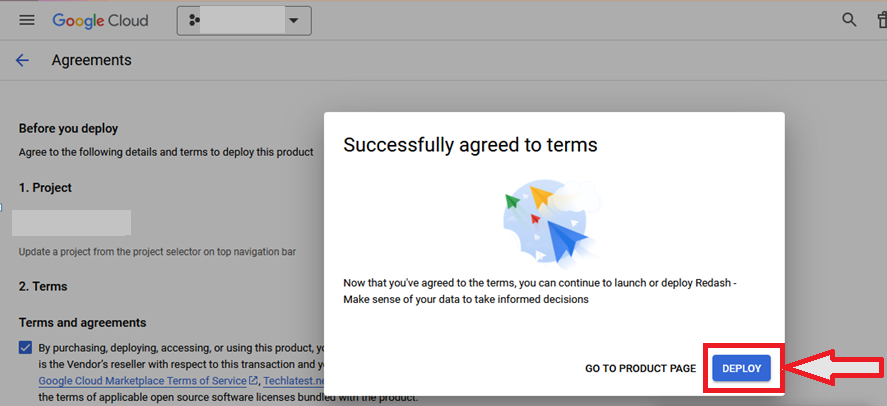
Accept the Terms and agreements by ticking the checkbox and clicking on the AGREE button.
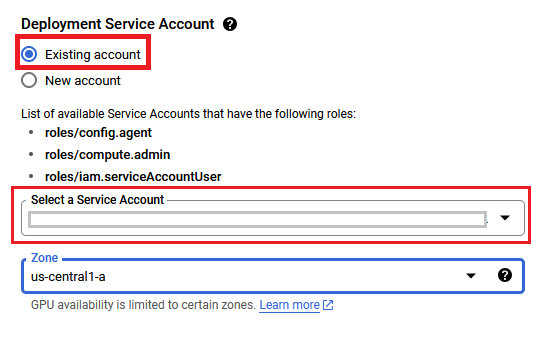
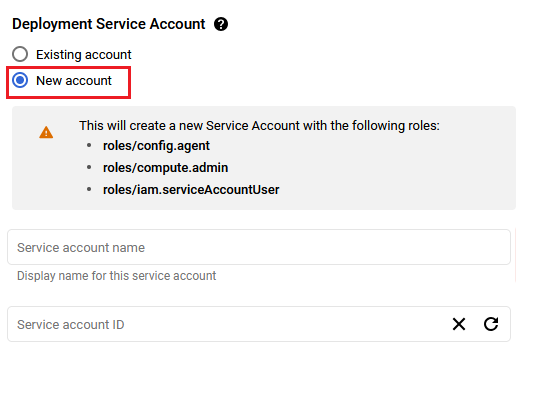
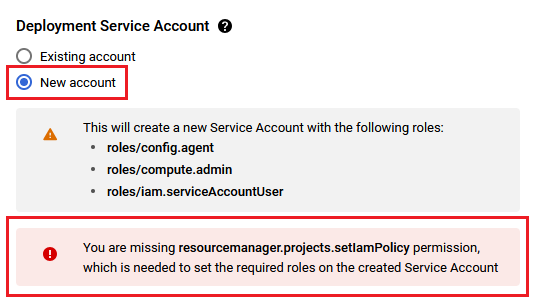
You are missing resourcemanager.projects.setIamPolicy permission, which is needed to set the required roles on the created Service Account
Select a zone where you want to launch the VM. (such as us-east1-)
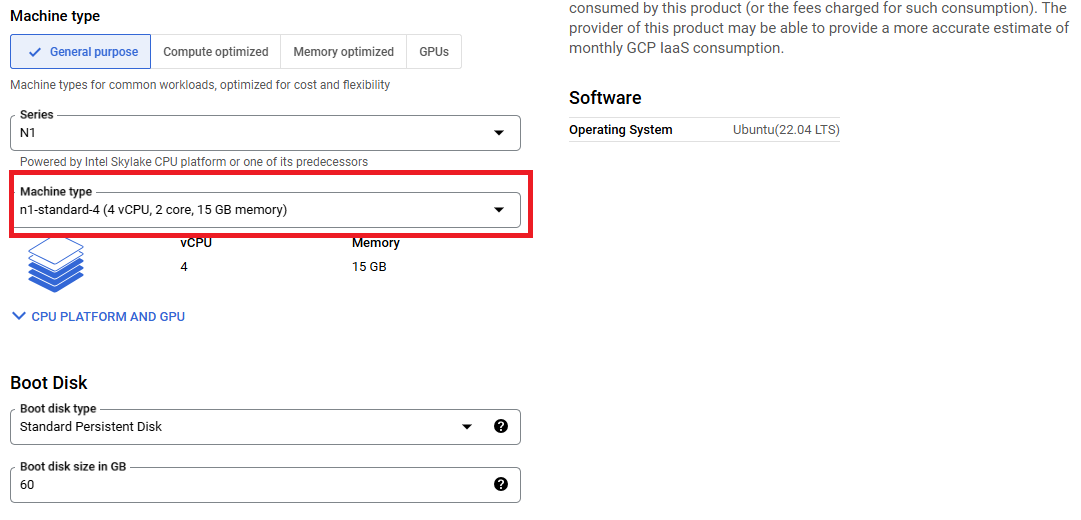
Optionally change the number of cores and amount of memory. ( This defaults to 4 vCPUs and 15 GB RAM)
For optimal performance, Stable Diffusion requires significant processing power, which is best achieved with a GPU instance. However, if the cost of a GPU instance is prohibitive, a CPU instance with higher processing capacity may be used as an alternative.
Below are the recommended VM configuration:
For CPU, its the minimum spec but more cpu is preferred.
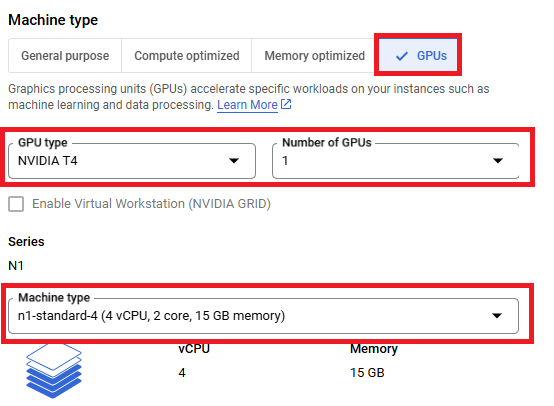
NOTE: While deploying the instance on GPU, if you encounter the quota exhaust error or you are unable to deploy the instance on GPU VM then please refer to our Request Quota on Google Cloud Platform
Optionally change the boot disk type and size. (This defaults to ‘Standard Persistent Disk’ and 60 GB respectively)
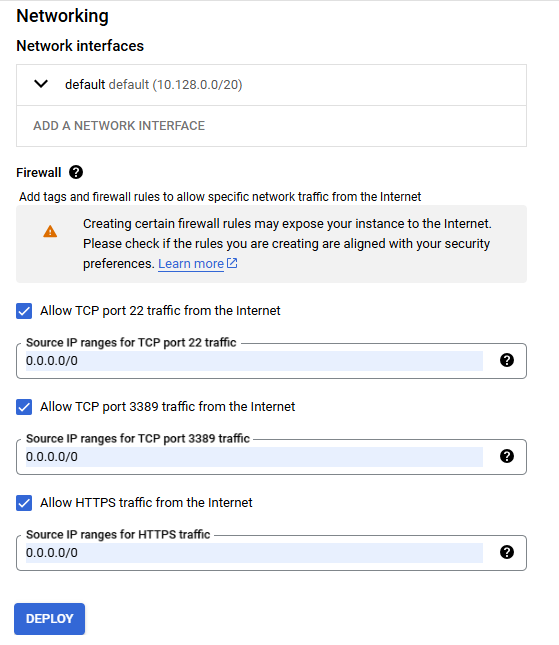
Select the default Networking configuration. Default Networking configuration comes with the ports 22 (for ssh), 3389 (for RDP) and 443 (for HTTPS) exposed.
Click Deploy when you are done.
Comfy UI: Stable Diffusion AI Image Generation Made Simple will begin deploying.
A summary page displays when the compute engine is successfully deployed. Click on the Instance link. It will open an overview page of virtual machine. .
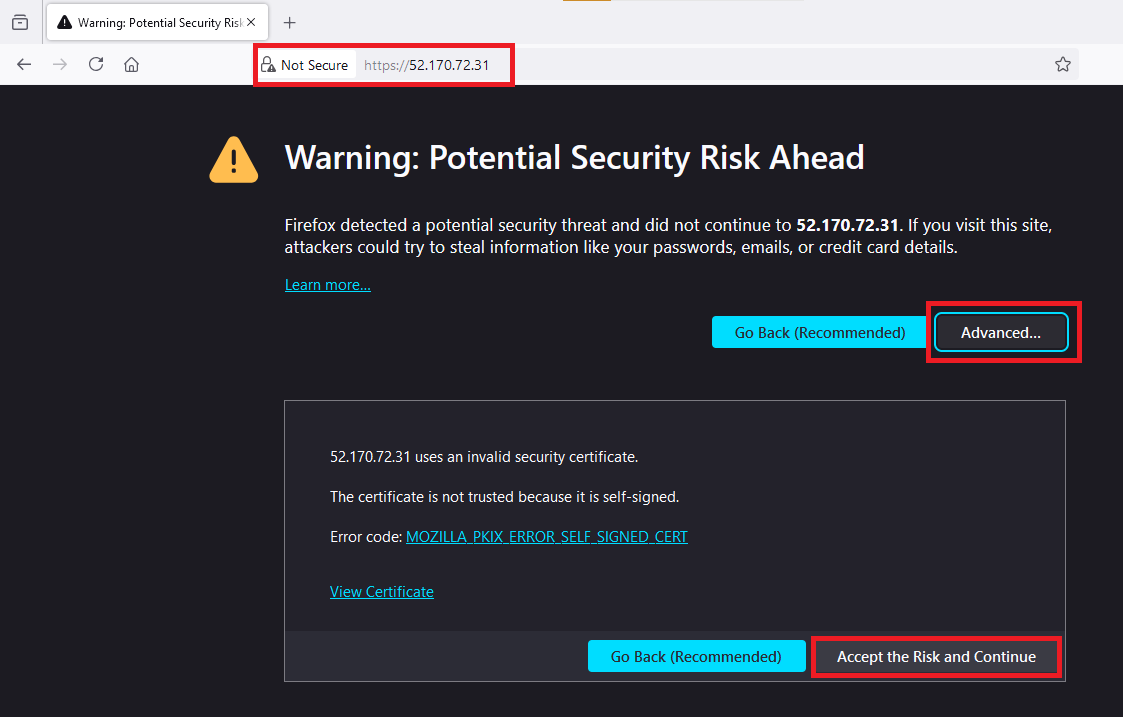
To access the ComfyUI web interface, copy the public ip of the vm from VM’s details page and paste it in the browser using https://VM_Public_IP. Make sure to use https and not http.

Browser will display a SSL certificate warning message. Accept the certificate warning and Continue.
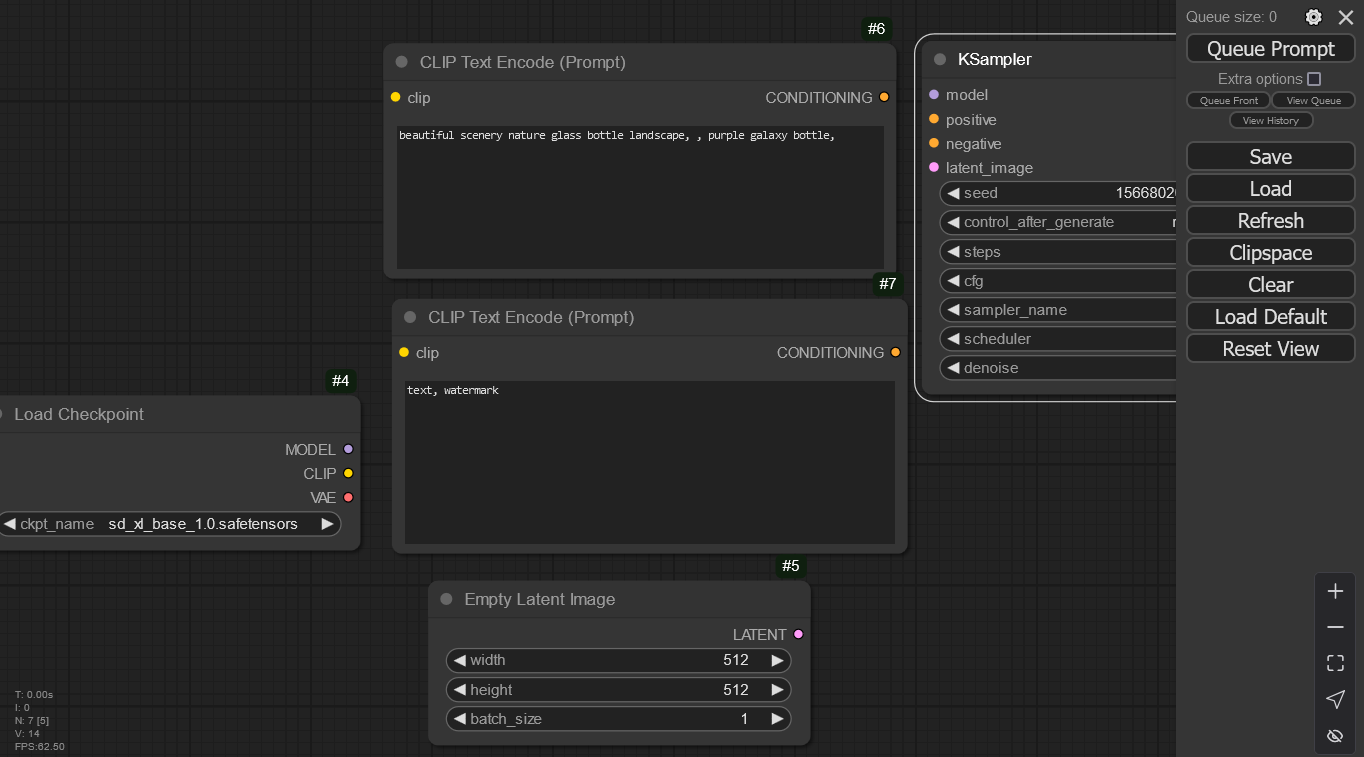
By default, the ComfyUI’s default workflow will be automatically loaded after the start, as shown in the figure below.
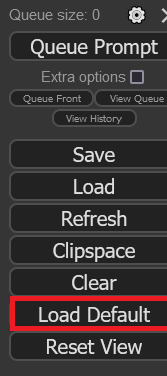
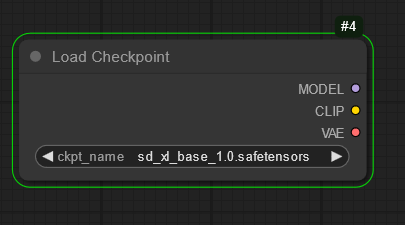
If the interface is blank or the default workflow is not loaded, please click on the Load default / Load default in the right corner menu to load the default workflow.
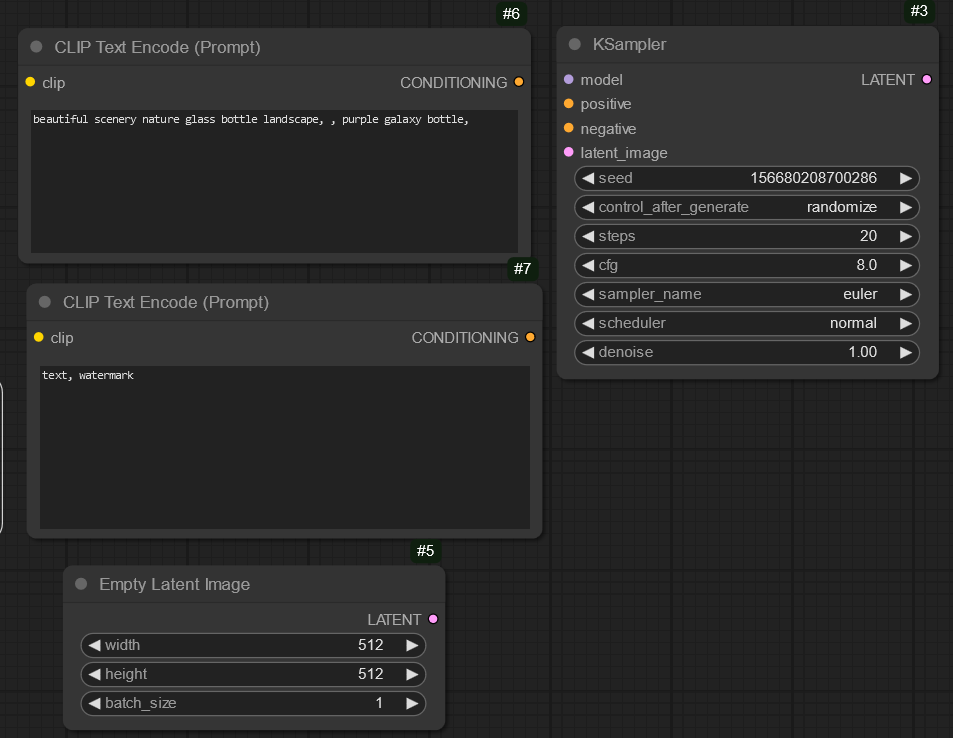
Note: GPU instances generate images 10 times faster or more compared to CPU instances. Therefore, if you’re using a CPU instance, expect the process to take 10-15 minutes longer to complete.
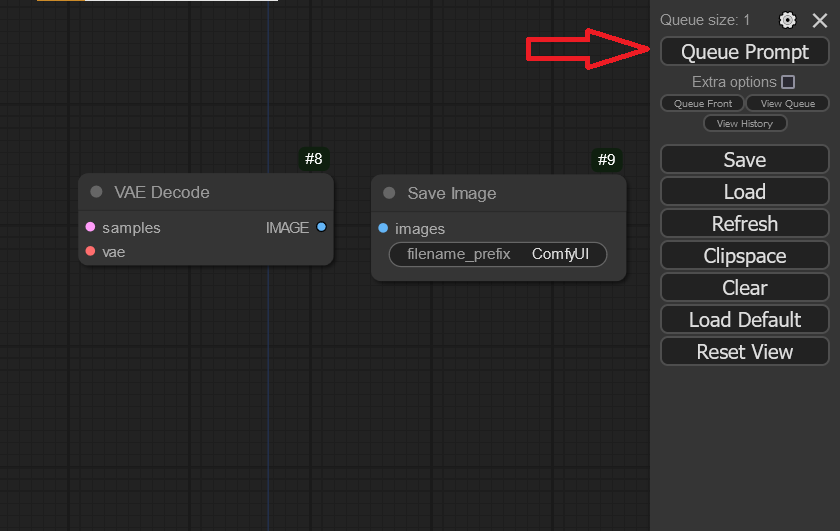
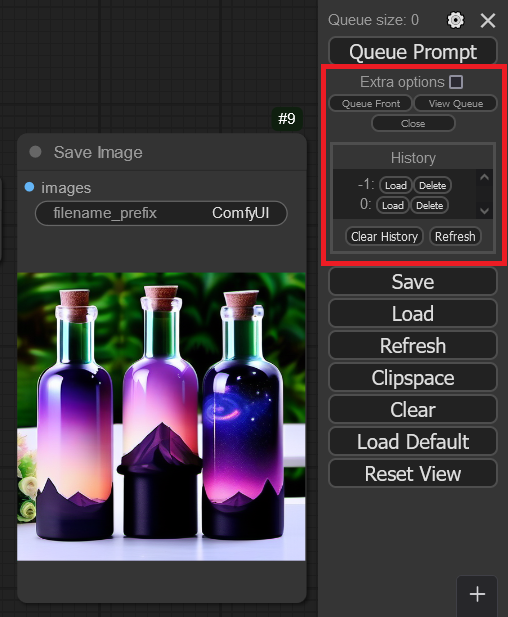
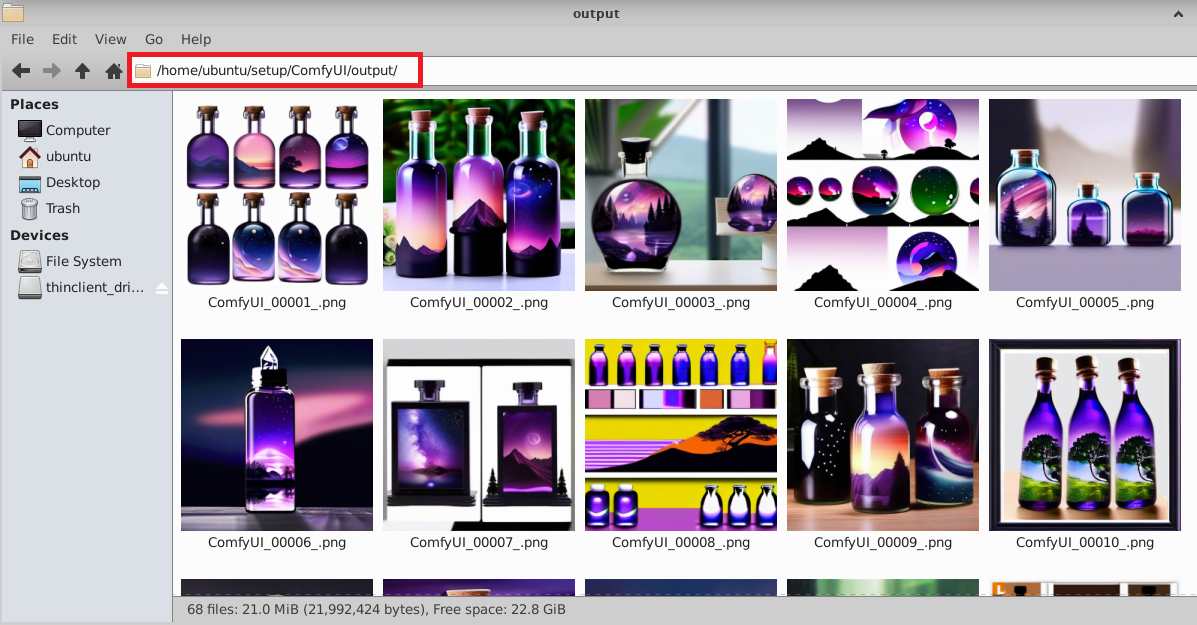
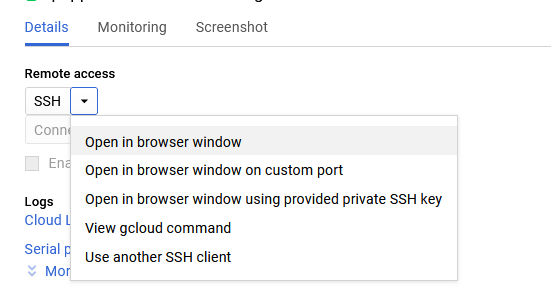
This will open SSH window in a browser.
Run below command to set the password for “ubuntu” user
sudo passwd ubuntu

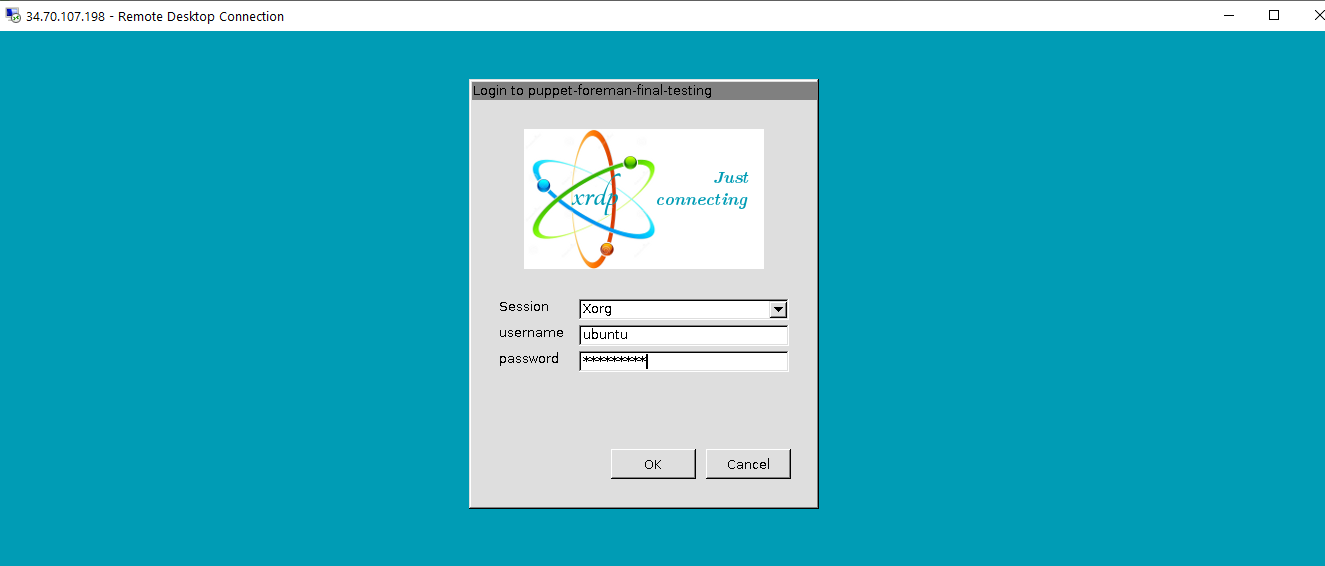
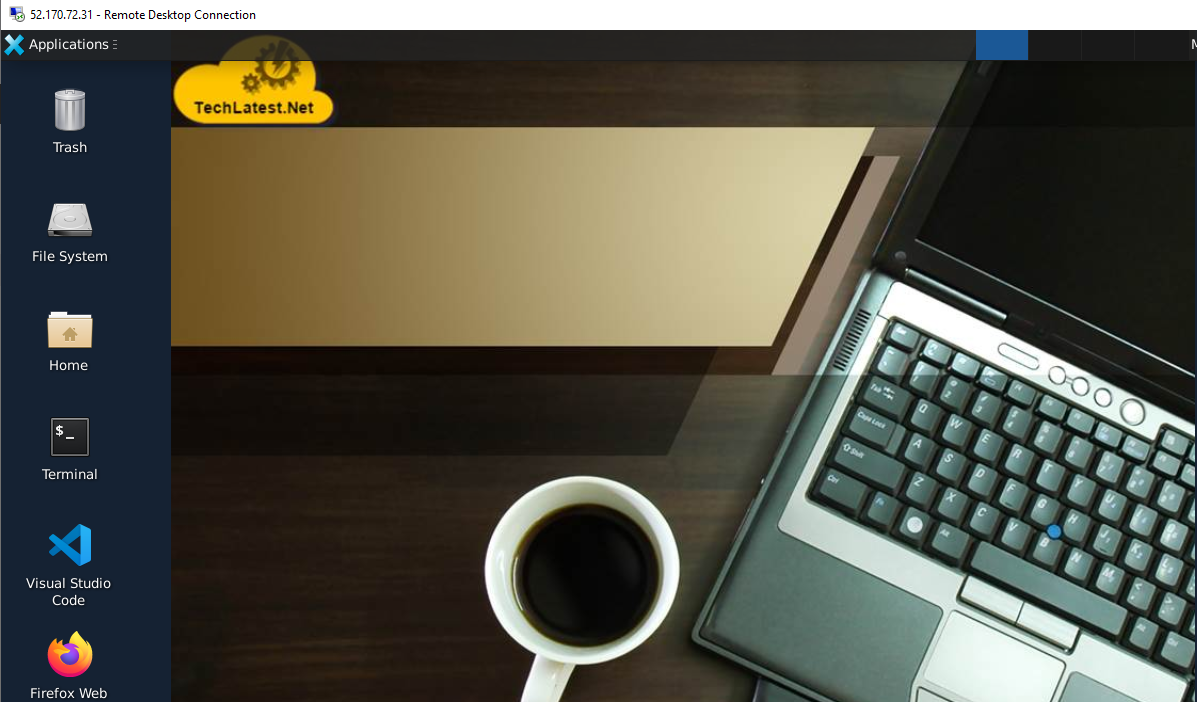
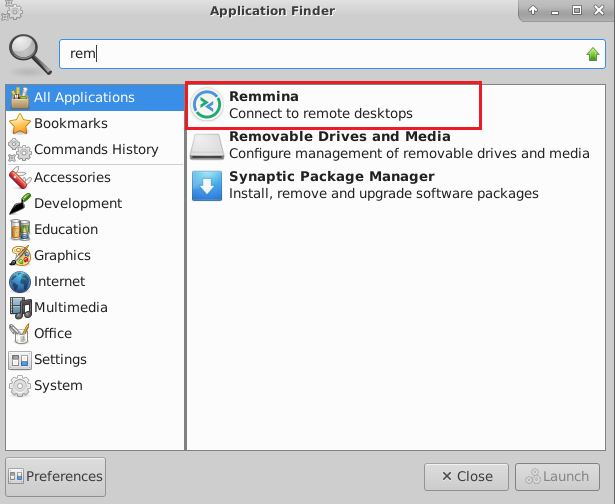
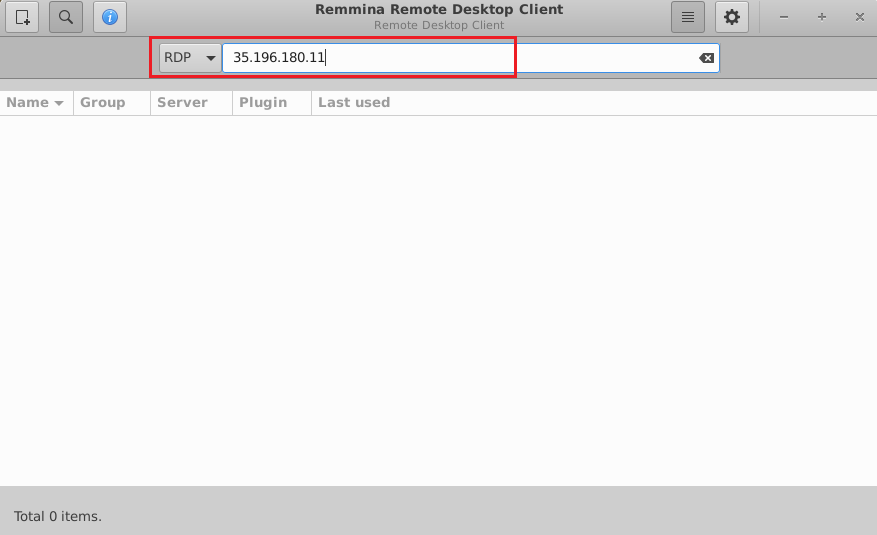
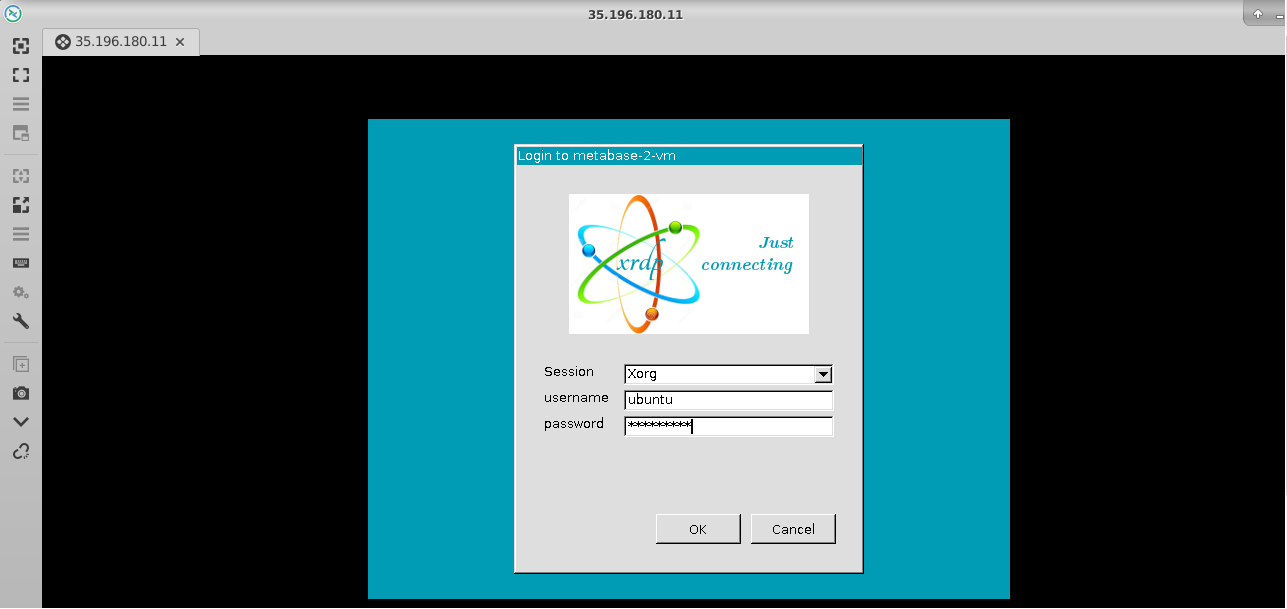
Now the password for ubuntu user is set, you can connect to the VM’s desktop environment from any local windows machine using RDP or linux machine using Remmina.
To connect using RDP via Windows machine, first note the external IP of the VM from VM details page
In the “Remote Desktop connection” wizard, paste the external ip and click connect

Note: If you don’t have Remmina installed on your Linux machine, firstInstall Remmina as per your linux distribution.


Please refer to How to download and use custom models page for more details on using additional models with this VM.
For more information, please visit ComfyUI Official Documentation