Note: We provide free demo access for the “DeepSeek & Llama-powered All-in-One LLM Suite.” To request a free demo, please reach out to us at marketing@techlatest.net with the subject “Free Demo Access Request - [Your Company Name]”
This section describes how to provision and connect to ‘DeepSeek & Llama powered All-in-One LLM Suite’ VM solution on GCP.
Open DeepSeek & Llama powered All-in-One LLM Suite listing on GCP Marketplace.
Click Get Started.

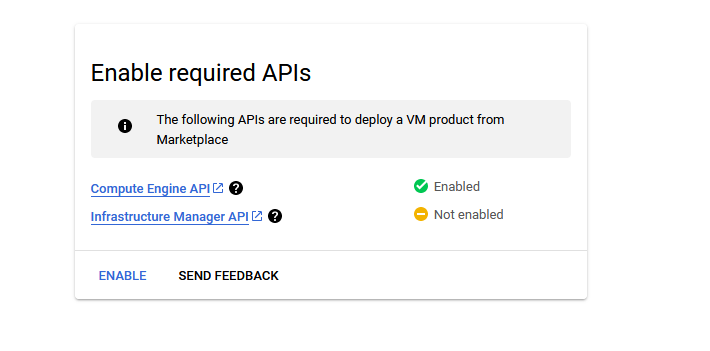
It will ask you to enable the API’s if they are not enabled already for your account. Please click on enable as shown in the screenshot.
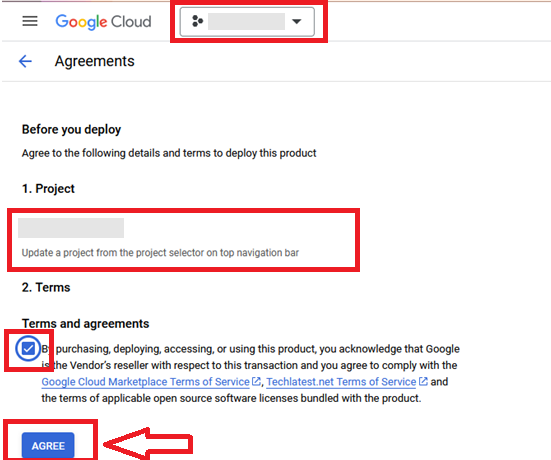
It will take you to the agreement page. On this page, you can change the project from the project selector on top navigator bar as shown in the below screenshot.
Accept the Terms and agreements by ticking the checkbox and clicking on the AGREE button.
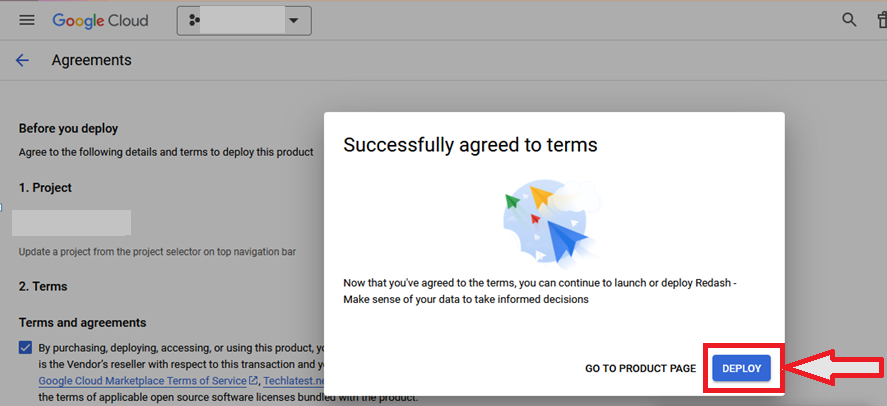
It will show you the successfully agreed popup page. Click on Deploy.
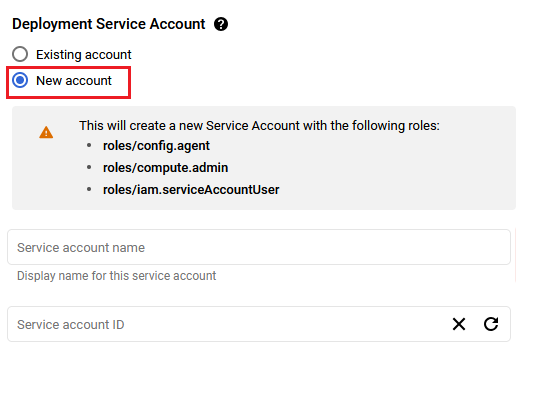
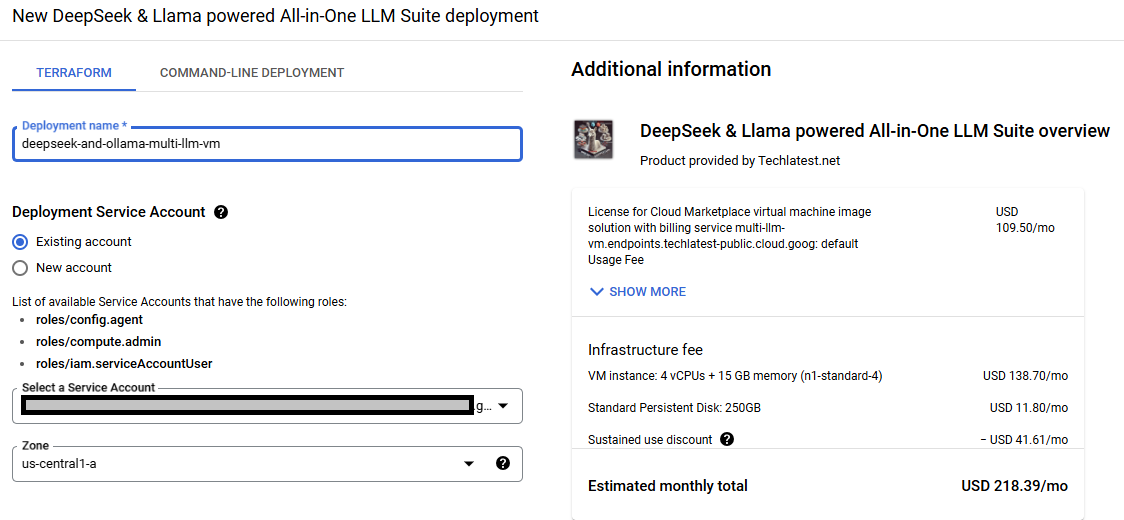
On deployment page, give a name to your deployment.
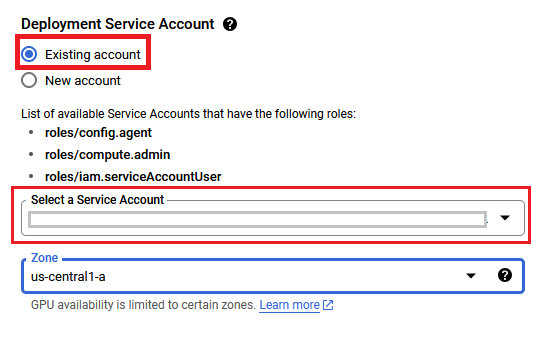
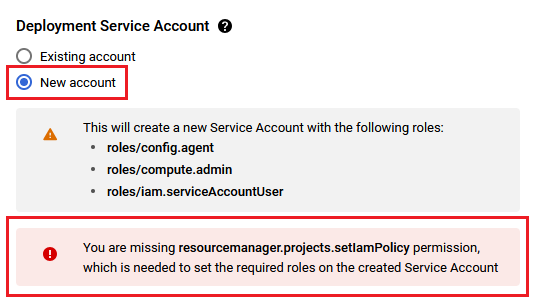
You are missing resourcemanager.projects.setIamPolicy permission, which is needed to set the required roles on the created Service Account
Select a zone where you want to launch the VM(such as us-east1-a)
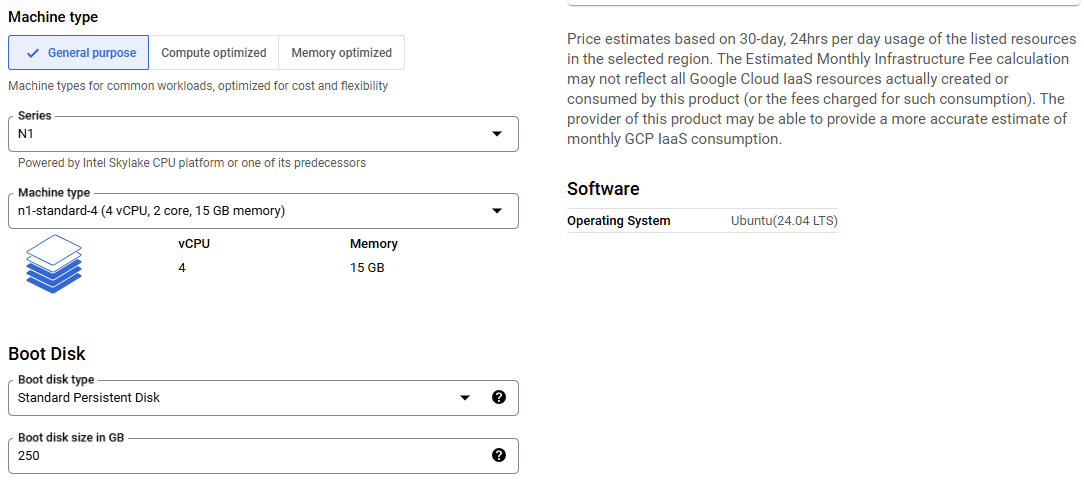
Optionally change the number of cores and amount of memory. ( This defaults to 4 vCPUs and 15 GB RAM) Minimum VM Specs : 8gbvRAM /2vCPU , However for swift performance go with 4vCPUs/16GB RAM or higher configuration
Optionally change the boot disk type and size. (This defaults to ‘Standard Persistent Disk’ and 250 GB respectively)
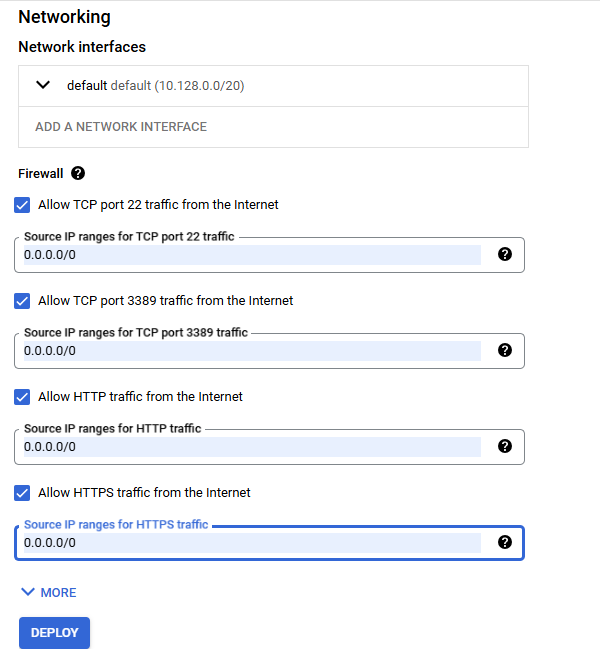
Optionally change the network name and subnetwork names. Be sure that whichever network you specify has ports 22 (for ssh), 3389 (for RDP) , 80 (for HTTP) and 443 (for HTTPS) exposed.
Click Deploy when you are done.
DeepSeek & Llama powered All-in-One LLM Suite will begin deploying.
A summary page displays when the compute engine is successfully deployed. Click on the Instance link to go to the instance page .
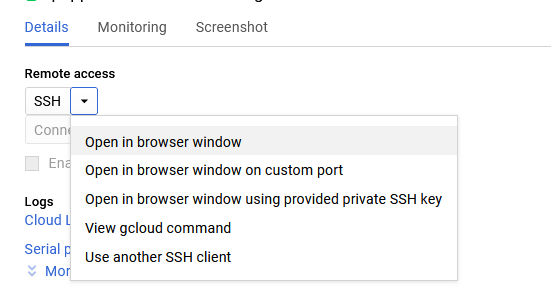
On the instance page, click on the “SSH” button, select “Open in browser window”.
sudo su ubuntu
cd /home/ubuntu/

sudo passwd ubuntu

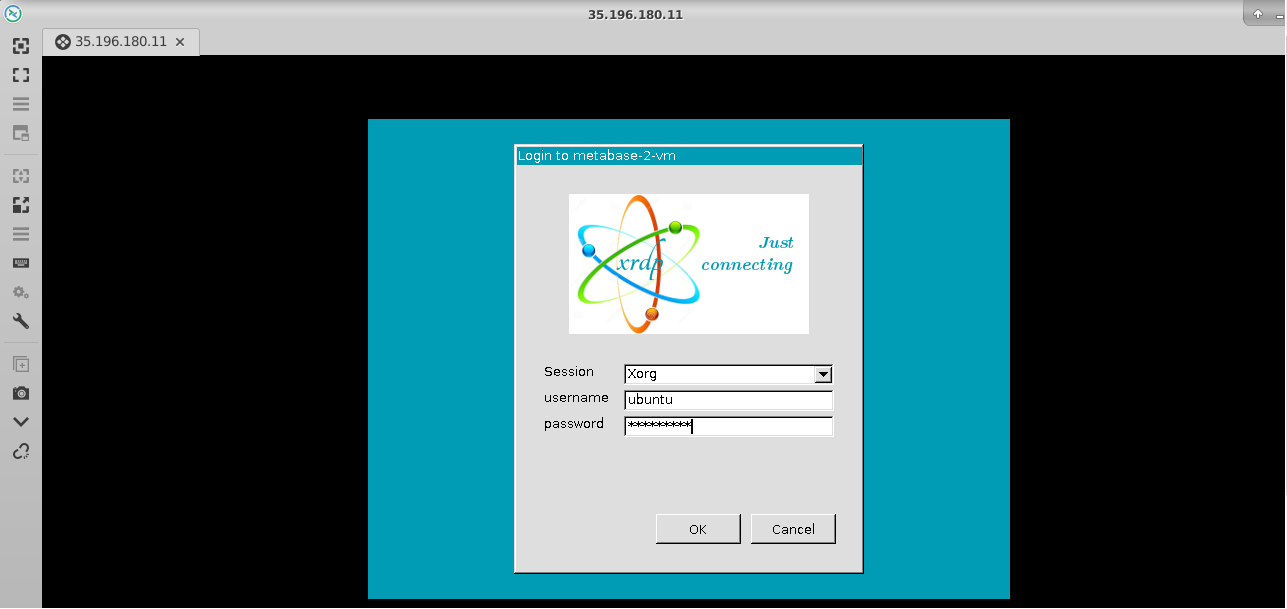
Now the password for ubuntu user is set, you can connect to the VM’s desktop environment from any local windows machine using RDP or linux machine using Remmina.
To connect using RDP via Windows machine, first note the external IP of the VM from VM details page as highlighted below

Then From your local windows machine, goto “start” menu, in the search box type and select “Remote desktop connection”
In the “Remote Desktop connection” wizard, paste the external ip and click connect

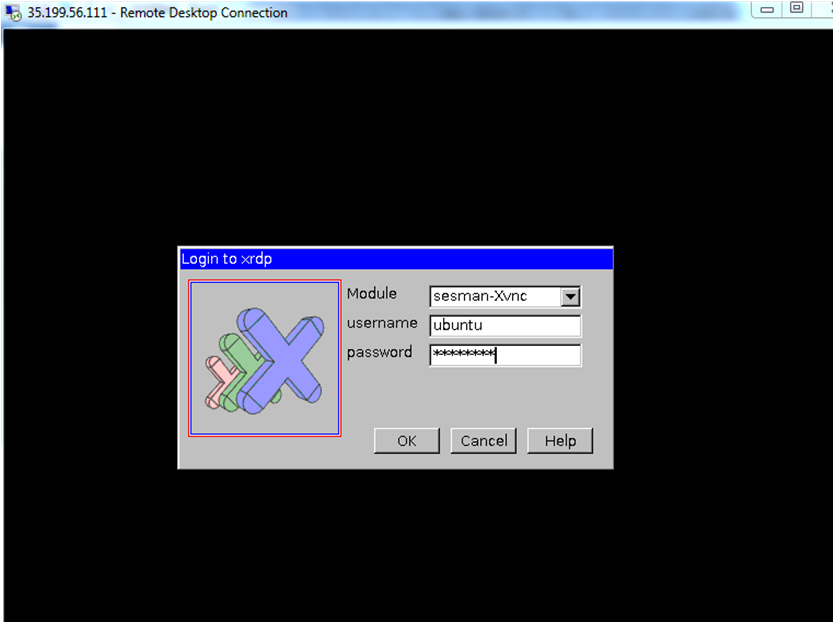
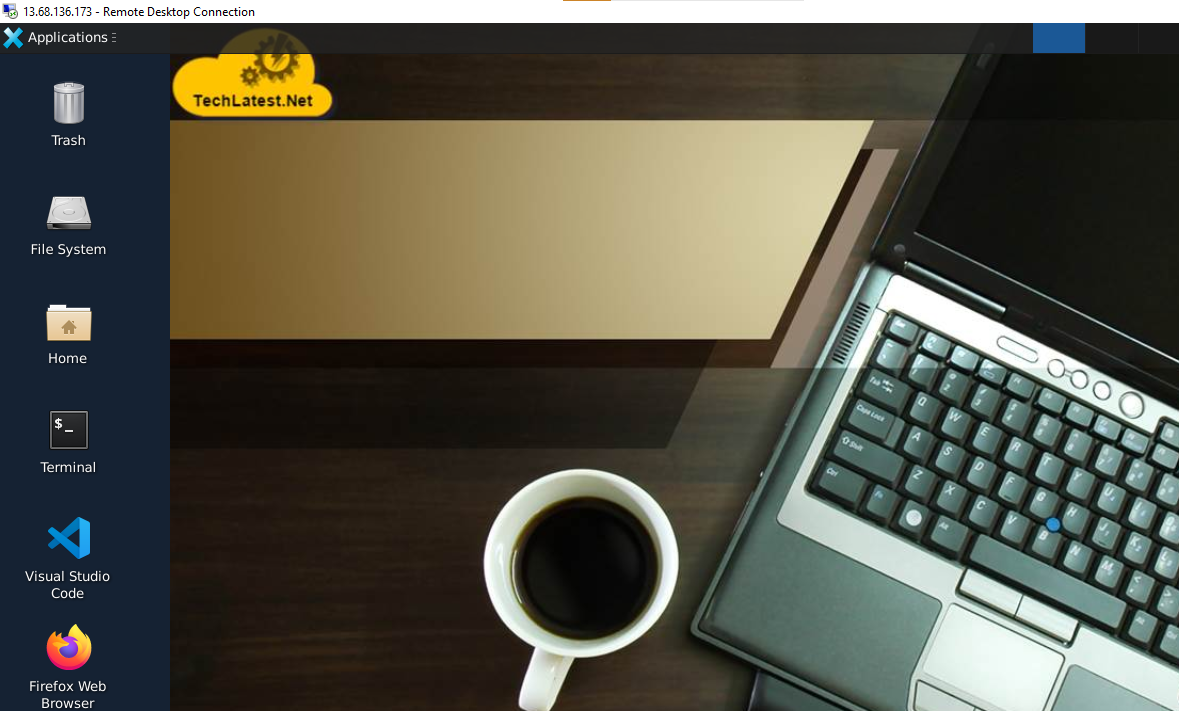
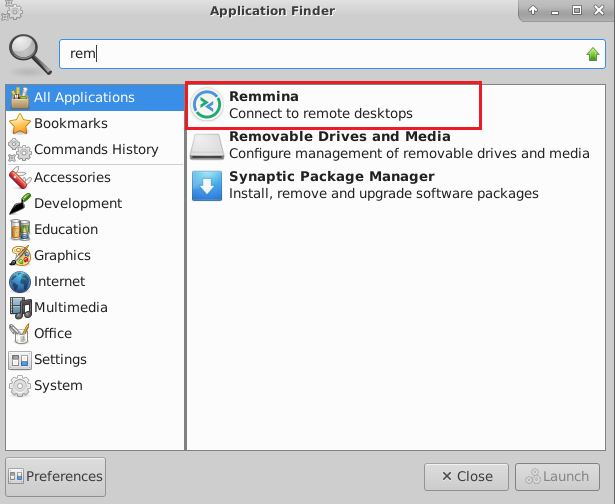
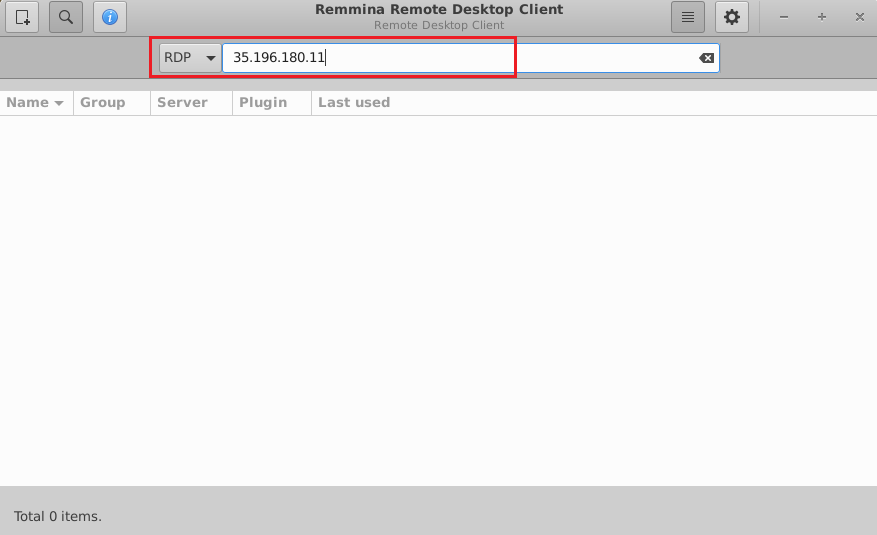
To connect using RDP via Linux machine, first note the external IP of the VM from VM details page,then from your local Linux machine, goto menu, in the search box type and select “Remmina”.
Note: If you don’t have Remmina installed on your Linux machine, first Install Remmina as per your linux distribution.

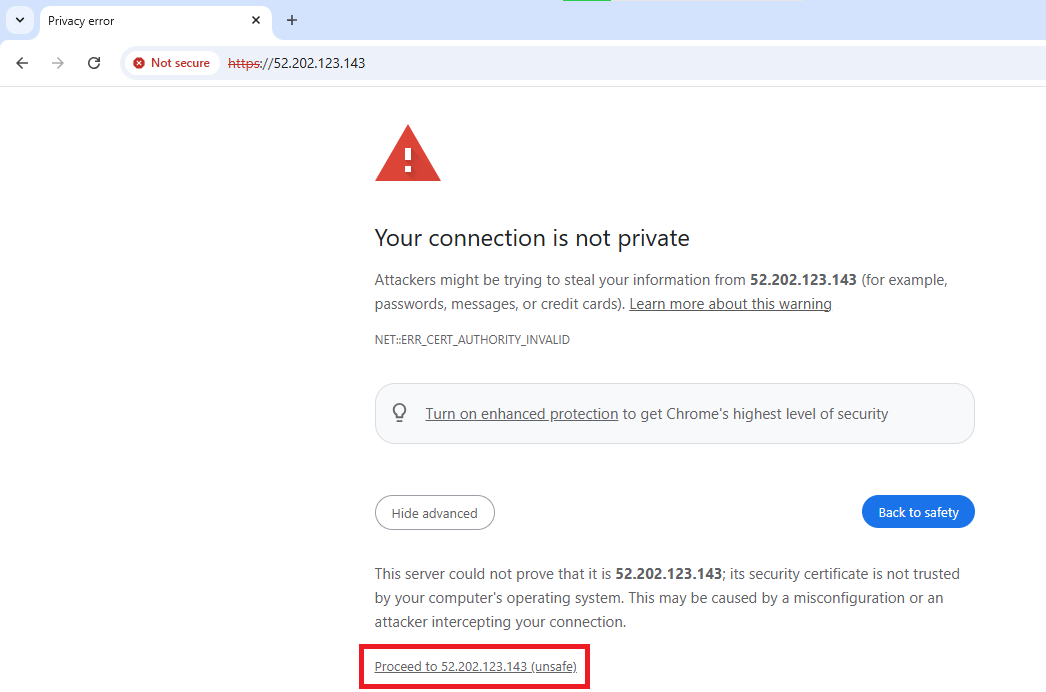
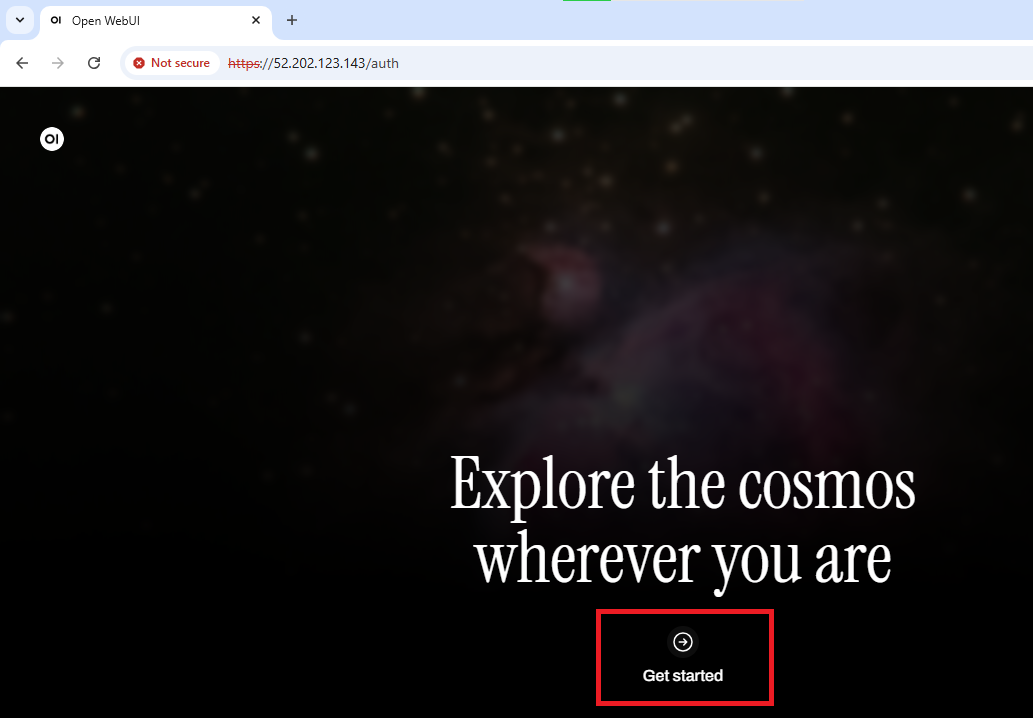
Browser will display a SSL certificate warning message. Accept the certificate warning and Continue.
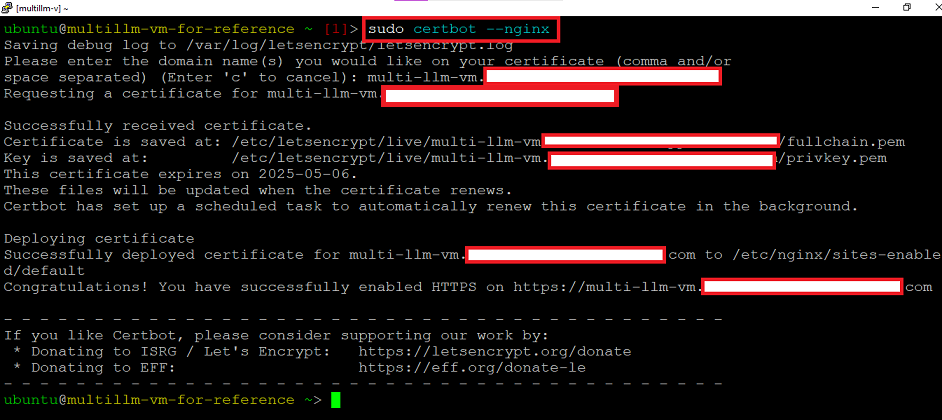
sudo certbot --nginx
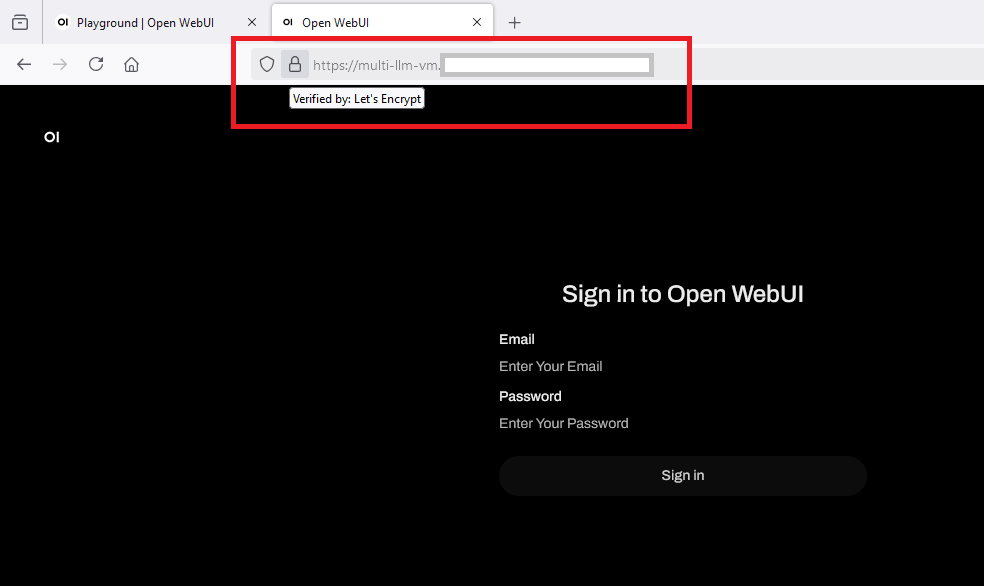
This command will prompt you for valid DNS Name, provide the DNS Name associated with this instance.
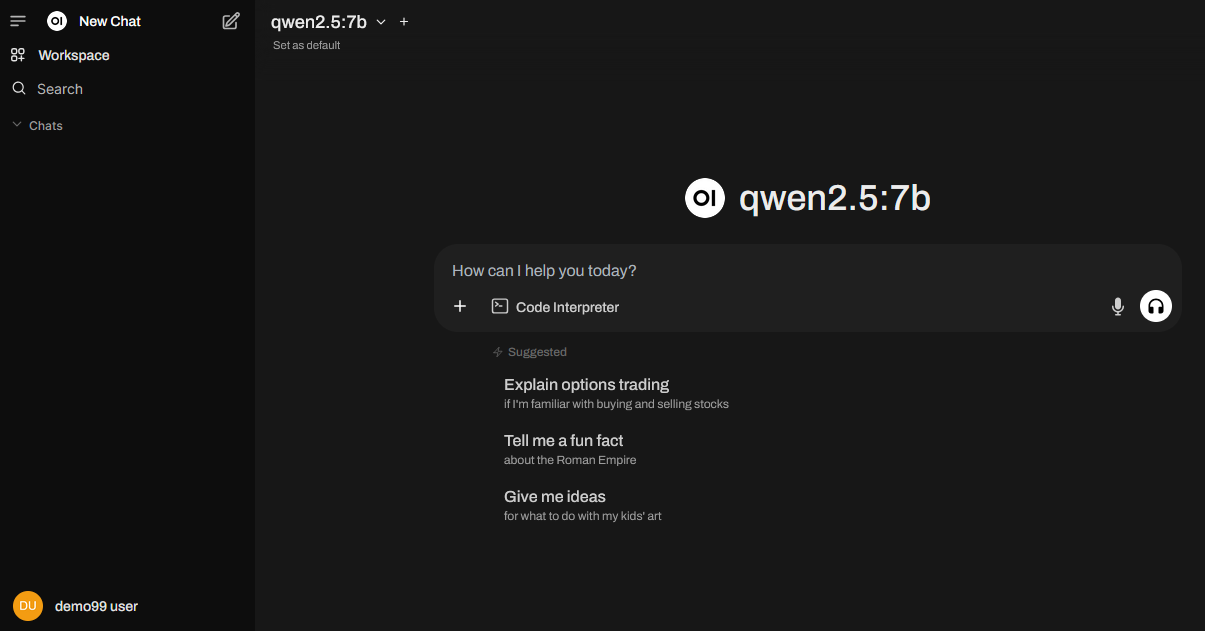
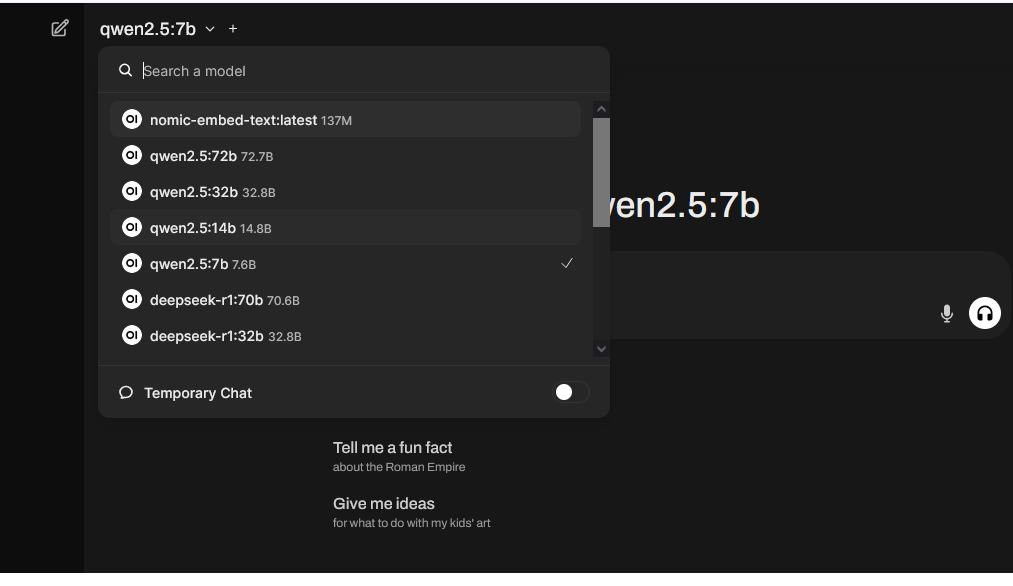
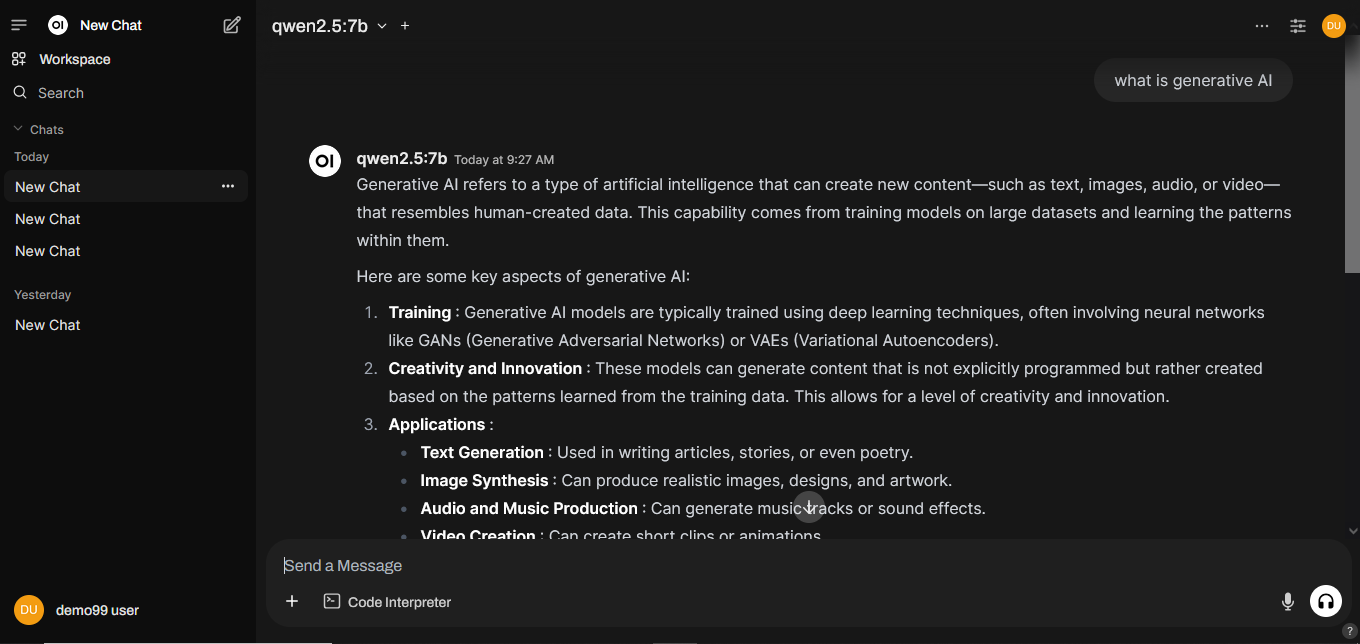
ollama list
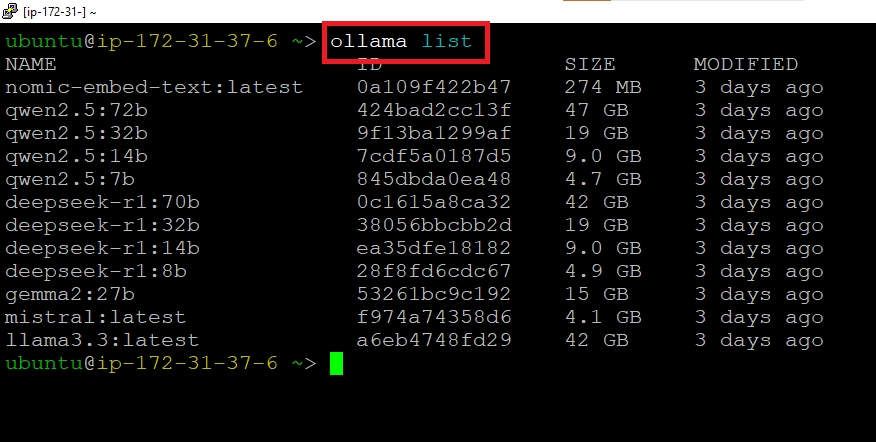
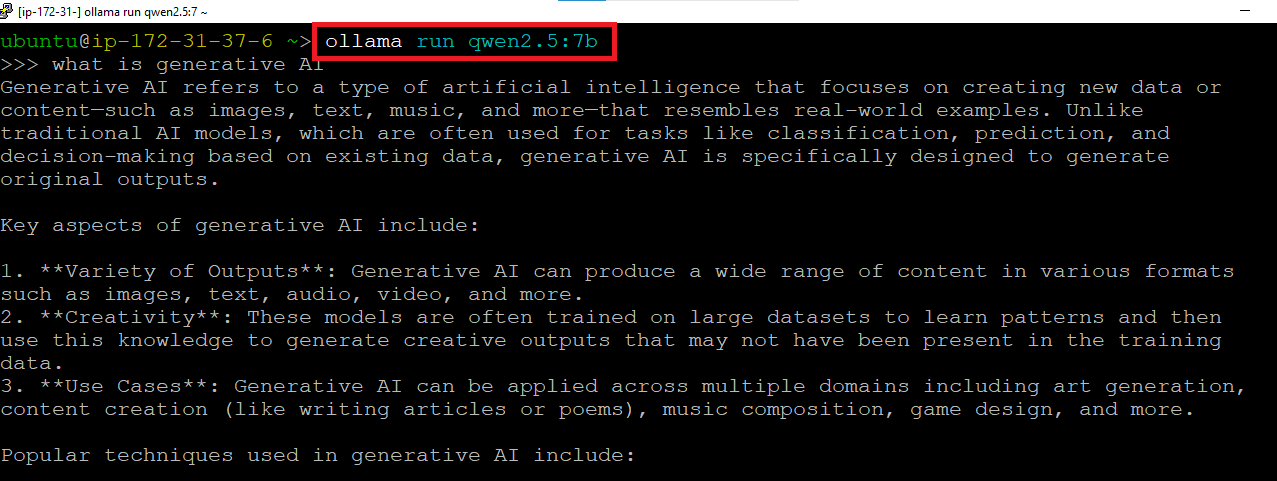
Replace modelname with actual name of the model, e.g qwen2.5:7b
ollama run modelname
ollama pull modelname

Once your model is pulled successfully , you can start using it.
For more details, please visit Official Documentation page
For video tutorials on this solution, please visit Free course on ‘DeepSeek & Llama powered All-in-One LLM Suite’