
This section describes how to launch and connect to Bitcoin Fullnode kit in a Google Compute environment.
Note: Bitcoin Full Node upgraded to latest Bitcoin Core V0.28 along with bitcoin-qt, bitcoin-cli and bitcoin-wallet on Ubuntu 24.04. The VM also provide you the latest Ordinal installed which is a numbering scheme for satoshis that allows tracking and transferring individual sats. For more details please visit- Ordinals Documentation
Open Bitcoin FullNode listing on GCP Marketplace.
Click on Get Started button.

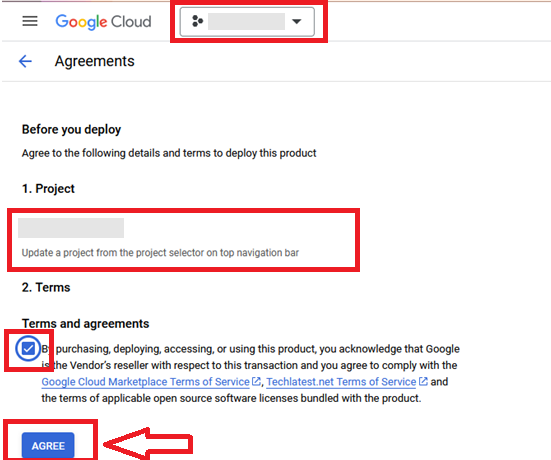
It will take you to the agreement page. On this page, you can change the project from the project selector on top navigator bar as shown in the below screenshot.
Accept the Terms and agreements by ticking the checkbox and clicking on the AGREE button.
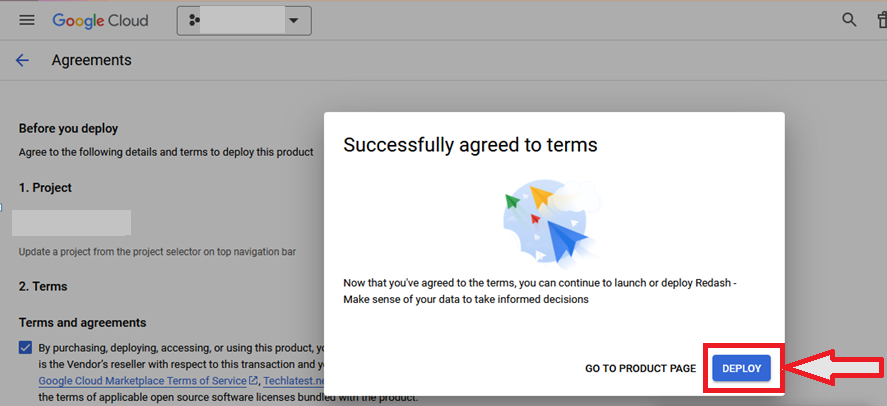
It will show you the successfully agreed popup page. Click on Deploy.
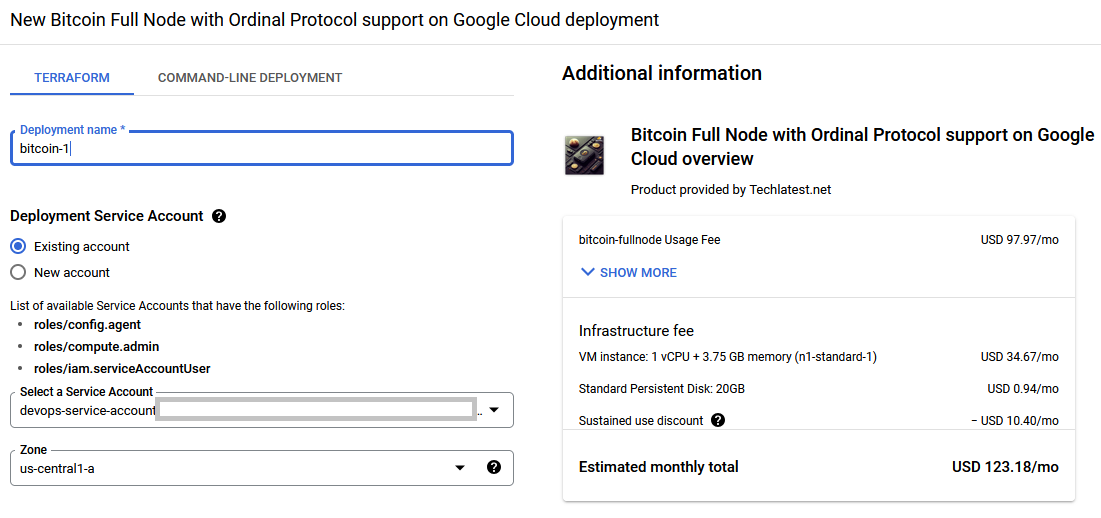
On deployment page, give a name to your deployment.
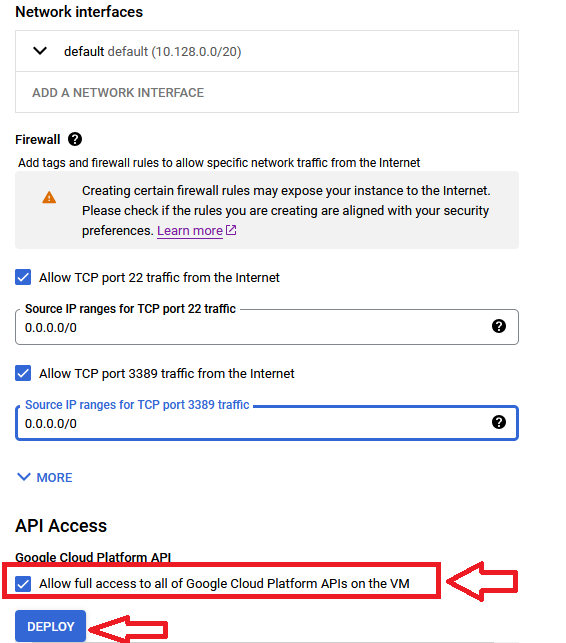
Optionally change the network name and subnetwork names. Be sure that whichever network you specify has ports 22 (for ssh) and 3389 (for RDP) exposed.
Make sure to enable Google API access by checking the “Allow full access to all of Google Cloud Platforms APIs on the VM” checkbox to work the VM properly as shown in below screenshot.
A summary page displays when the compute engine is successfully deployed. Click on the Instance link to to go to the instance page .
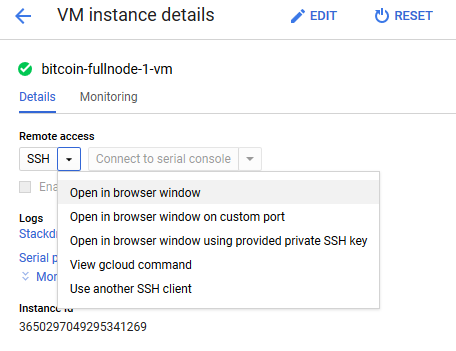
On the instance page, click on the “SSH” button, select “Open in browser window”.
sudo passwd ubuntu

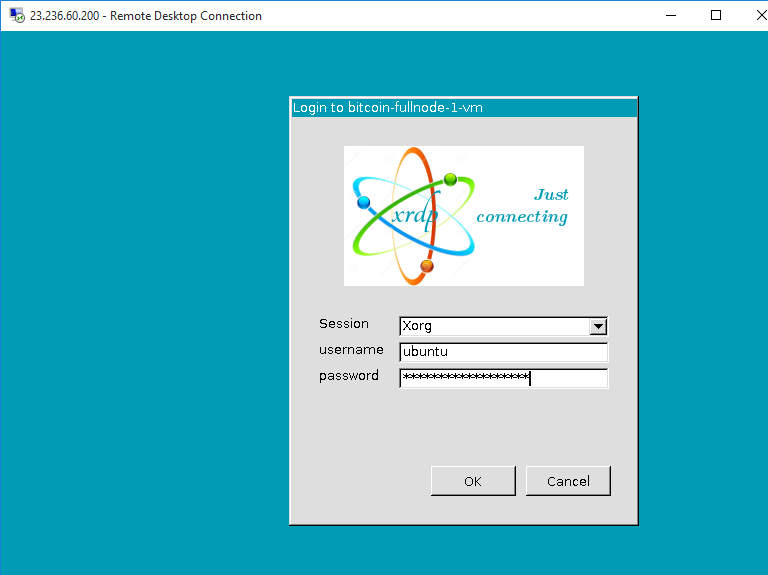
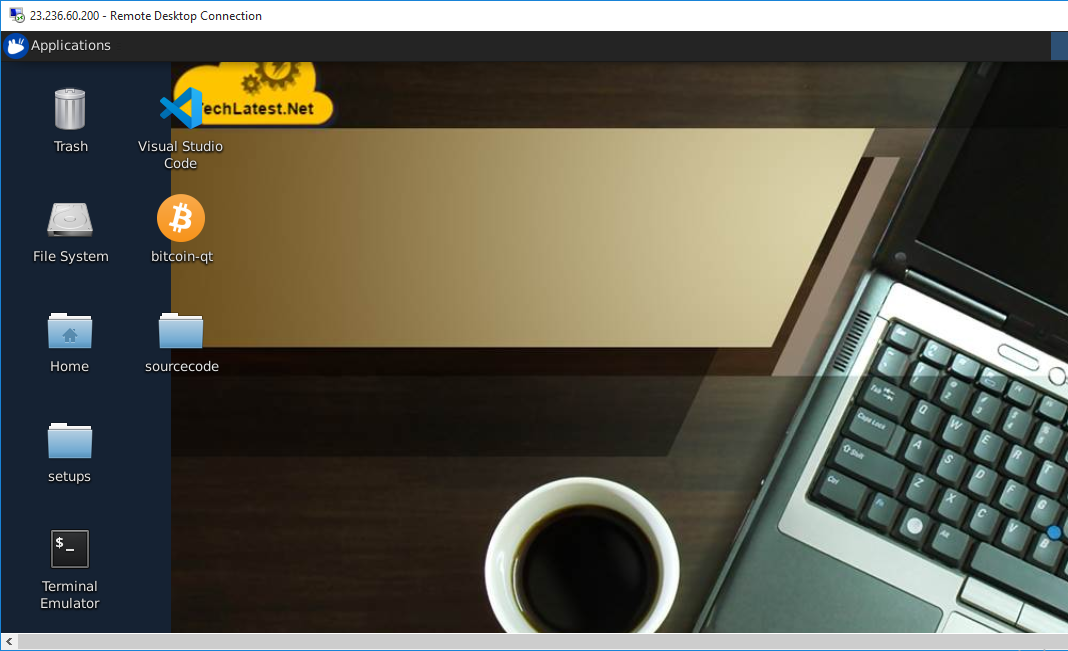
Now the password for ubuntu user is set, you can connect to the VM’s desktop environment from any local windows machine using RDP protocol or linux machine using Remmina.
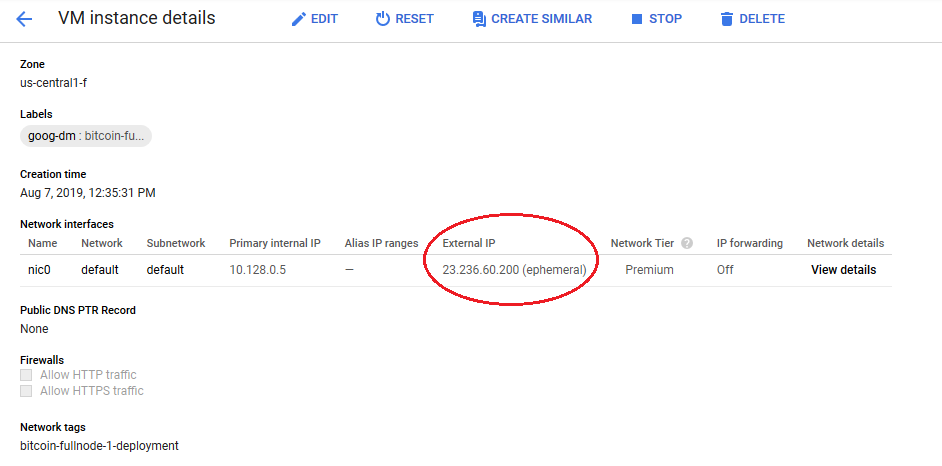
To connect using RDP via Windows Machine, first note the external IP of the VM from VM details page as highlighted below
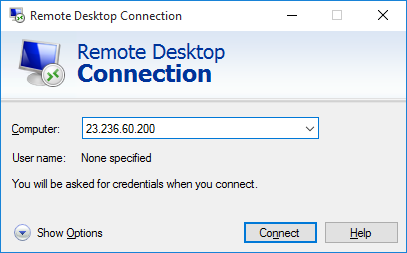
Then From you local windows machine, goto “start” menu, in the search box type and select “Remote desktop connection”
In the “Remote Desktop connection” wizard, copy the external ip and click connect
Note: If you don’t have Remmina installed on your Linux machine, first Install Remmina as per your linux distribution.


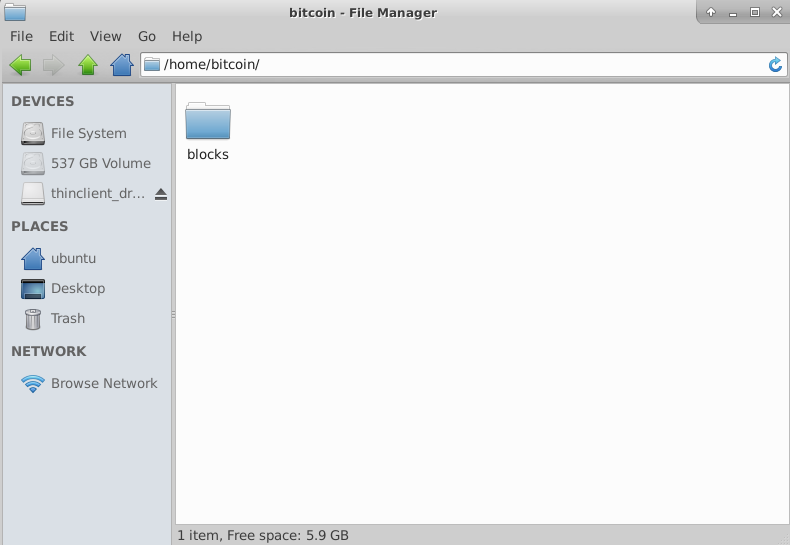
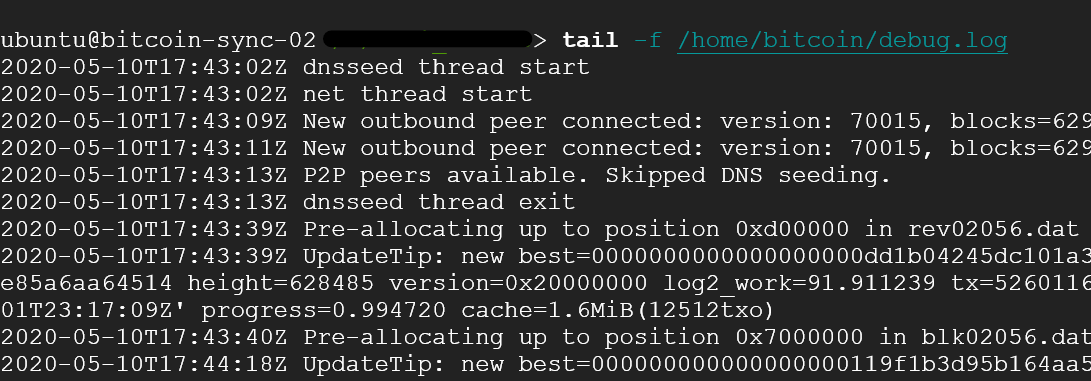
All Bitcoin ledger data is stored under /home/bitcoin directory
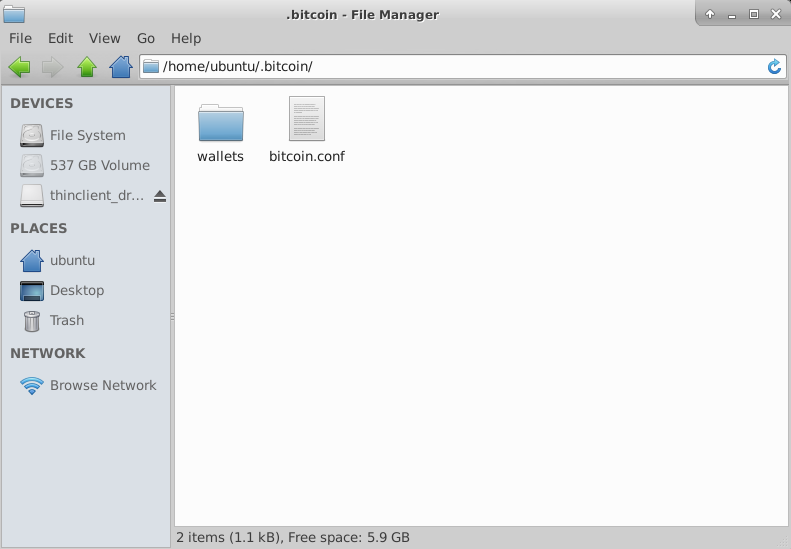
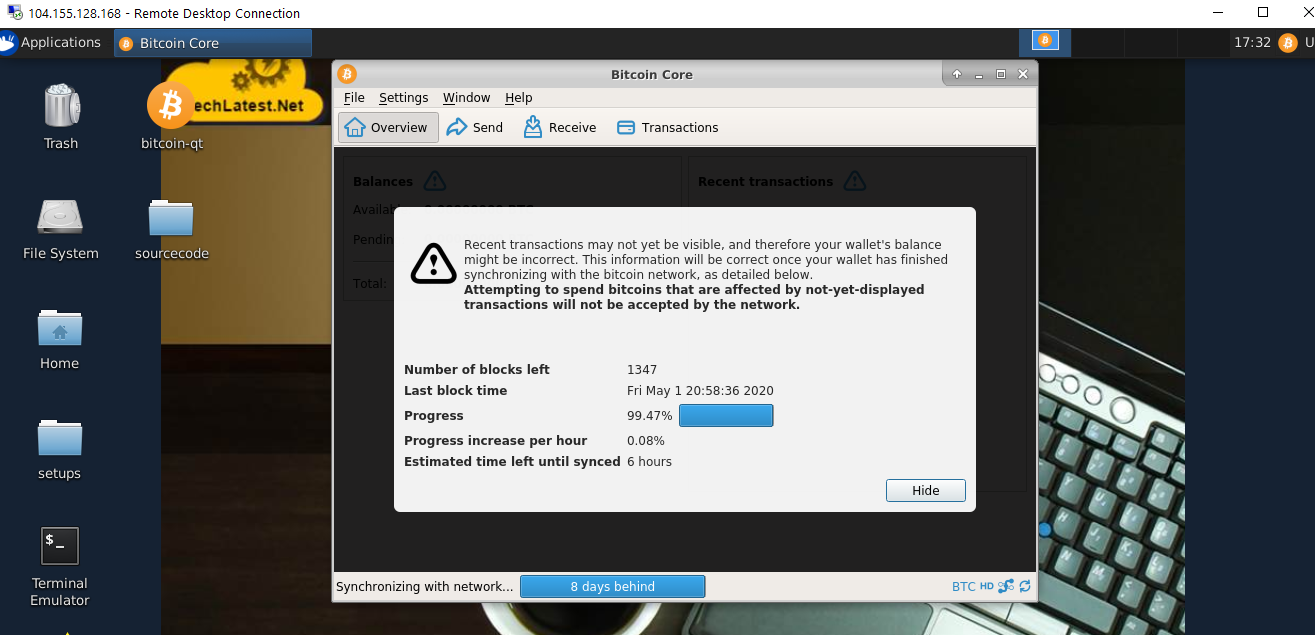
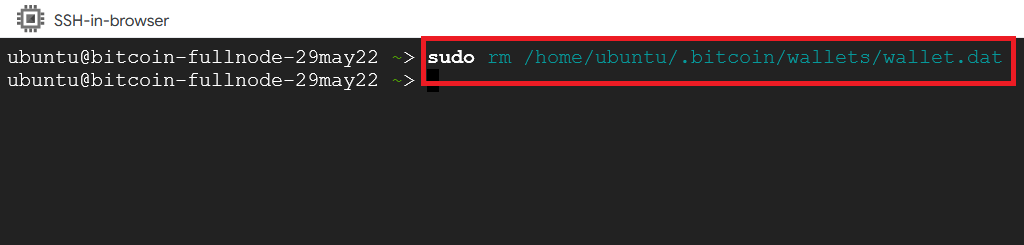
Bitcoin wallet and configuration file (bitcoin.conf) are located under /home/ubuntu/.bitcoin directory
bitcoind
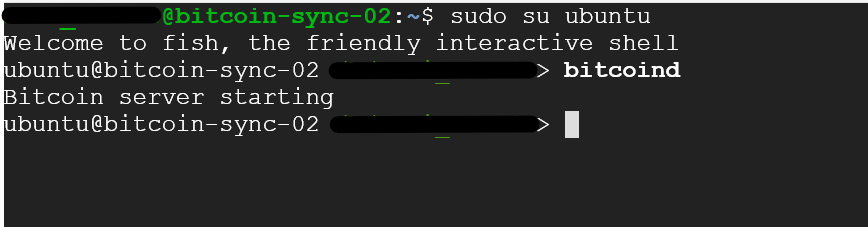
To verify the command execution or to monitor the daemon, you can tail the bitcoin debug log
tail -f /home/bitcoin/debug.log
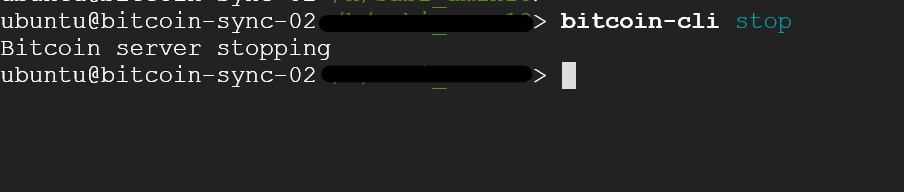
To manually stop bitcoind, run below command.
"bitcoin-cli stop"
sudo rm /home/ubuntu/.bitcoin/wallets/wallet.dat
To upgrade the ordinal to the latest stable version please refer to our Ordinal Upgrade Guide