
This guide covers step by step instructions to get started with RAGFlow.
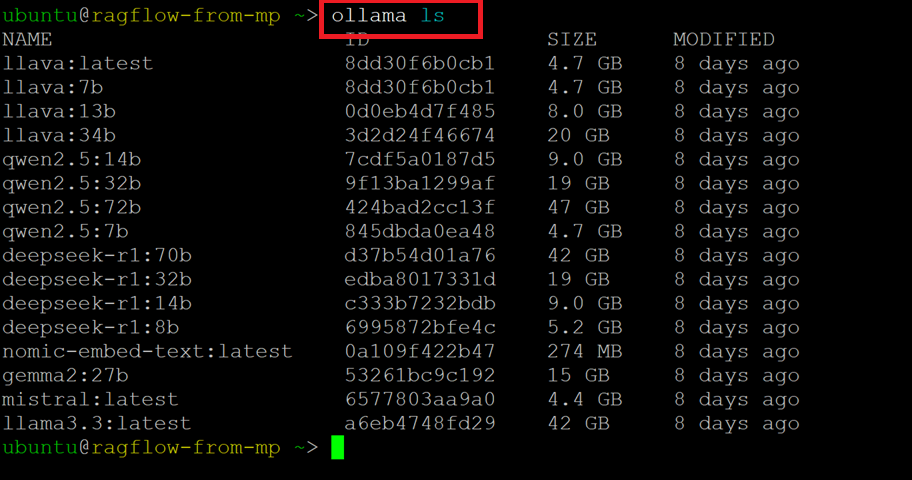
Below is the list of available LLMs on this VM setup.
llava:latest
llava:7b
llava:13b
llava:34b
qwen2.5:14b
qwen2.5:32b
qwen2.5:72b
qwen2.5:7b
deepseek-r1:70b
deepseek-r1:32b
deepseek-r1:14b
deepseek-r1:8b
nomic-embed-text:latest
gemma2:27b
mistral:latest
llama3.3:latest
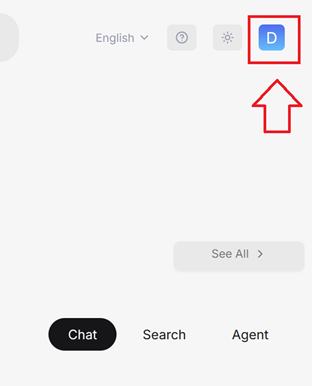
Login to your RAGFlow Web Interface.
Click on your account icon on the top right of the page.
Note: From Ragflow V0.22.0, default BAAI and Youdao Text Embedding models are no longer available.
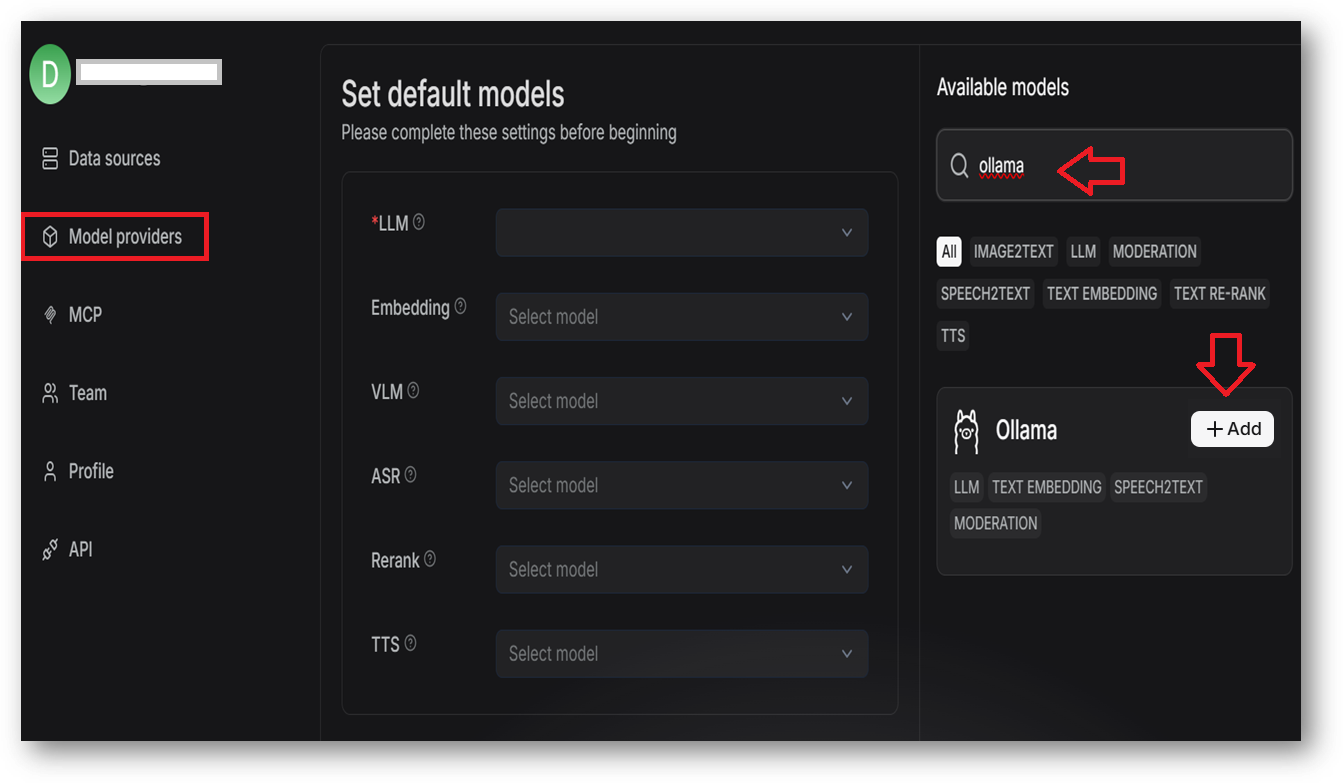
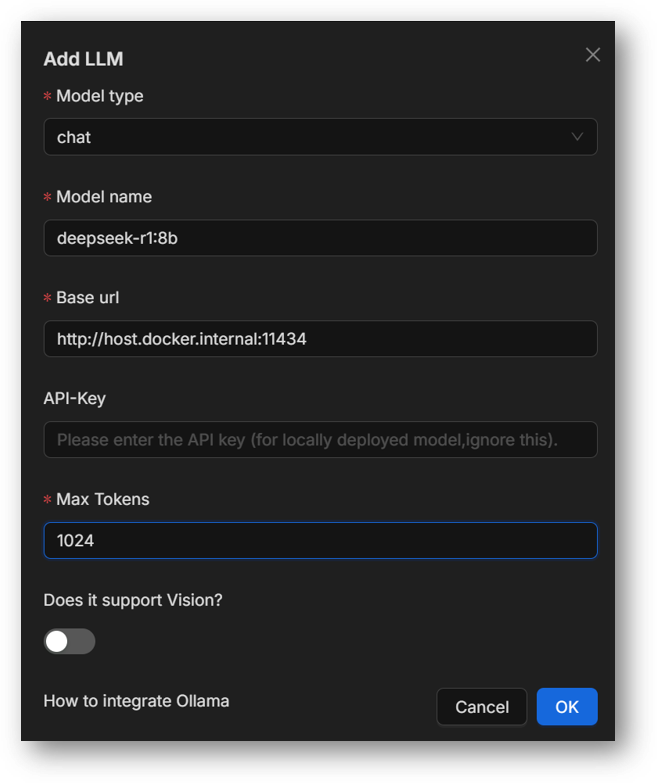
In the popup window, complete basic settings for Ollama:
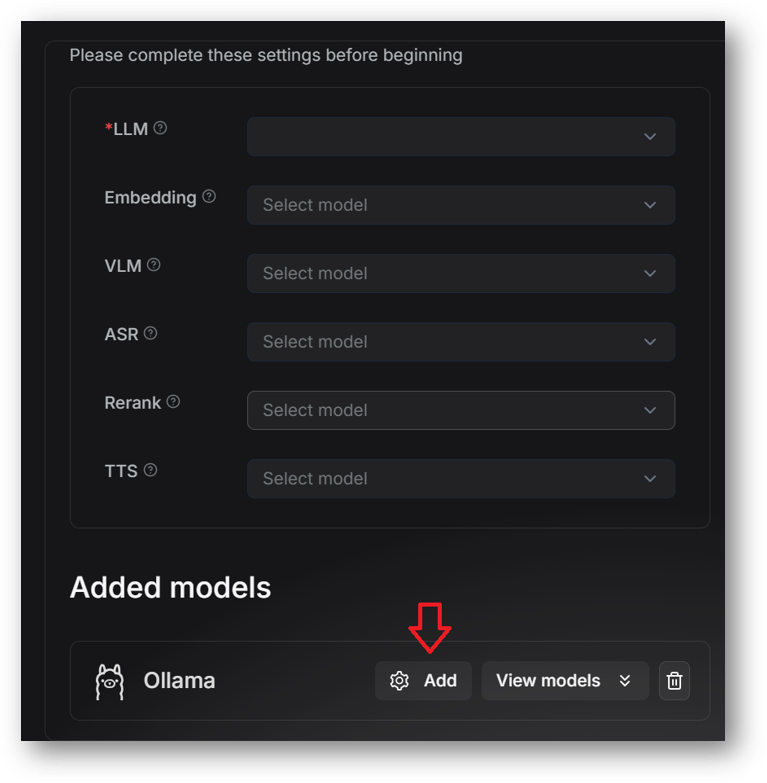
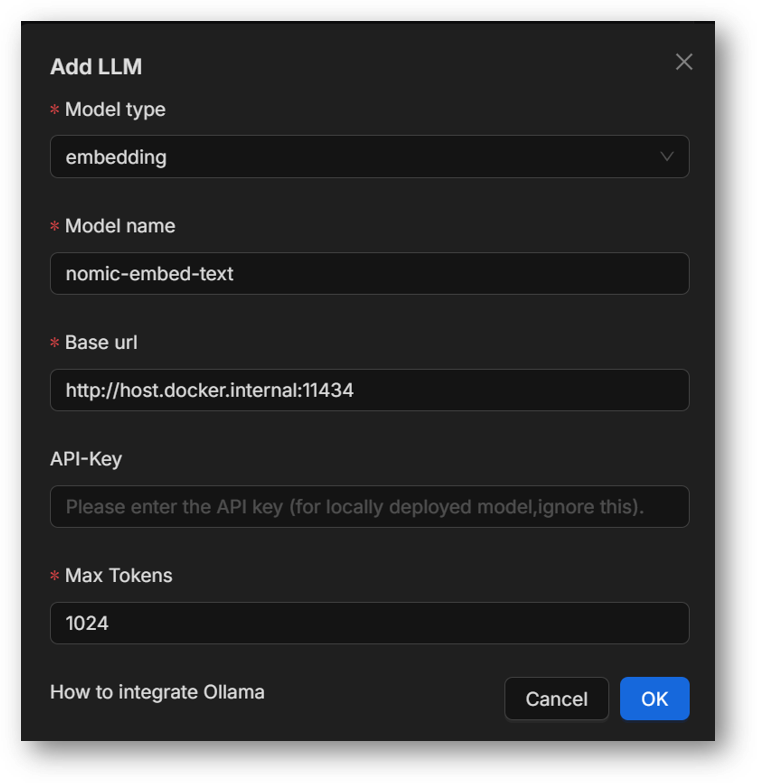
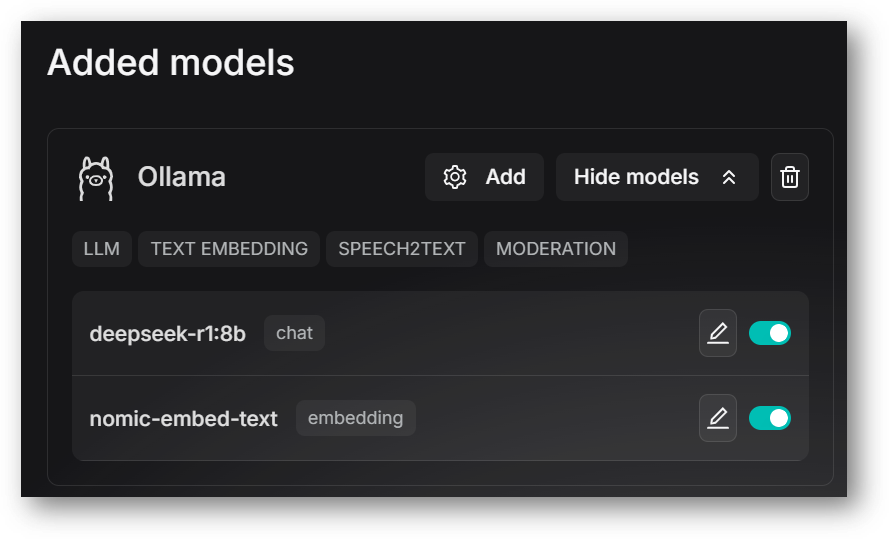
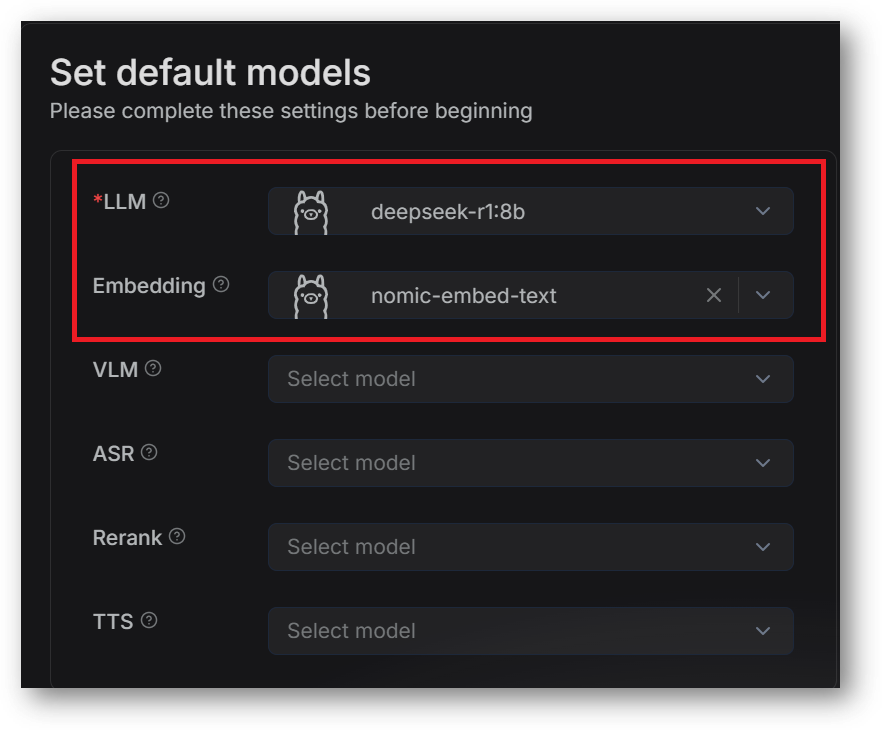
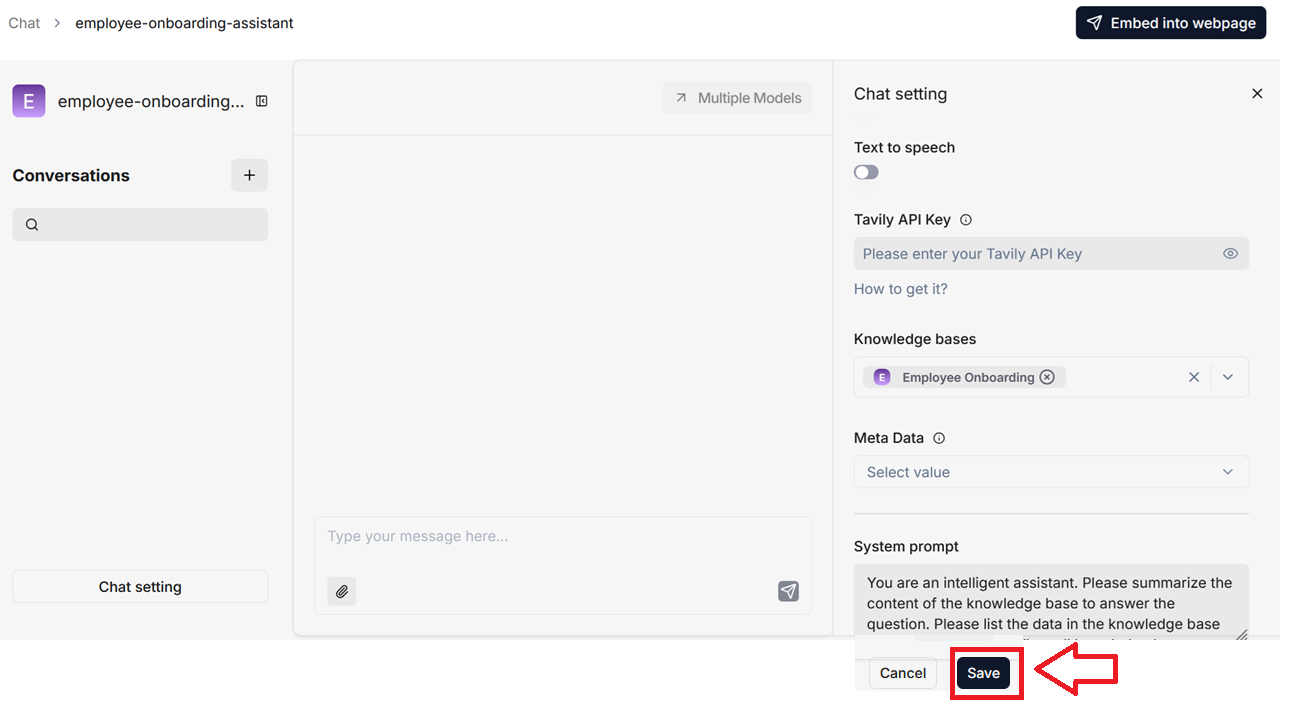
We will set chat and embedding models we just added in above step 2.
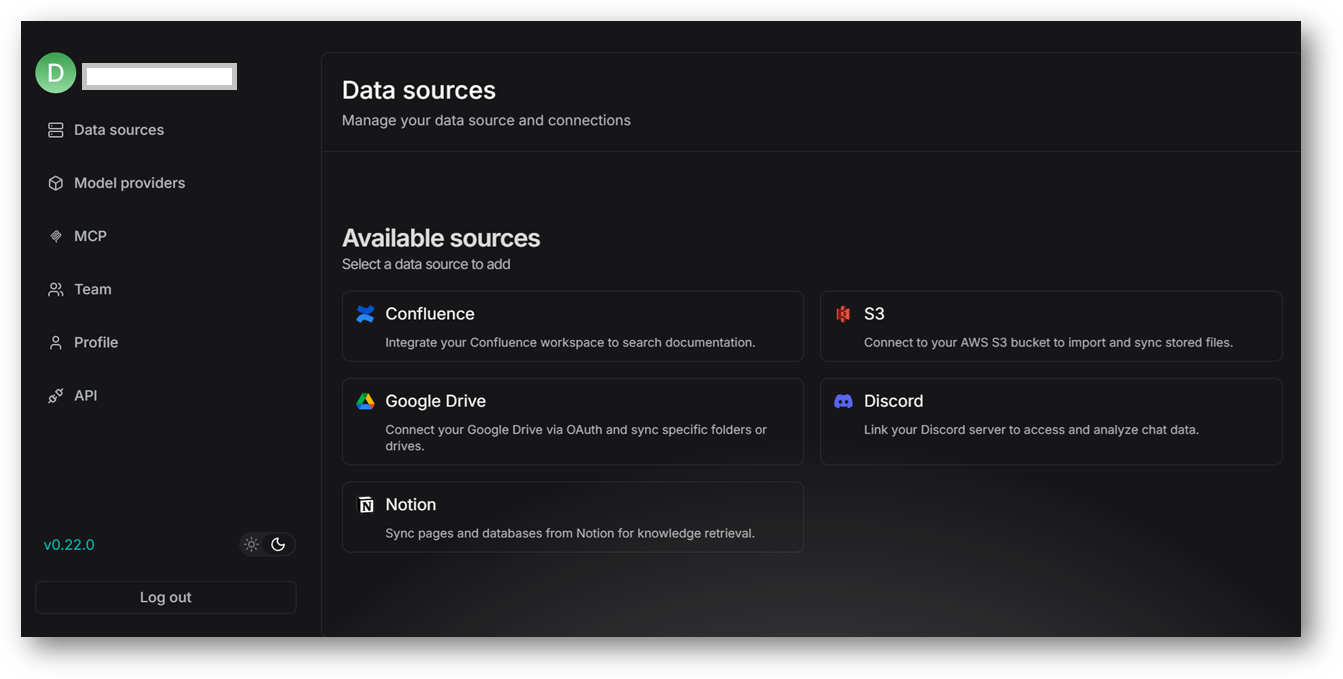
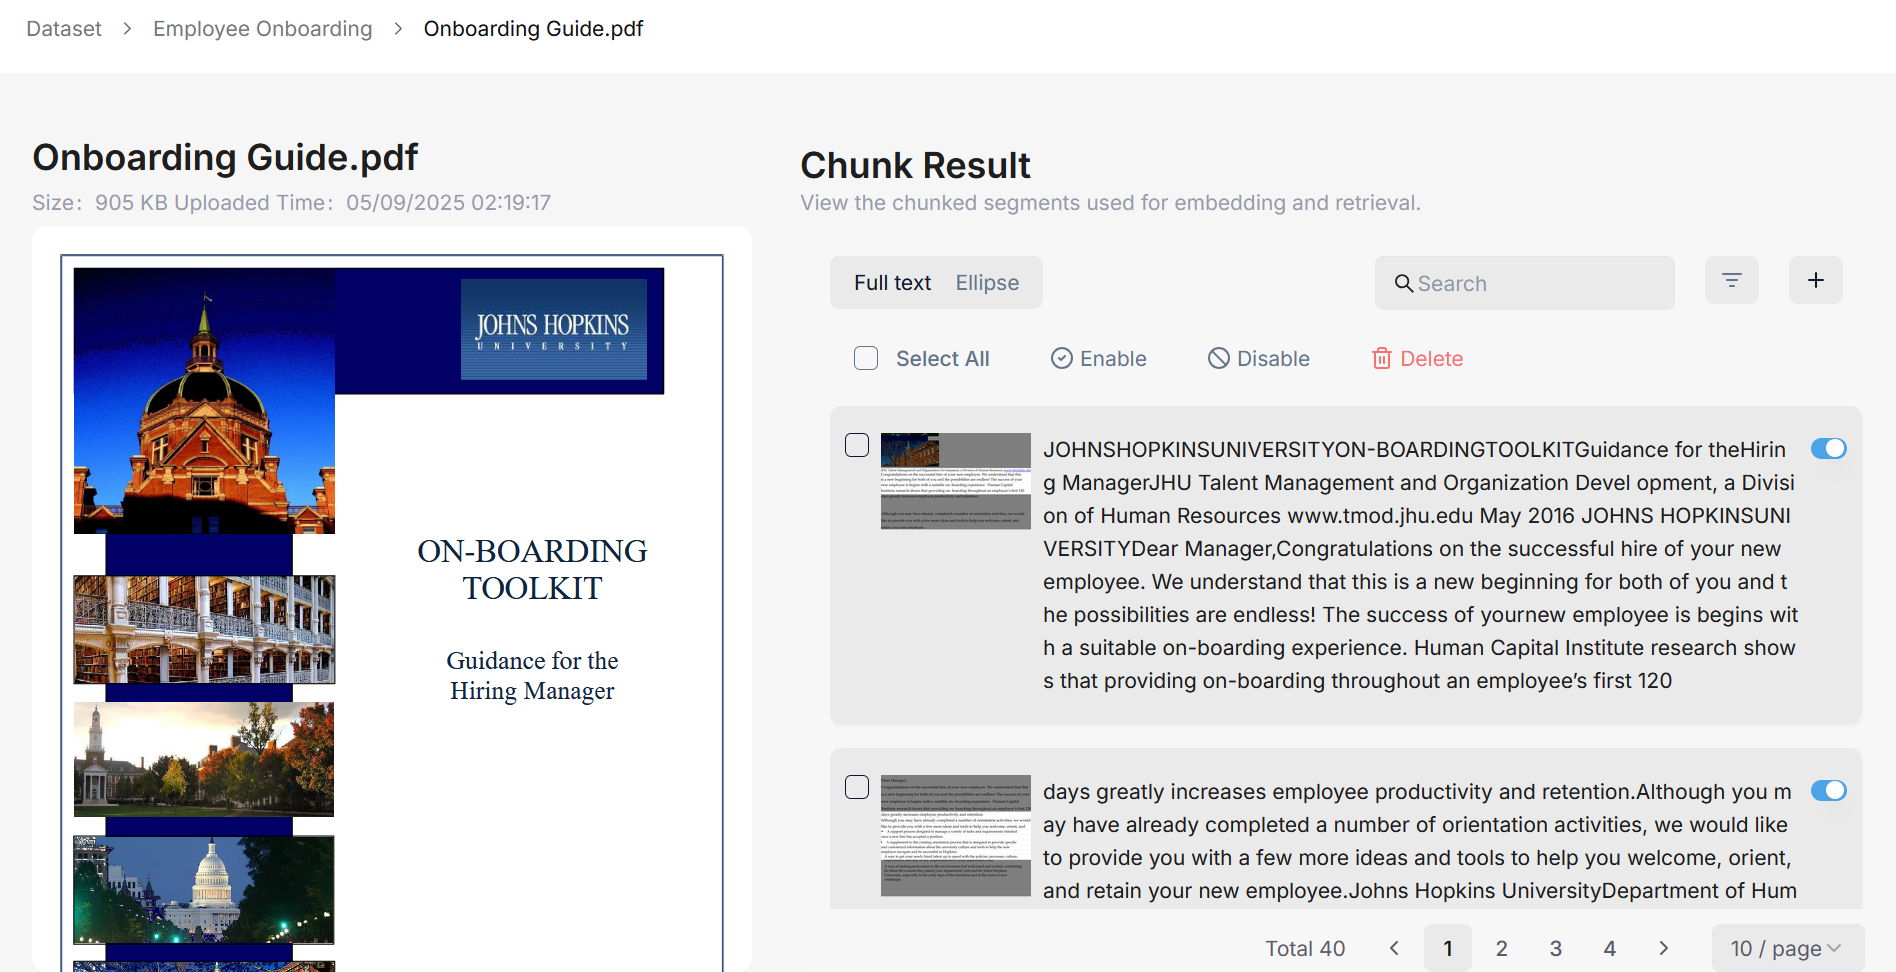
You are allowed to upload files to a knowledge base in RAGFlow and parse them into datasets. A knowledge base is virtually a collection of datasets. Question answering in RAGFlow can be based on a particular knowledge base or multiple knowledge bases. File formats that RAGFlow supports include documents (PDF, DOC, DOCX, TXT, MD, MDX), tables (CSV, XLSX, XLS), pictures (JPEG, JPG, PNG, TIF, GIF), and slides (PPT, PPTX).
To create your first knowledge base:
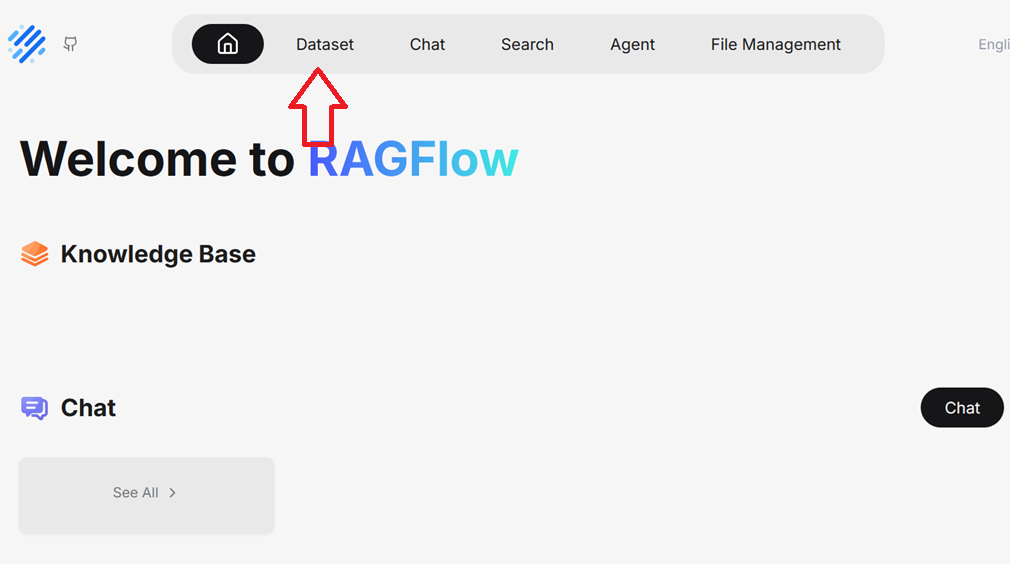
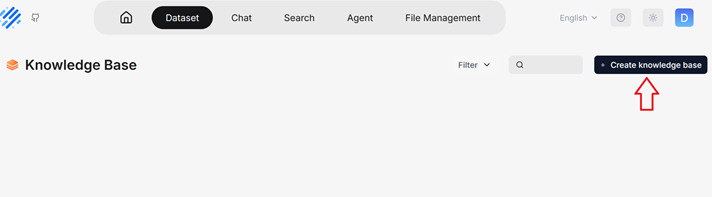
Click the Dataset tab in the top menu of the homepage and click + Create Knowledge base.
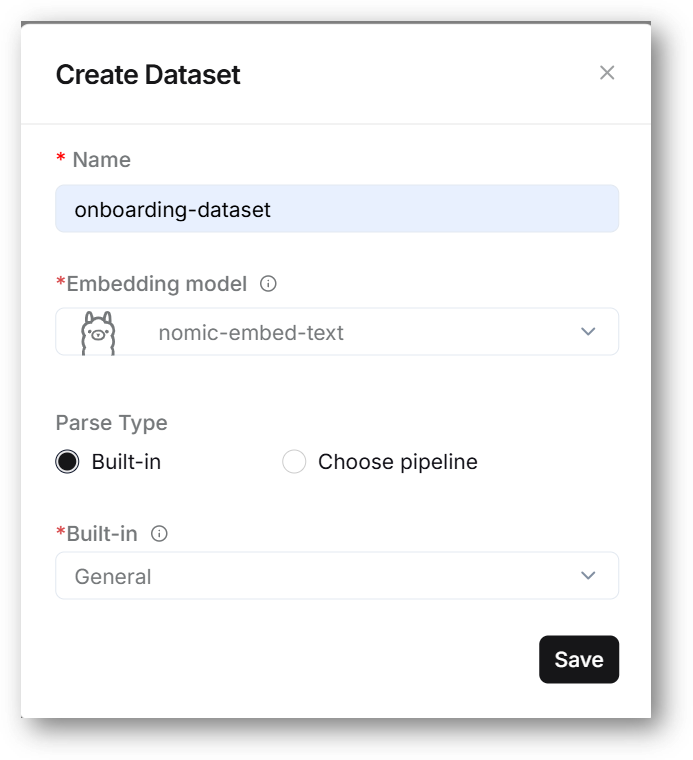
Input the name of your knowledge base, Embedding model from the dropdown. As we set nomic-embed-text as our default embedding model, this model is available in the dropdown here. Select Built-in if you are going to upload the documents or select Choose Pipeline if your data source is set via the agent pipeline, Select the Build-in from dropdown. Once ready click Save button.
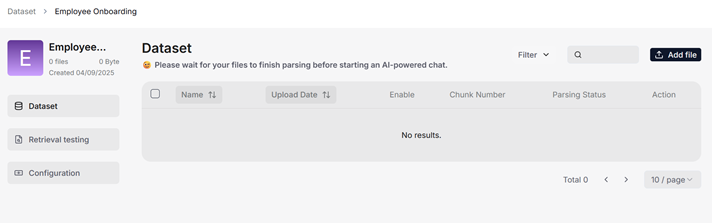
On this page, click + Add file > Local files to start uploading a particular file to the knowledge base.
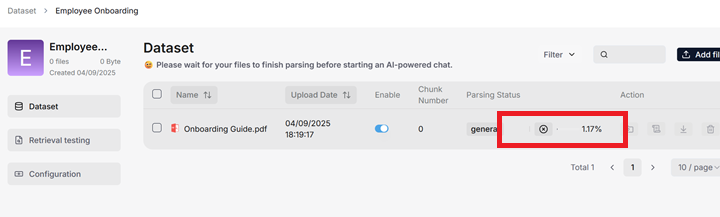
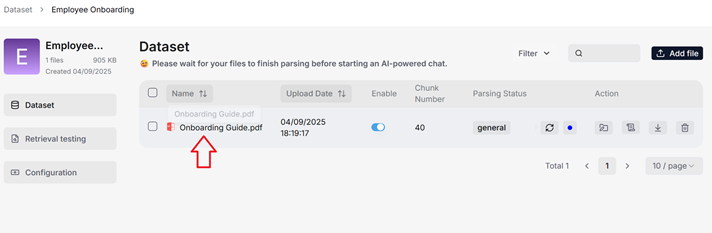
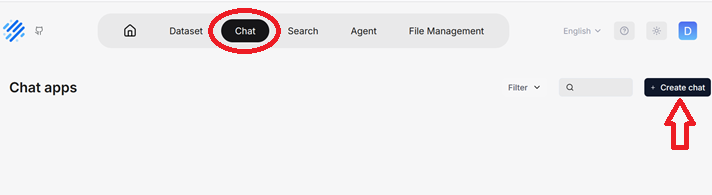
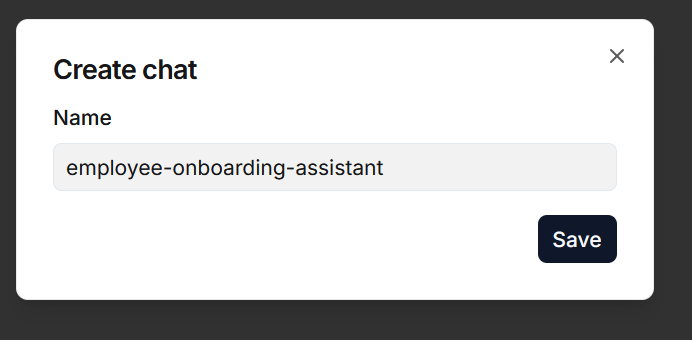
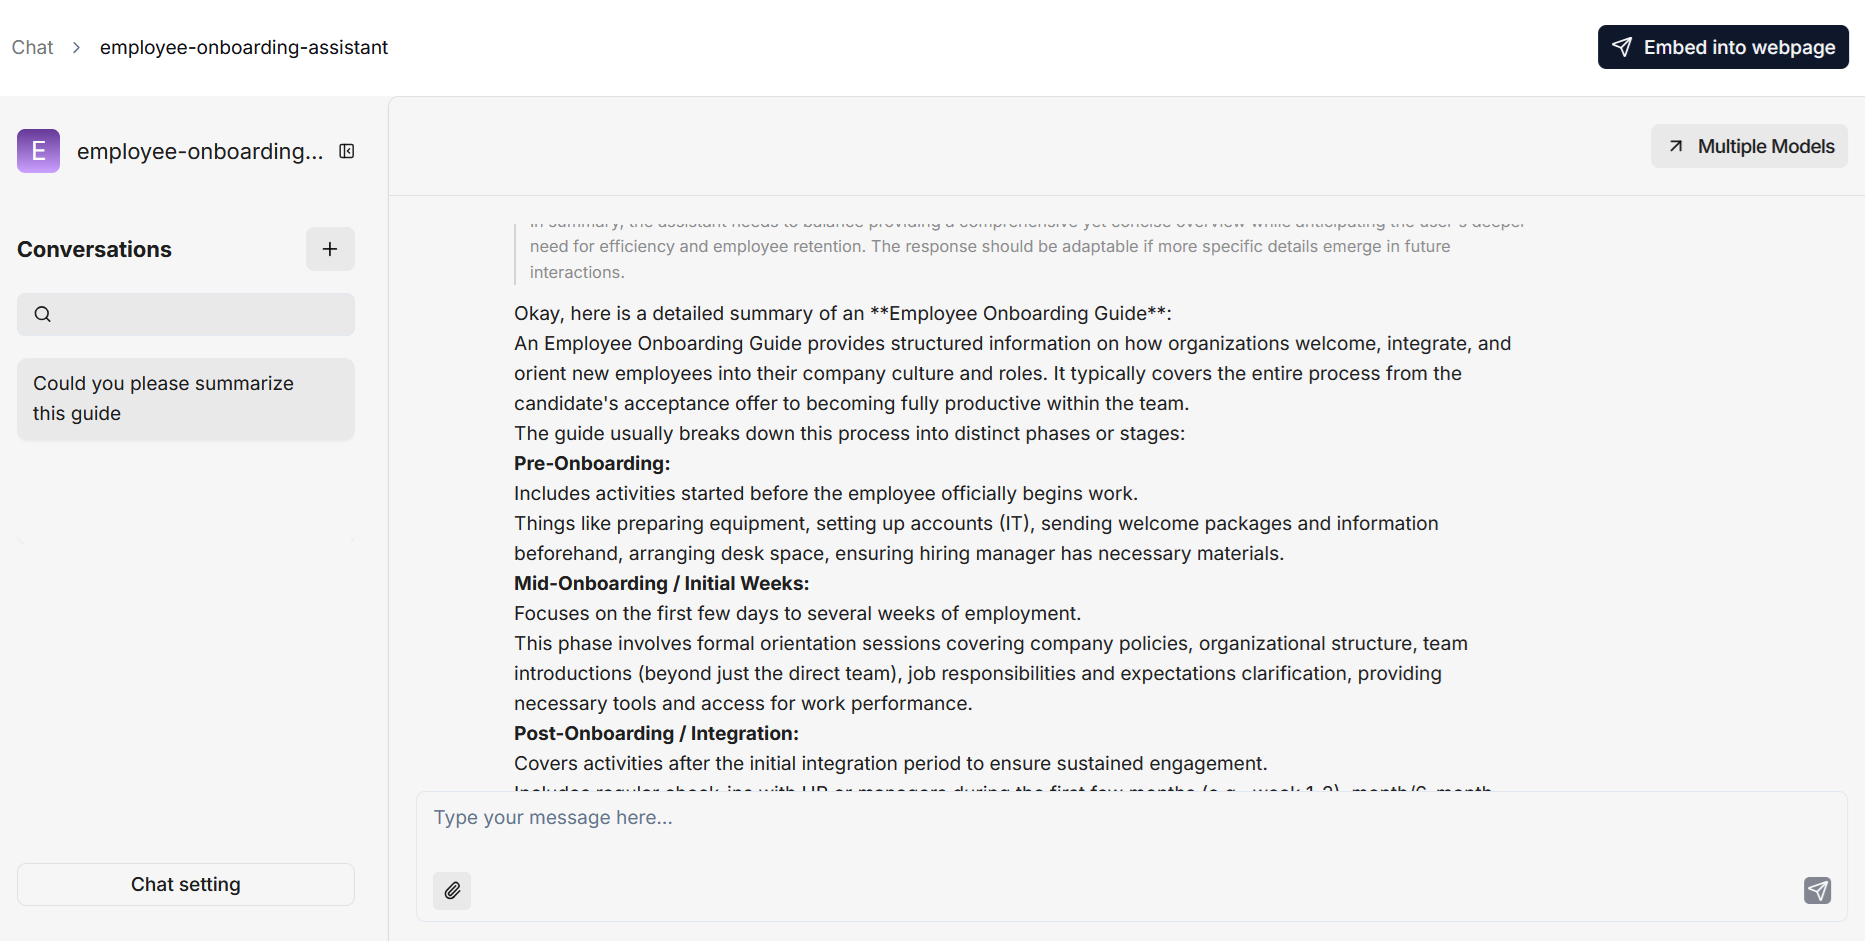
Once you have created your knowledge base and finished file parsing, you can go ahead and start an AI conversation based on a particular knowledge base or multiple knowledge bases.
Note: RAGFlow offer the flexibility of choosing a different chat model for each dialogue, while allowing you to set the default models in System Model Settings.
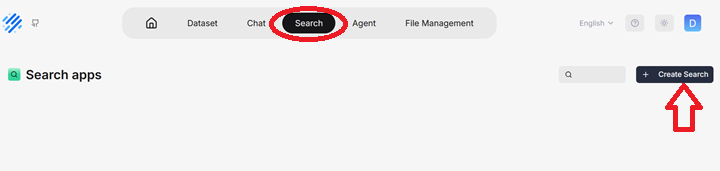
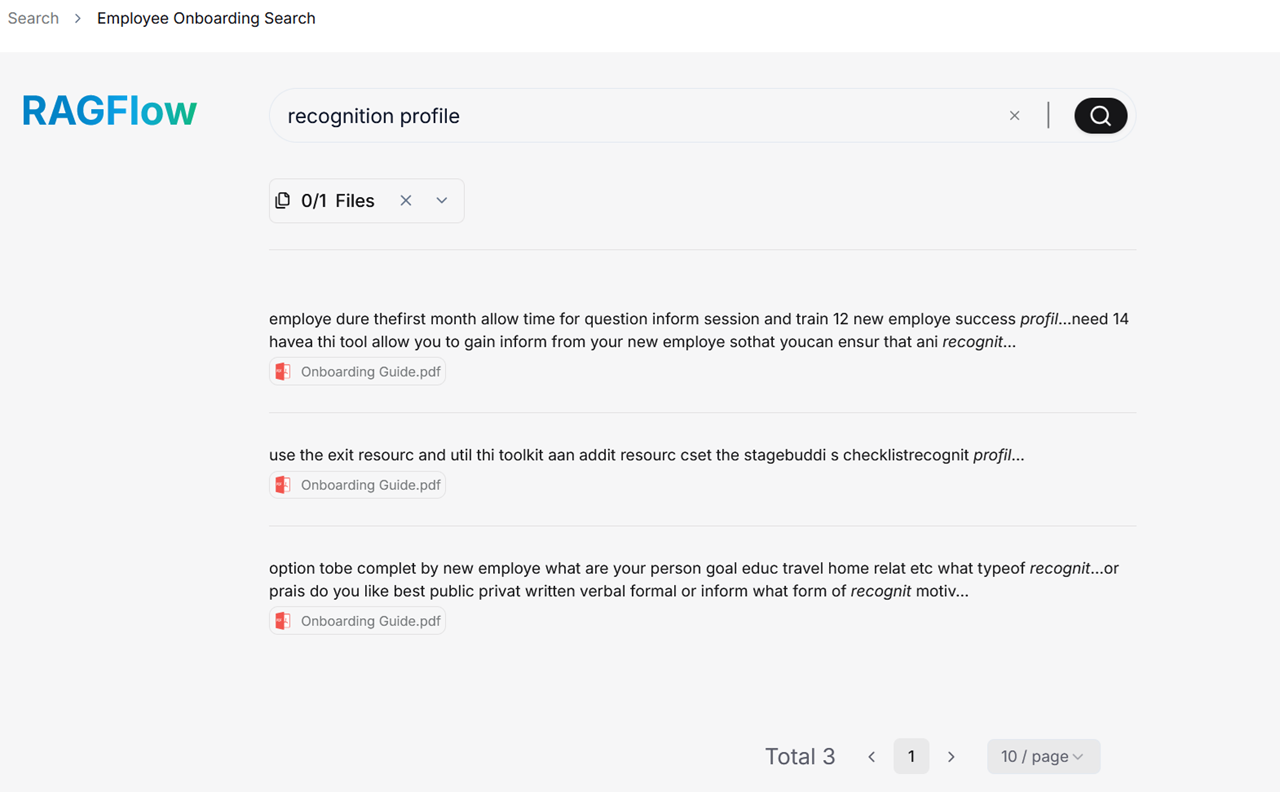
The Key difference between an AI search and an AI chat is that a chat is a multi-turn AI conversation where you can define your retrieval strategy and choose your chat model whereas an AI search is a single-turn AI conversation using a predefined retrieval strategy and the system’s default chat model.
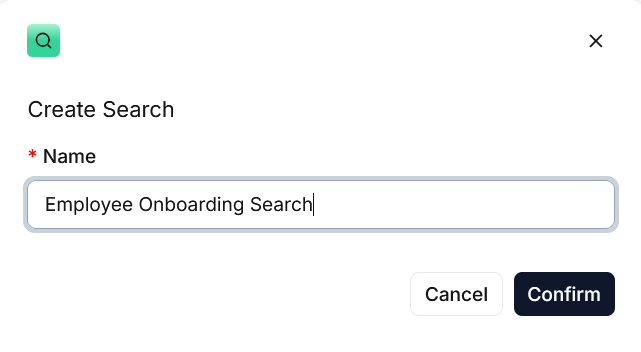
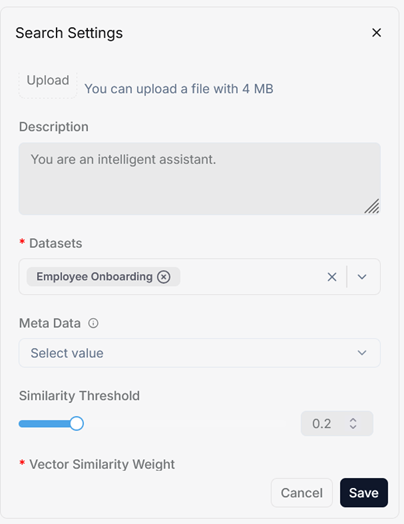
To start the search feature:
Agents and RAG are complementary techniques, each enhancing the other’s capabilities in business applications.
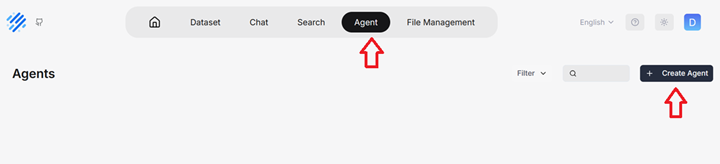

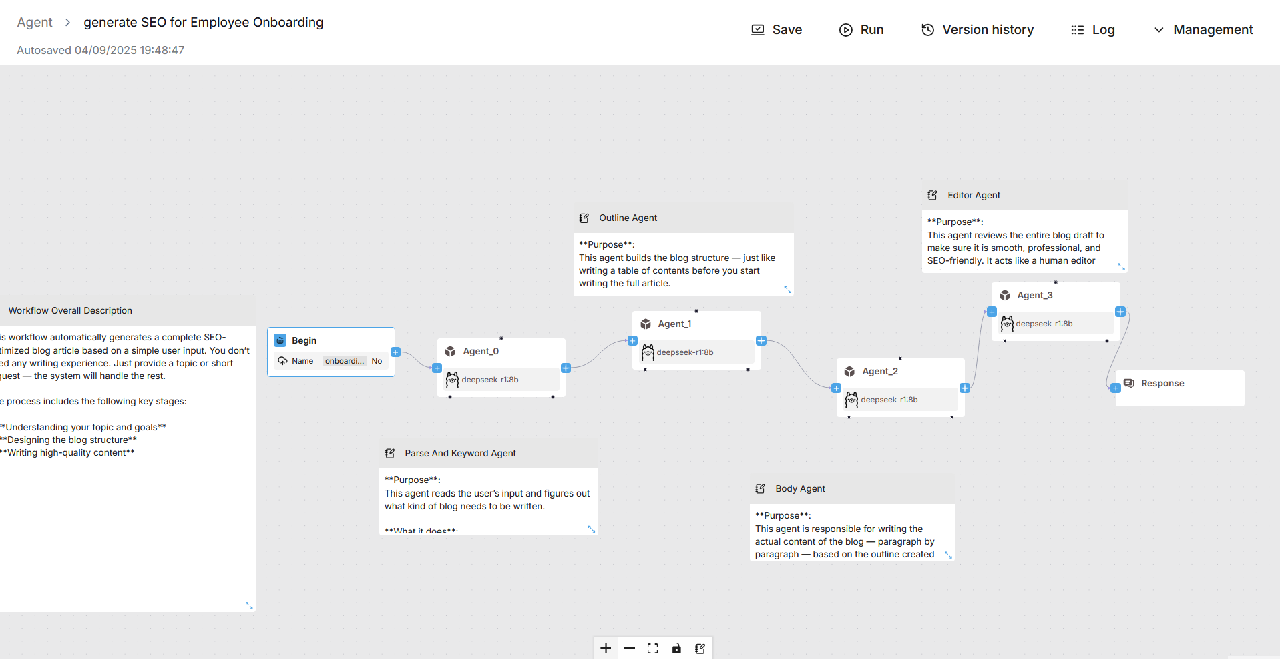
To create an agent from one of the templates, click the desired card, such as SEO Blog, name your agent in the pop-up dialogue, and click OK to confirm.
It will show no-code workflow editor page. Edit/Update the workflow as per your requirement and Save the Changes. Run the Agent to get the output.
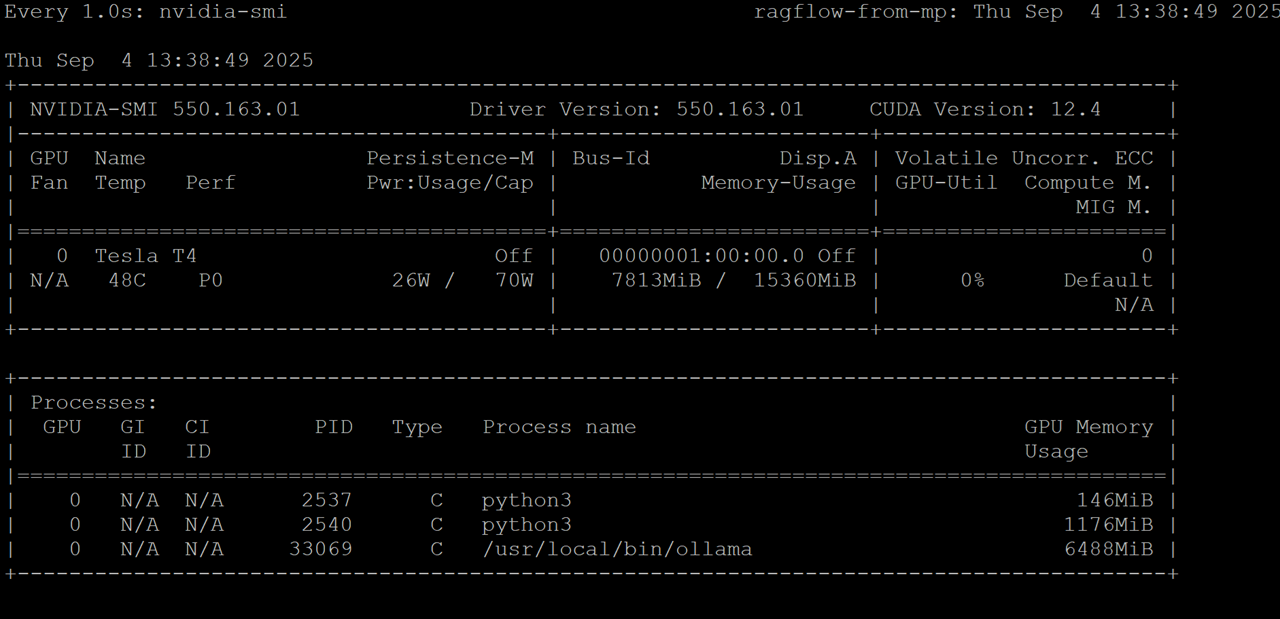
Connect to SSH Terminal of this VM. Please refer to Deployment Guide of respective Cloud Platform to launch and connect to the VM.
Check available Ollama models by running
ollama ls
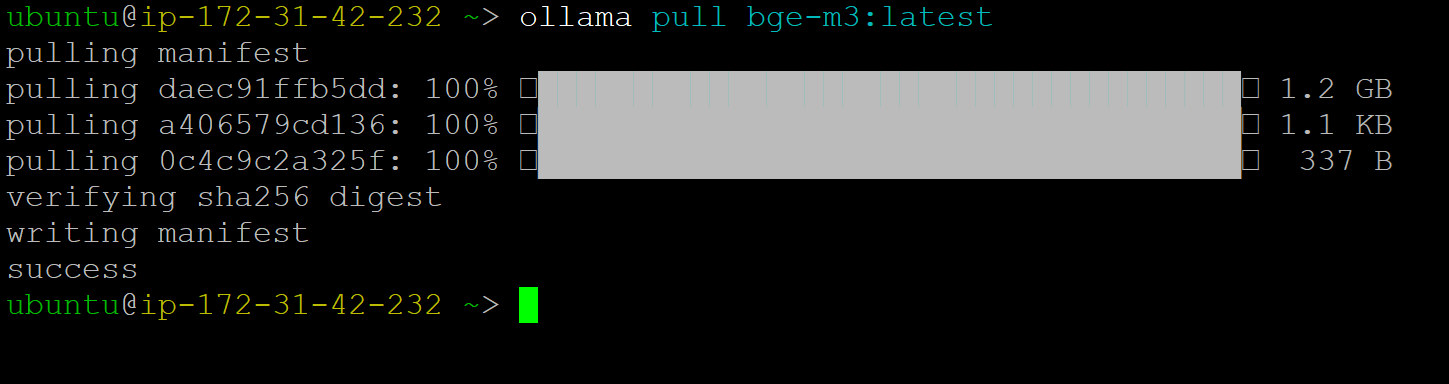
ollama pull modelname
e.g ollama pull bge-m3:latest , Check more models on Ollama Official Site

watch -n 1 nvidia-smi
For more details, please visit Official Documentation page