How to manage NixOS Disk size and other configuration
To update the NixOS Disk size and other Configuration follow the below steps.
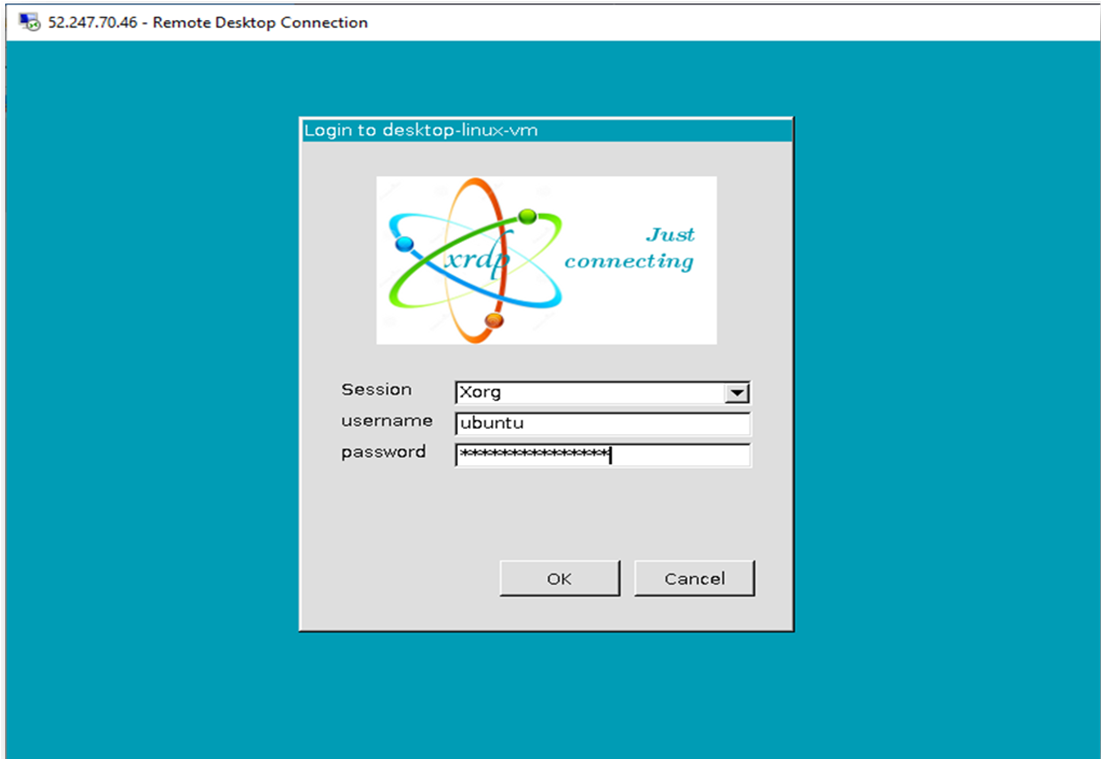
- Connect to the VM desktop environment via RDP/Remmina by copy pasting the Public IP of the vm and entering the userid as ubuntu and password of this user.
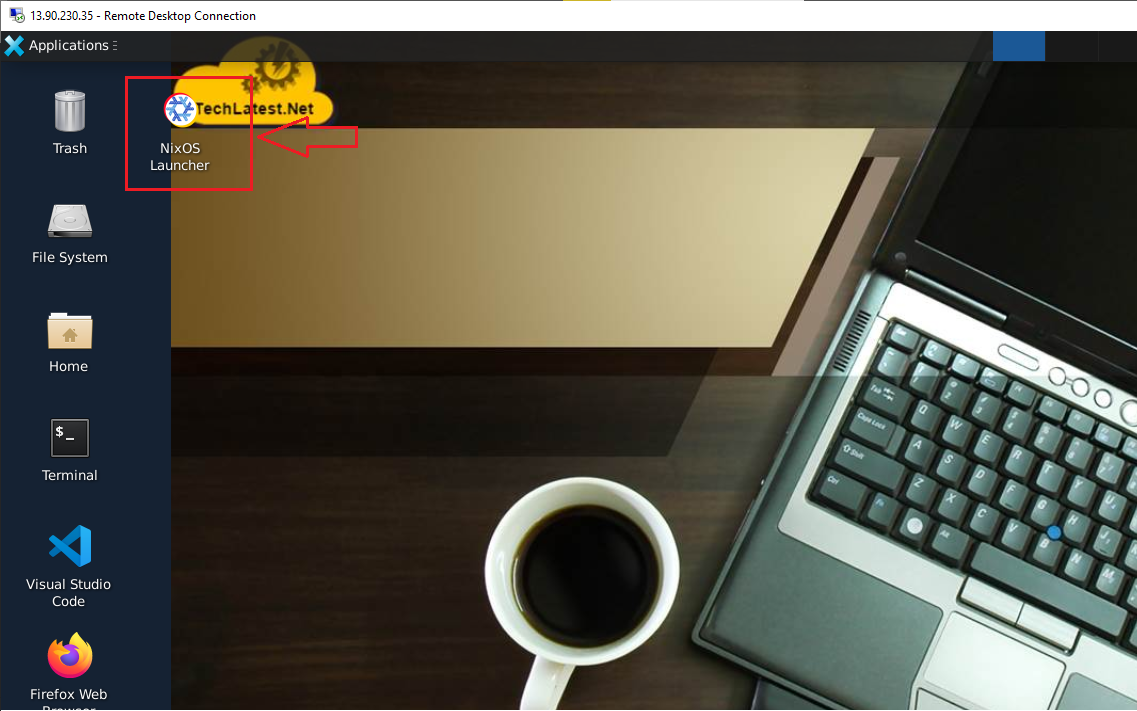
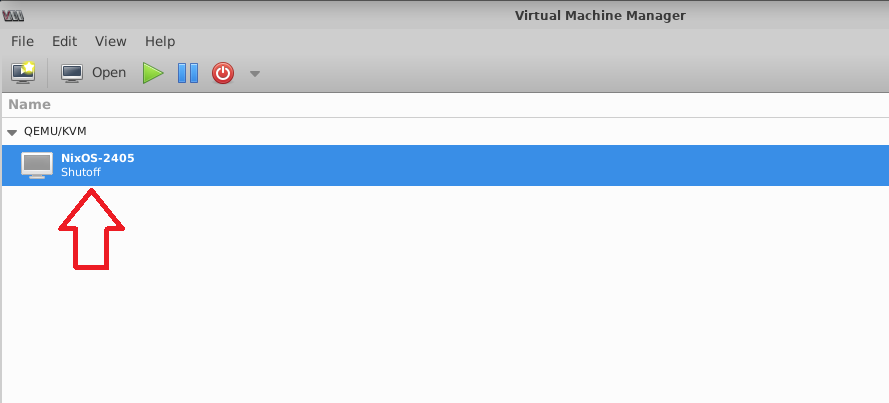
- On RDP Desktop , click on NixOS Luancher to start the Virtual Machine Manager.
- Double click on NixOS VM option to open the QEMU page.
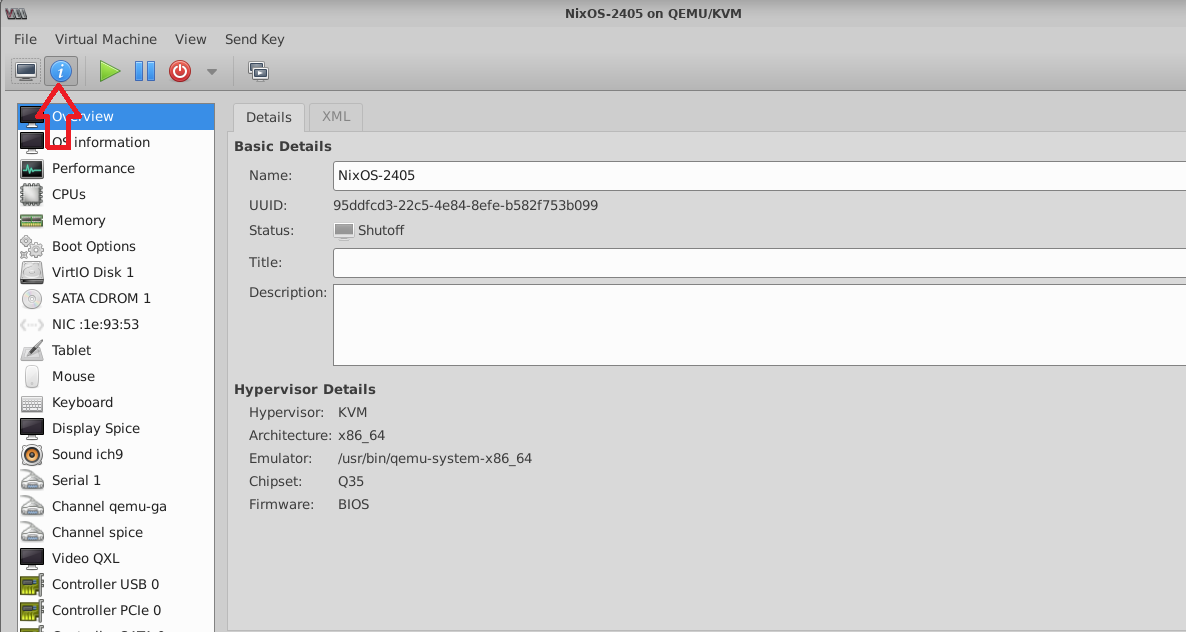
- On this page, Click on Show virtual hardware details button to open the settings.
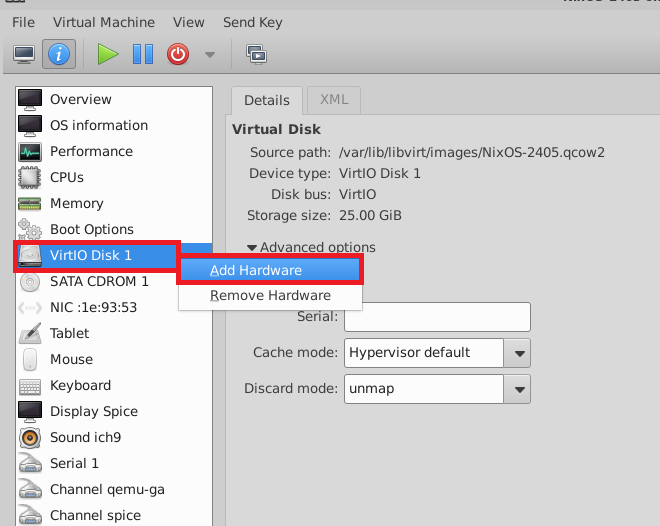
- Now to add the additional volume/disk from qmenu NixOS configuration, click VirtIO Disk 1 menu from left pane and right clicking on it then choosing Add Hardware option.
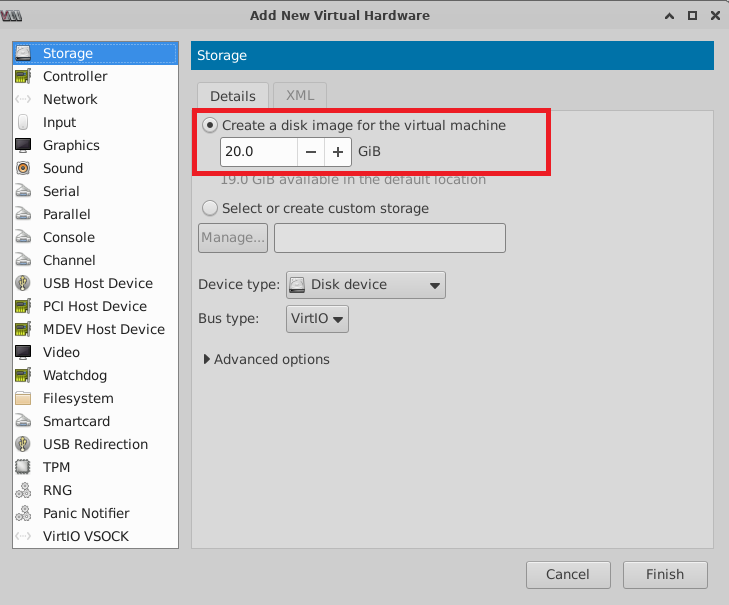
- It will open the Storage page. Provide the desired value of storage from the available value and clik on Finish.
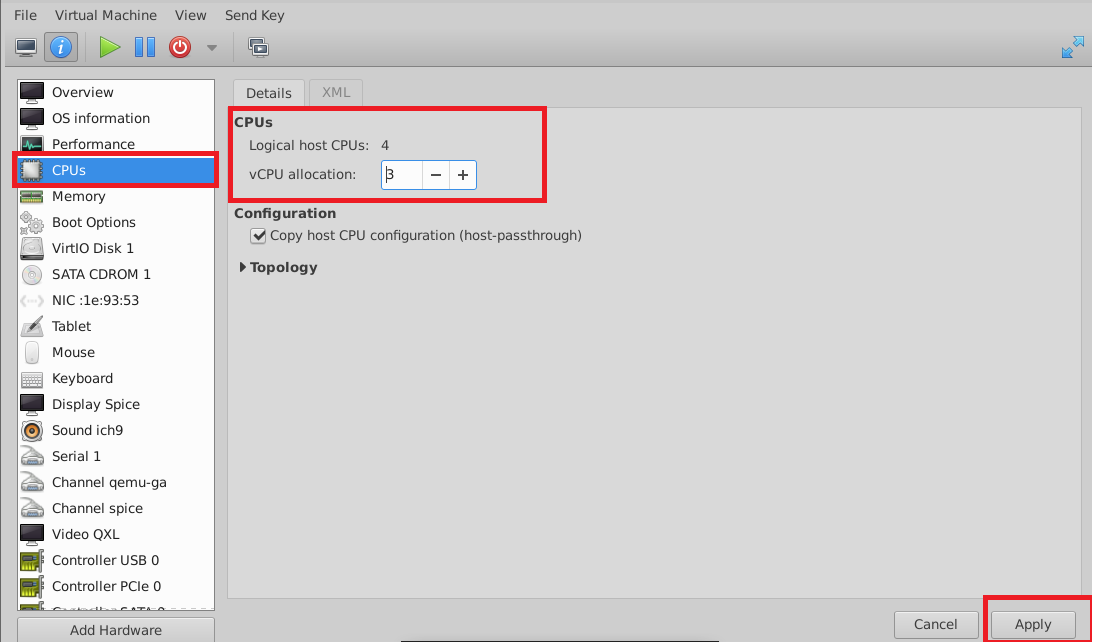
- To change the Logical host CPUs, click on the CPUs option from the left pane of Qmenu , adjust the number and apply the changes.
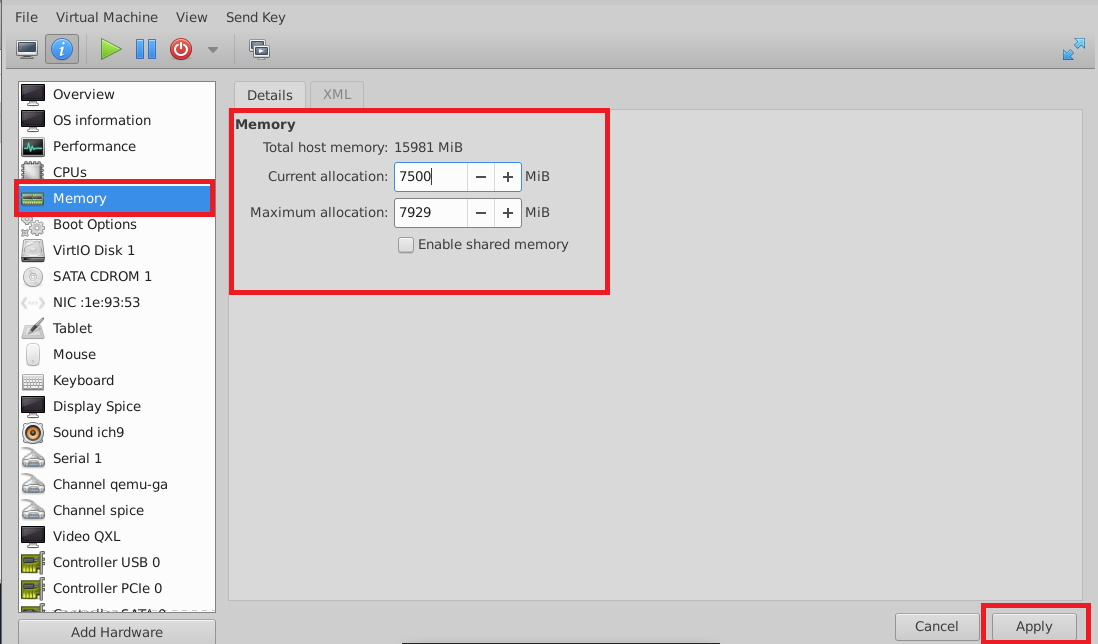
- Similarly, to change the Memory, click on the Memory option from the left pane of Qmenu , adjust the number and apply the changes.
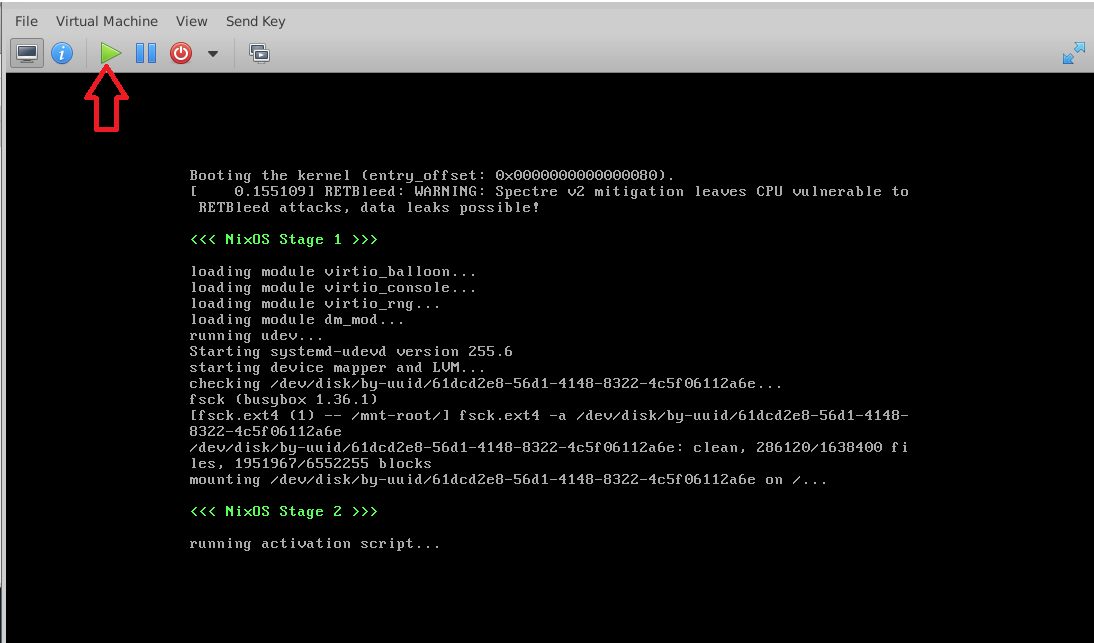
- Once you are ready with the new changes, start the NixOS VM by clicking on the Start button from top menu. Provide the password for techlatest user and hit enter.