Setup and installation of 'LocalAI: Self-Hosted Alternative to OpenAI & Anthropic' on AZURE
This section describes how to launch and connect to ‘LocalAI: Self-Hosted Alternative to OpenAI & Anthropic’ VM solution on Azure Platform.
- Open LocalAI: Self-Hosted Alternative to OpenAI & Anthropic VM listing on Azure Marketplace.
- Click on Get It Now
-
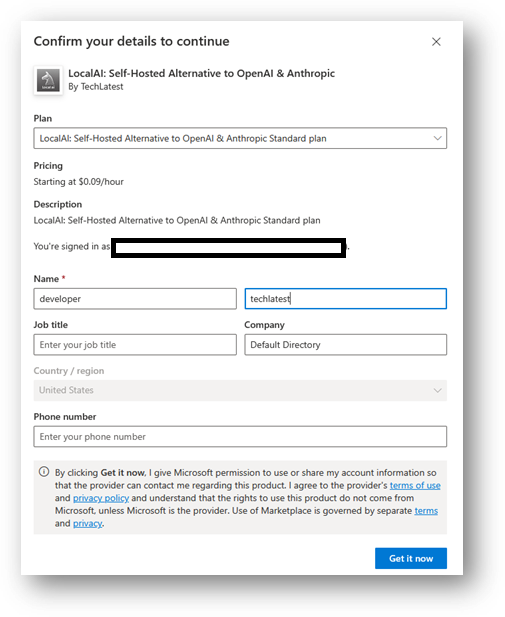
Login with your credentials, provide the details here. Once done click on Get it now button at the bottom.
-
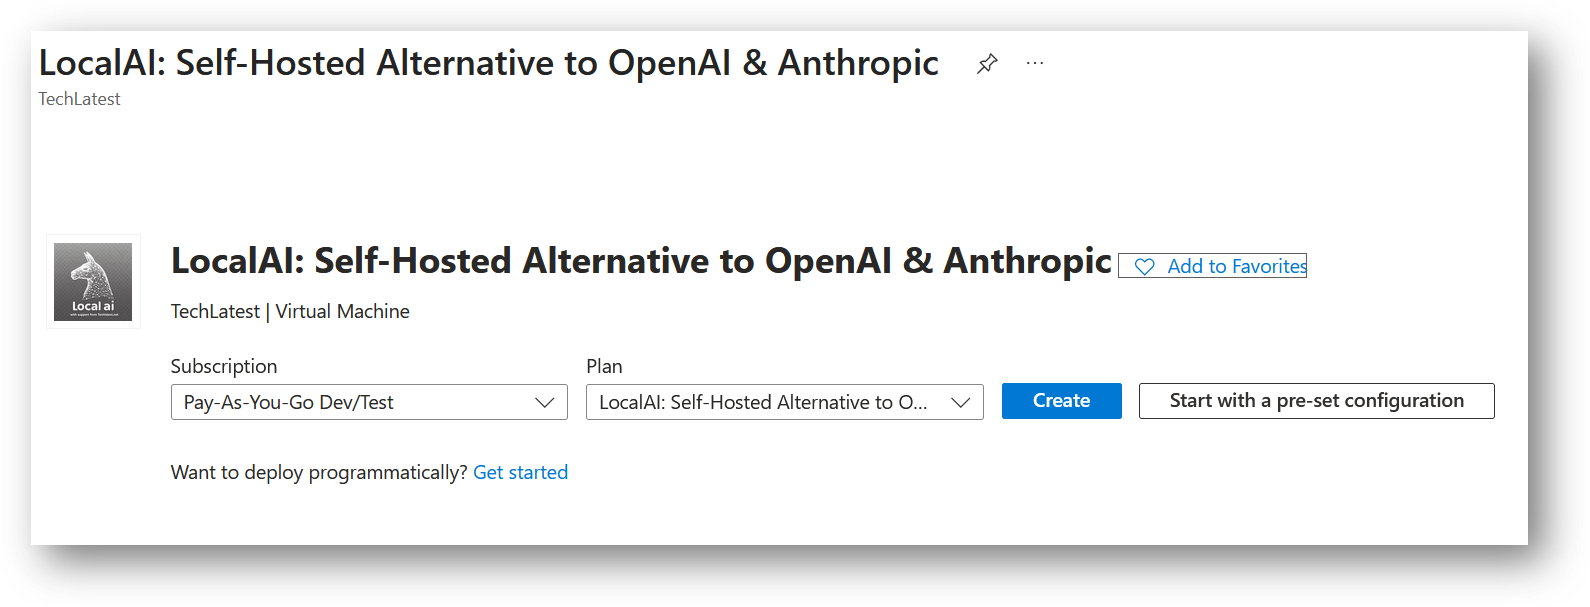
It will take you to the Product details page. Click on Create.
-
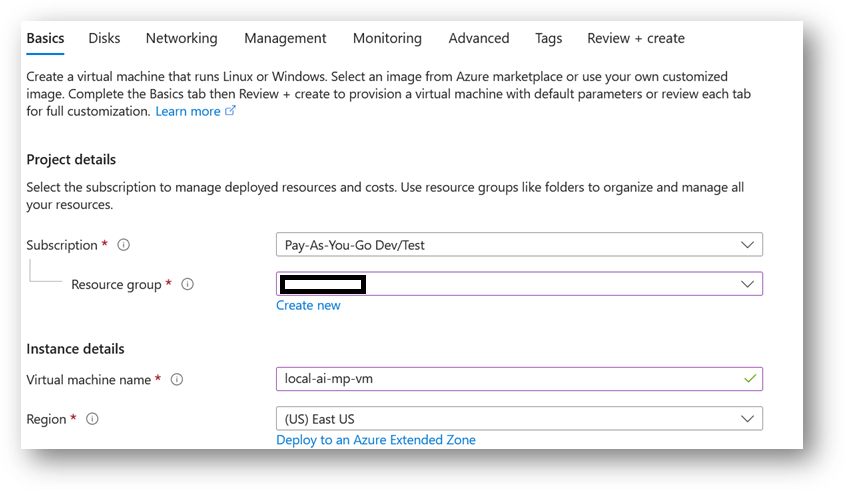
Select a Resource group for your virtual machine
-
Select a Region where you want to launch the VM(such as East US)
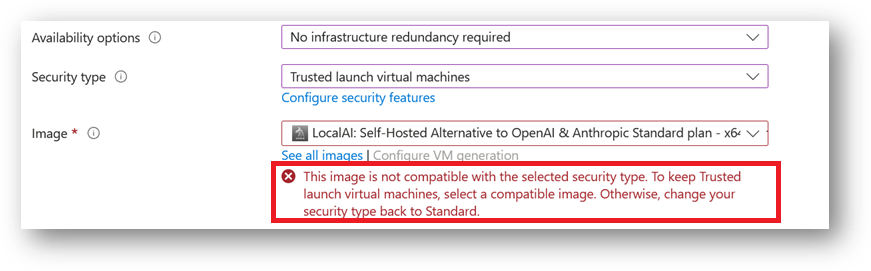
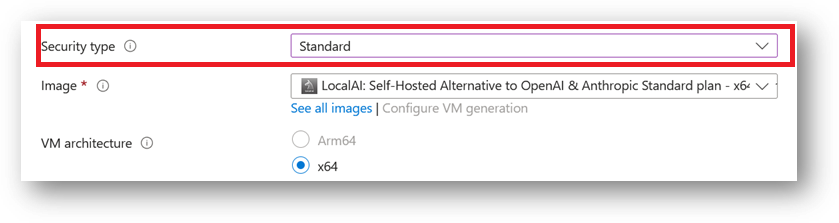
- Note: If you see “This image is not compatible with selected security type. To keep trusted launch virtual machines, select a compatible image. Otherwise change your security type back to Standard” error message below the Image name as shown in the screenshot below then please change the Security type to Standard.
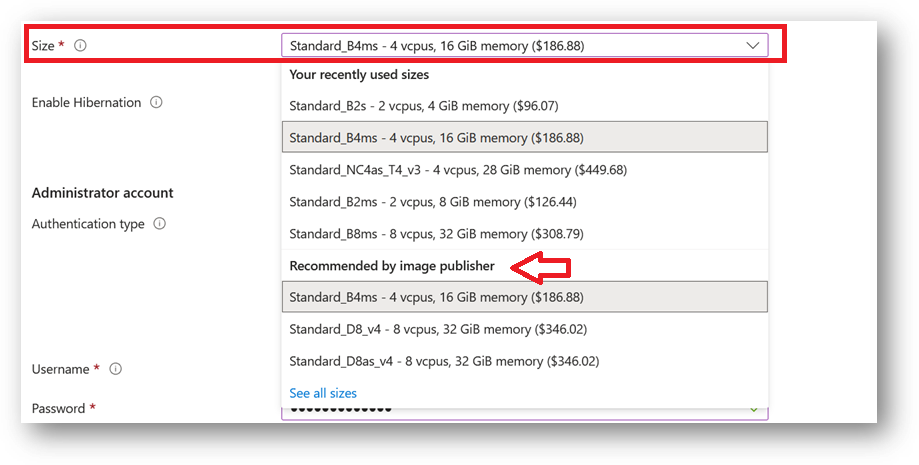
- Optionally change the number of cores and amount of memory.
Minimum VM Specs : 16GB RAM /4vCPU. Please also check publisher recommendations for more instance options.
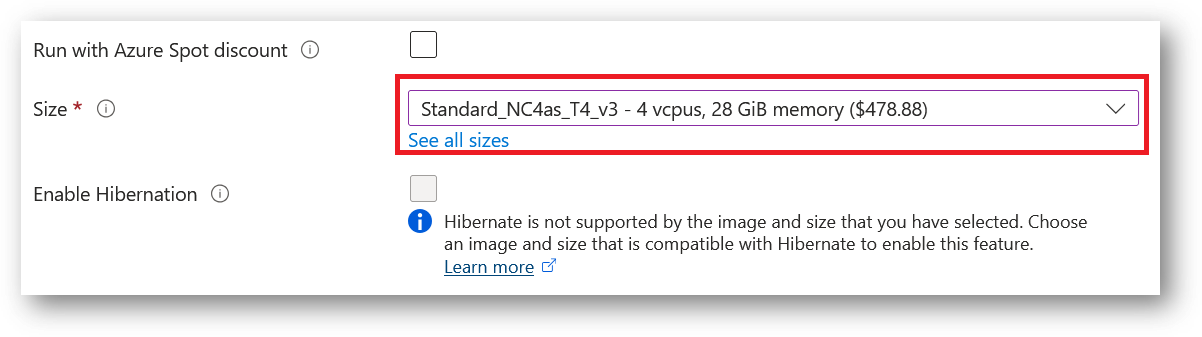
Please note that the VM can also be deployed using NVIDIA GPU instance for faster execution. Please check Publisher recommendations instance type for GPU (Standard_NC4as_T4_v3 - 4 vcpus, 28 GiB memory) or check the available NVIDIA GPU instances on Azure documentation page.
Select the Authentication type as Password and enter Username as ubuntu and Password of your choice.

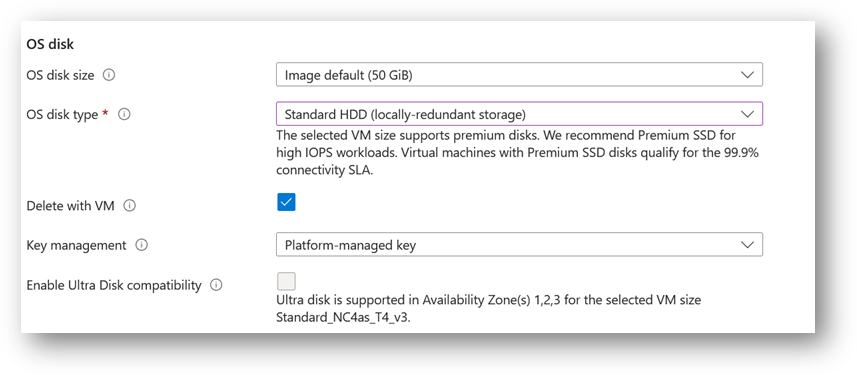
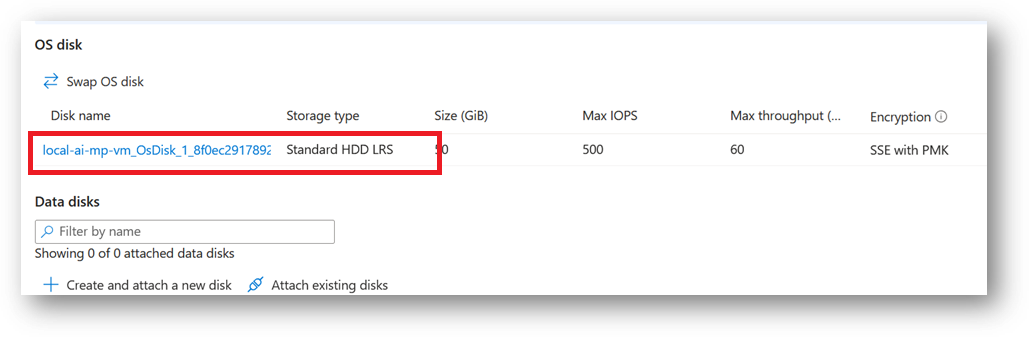
- Optionally change the OS disk size and its type. By default the VM comes with 50GB of disk.
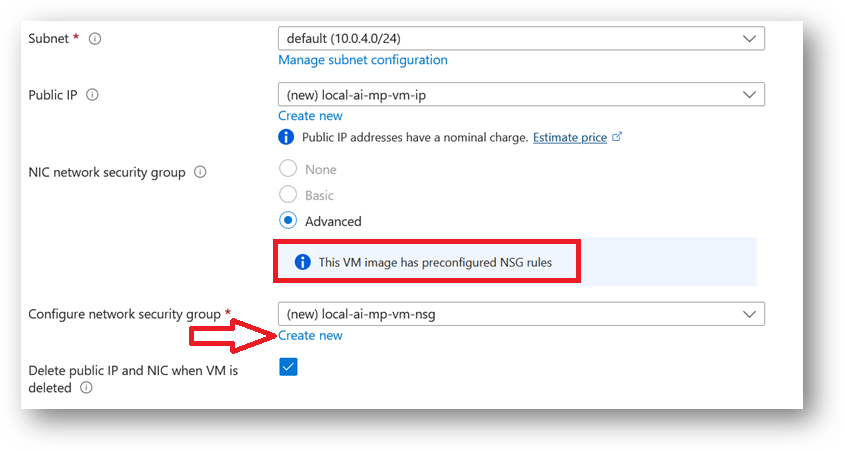
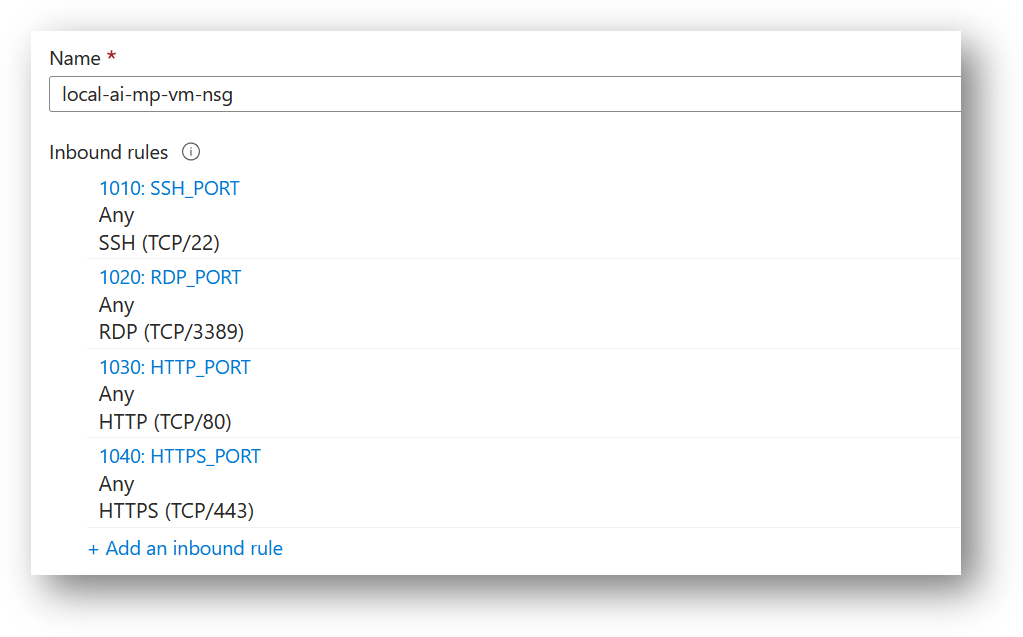
- Optionally change the network and subnetwork names. Be sure that whichever network you specify has ports 22 (for ssh), 3389 (for RDP) , 80 (for HTTP) and 443 (for HTTPS) exposed.
The VM comes with the preconfigured NSG rules. You can check them by clicking on Create New option available under the security group option.
- Optionally go to the Management, Advanced and Tags tabs for any advance settings you want for the VM.
- Click on Review + create and then click on Create when you are done.
Virtual Machine will begin deploying.
- A summary page displays when the virtual machine is successfully created. Click on Go to resource link to go to the resource page. It will open an overview page of virtual machine.
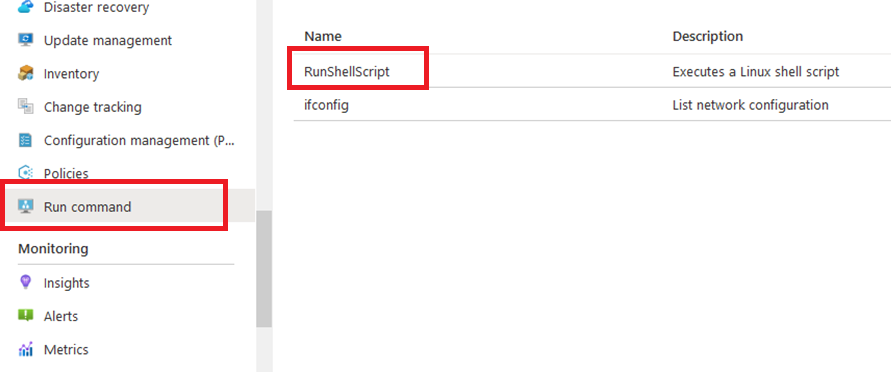
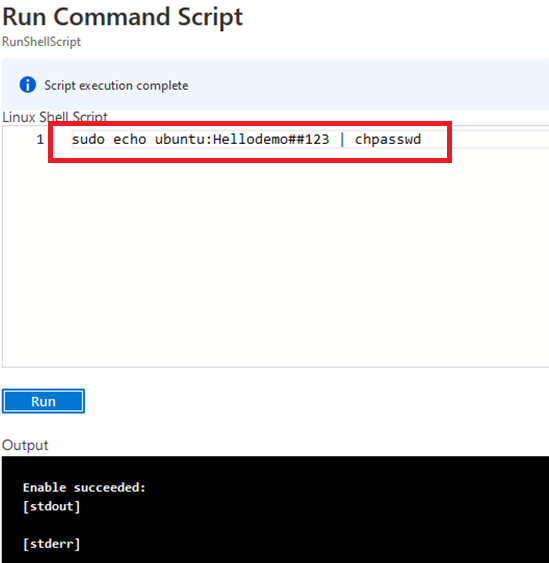
- If you want to update your password then open up the left navigation pane, select Run command, select RunShellScript and enter following command to change the password of the vm .
sudo echo ubuntu:yourpassword | chpasswd
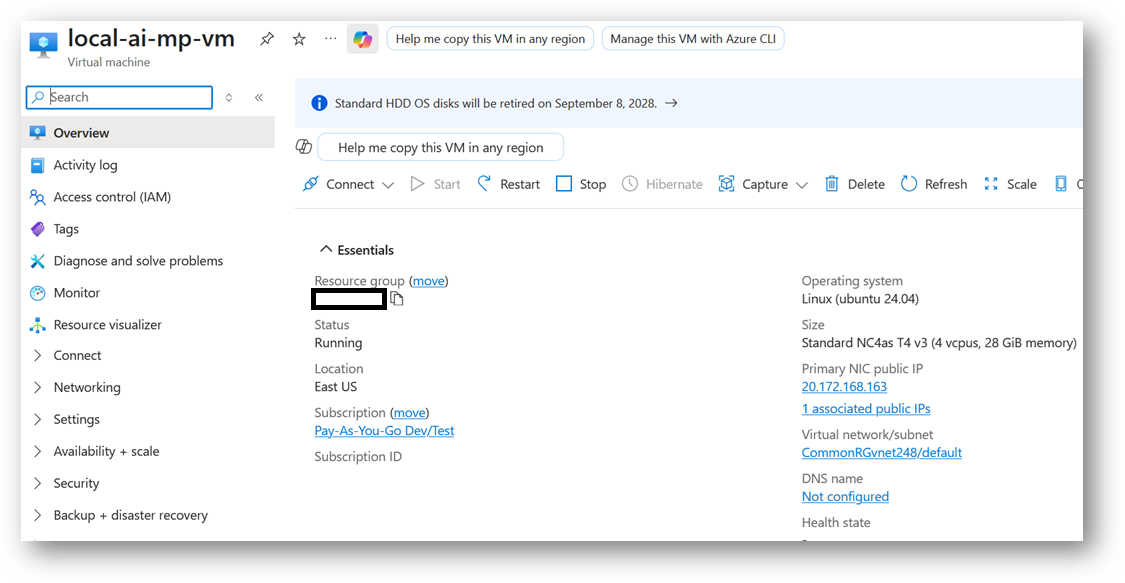
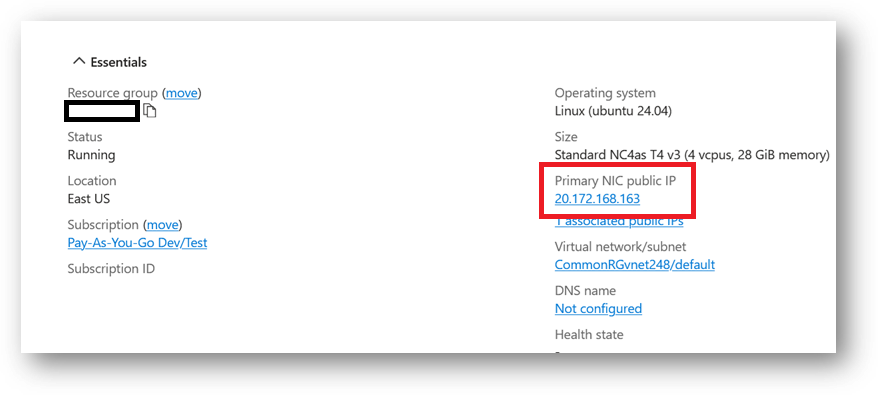
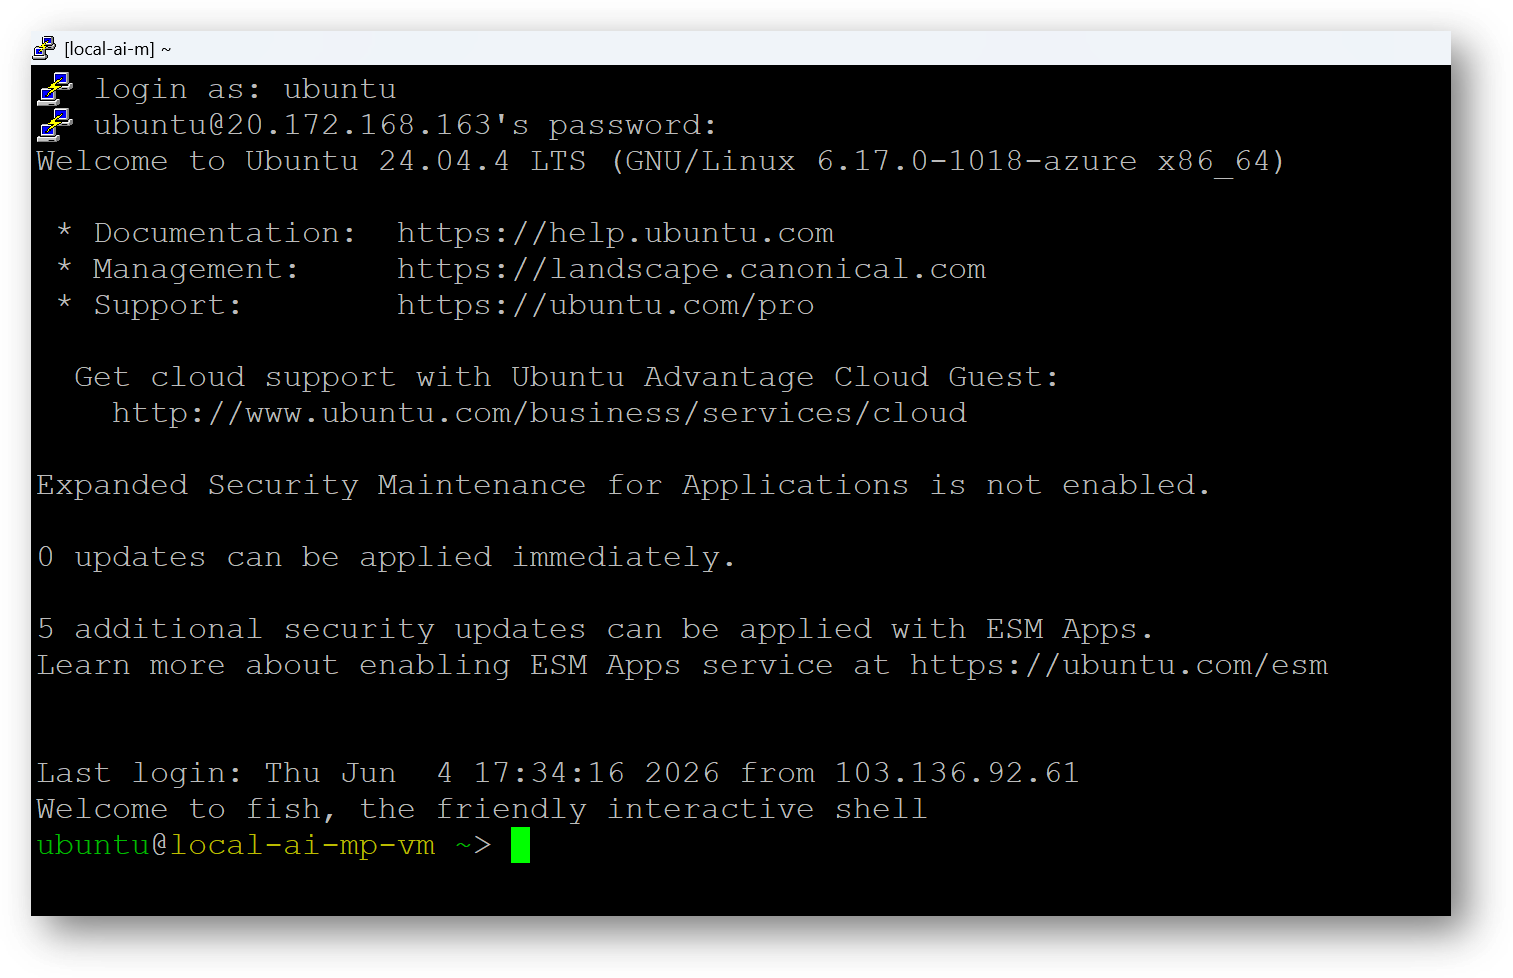
Now the password for ubuntu user is set, you can SSH to the VM. To do so, first note the public IP address of the VM from VM details page as highlighted below
Open putty, paste the IP address and click on Open.
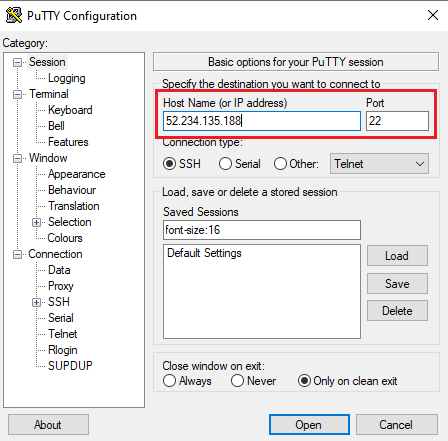
login as ubuntu and provide the password for ‘ubuntu’ user.
-
You can also connect to the VM’s desktop environment from any local windows machine using RDP protocol or local linux machine using Remmina.
-
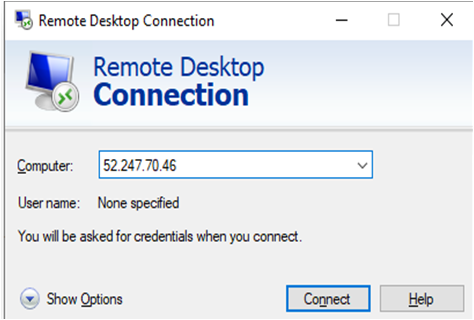
To connect using RDP via Windows Machine, copy the public IP address of the VM from VM details page , then From your local windows machine, goto “start” menu, in the search box type and select “Remote desktop connection”. In the “Remote Desktop connection” wizard, copy the public IP address and click connect
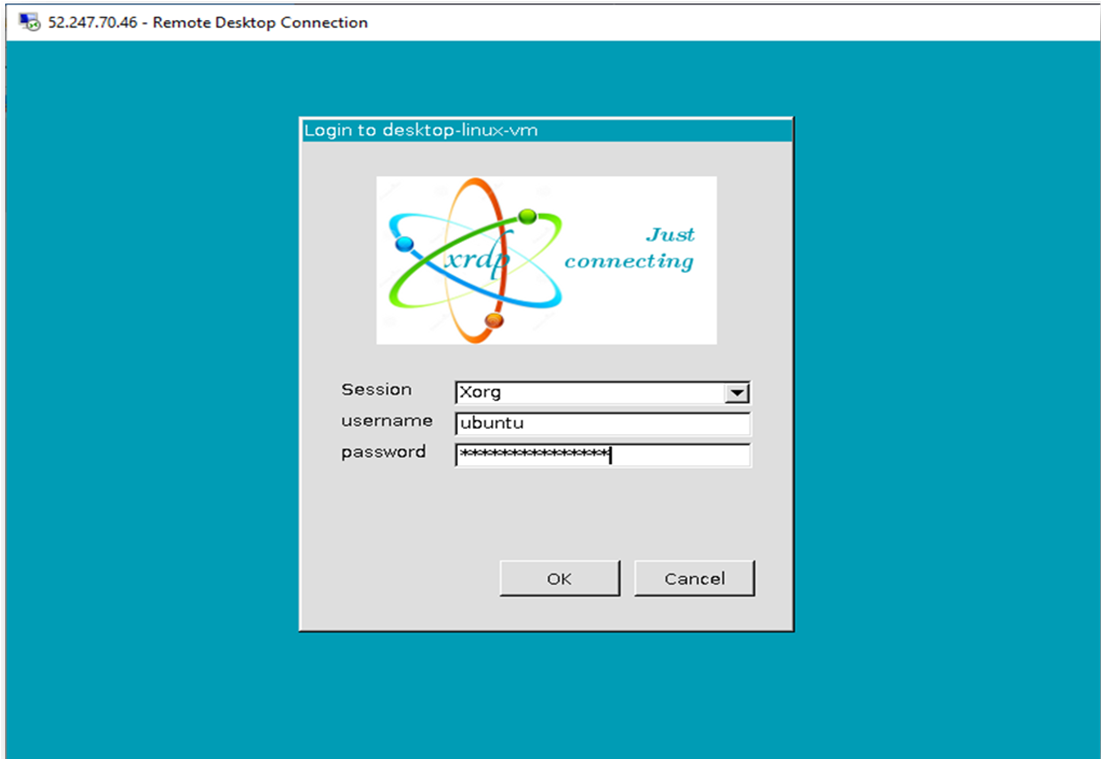
- This will connect you to the VM’s desktop environment. Provide the username as ubuntu and the password set in the step 4 to authenticate. Click OK
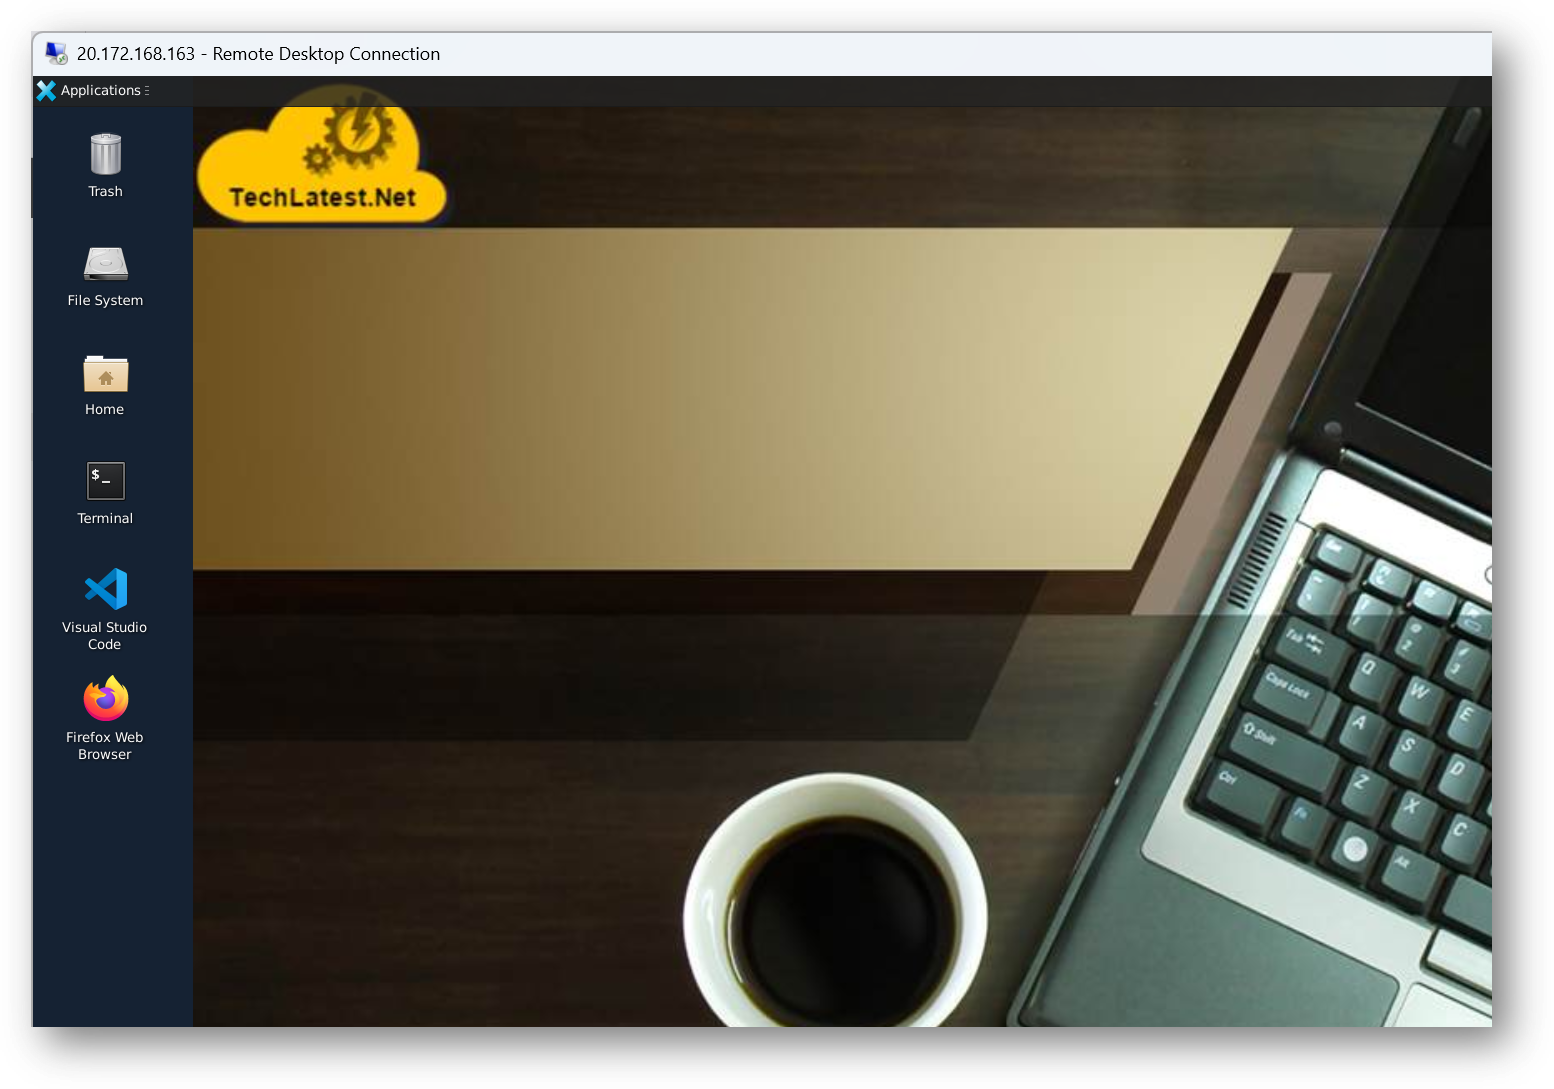
- Now you are connected to the out of box “LocalAI: Self-Hosted Alternative to OpenAI & Anthropic” VM’s desktop environment via Windows Machine.
- To connect using RDP via Linux machine, first note the external IP of the VM from VM details page, then from your local Linux machine, goto menu, in the search box type and select “Remmina”.
Note: If you don’t have Remmina installed on your Linux machine, first Install Remmina as per your linux distribution.

- In the “Remmina Remote Desktop Client” wizard, select the RDP option from dropdown and paste the external ip and click enter.

- This will connect you to the VM’s desktop environment. Provide “ubuntu” as the userid and the password set in above reset password step to authenticate. Click OK

- Now you are connected to out of box “LocalAI: Self-Hosted Alternative to OpenAI & Anthropic” VM’s desktop environment via Linux machine.
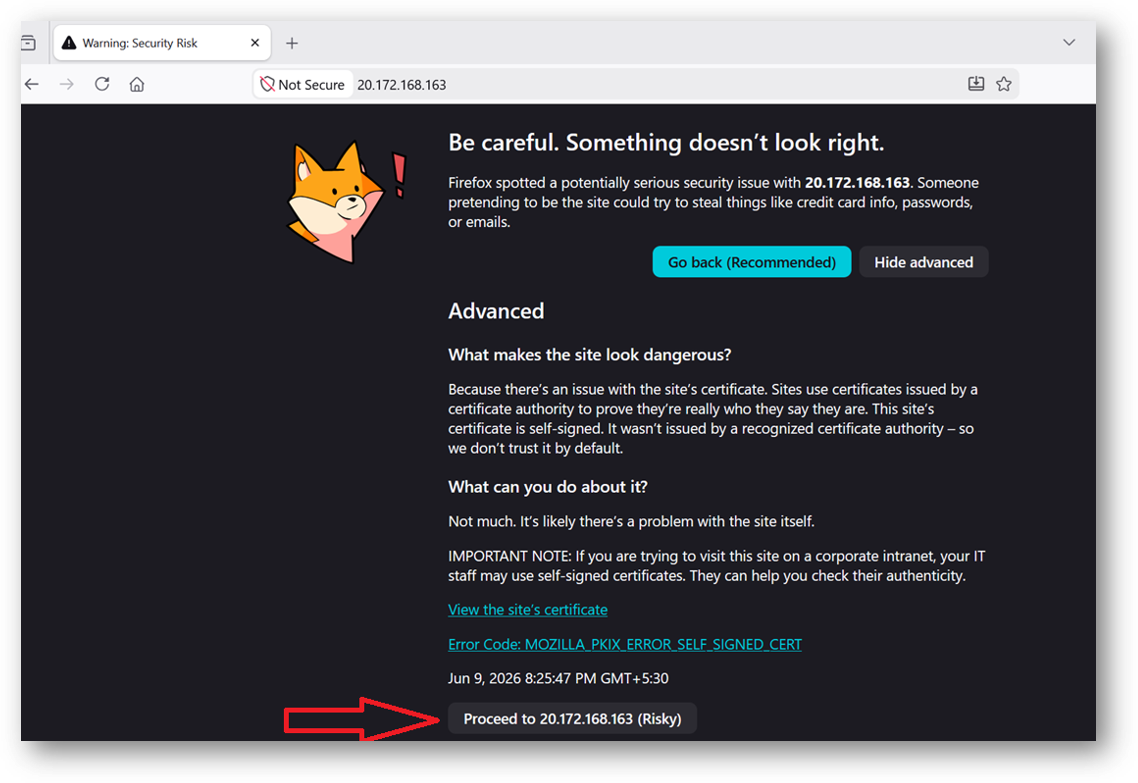
- To access the LocalAI Web Interface, copy the public IP address of the VM and paste it in your local browser as https://public_ip_of_vm.
Browser will display an SSL certificate warning message. Expand the warning message, accept the certificate warning and Continue.
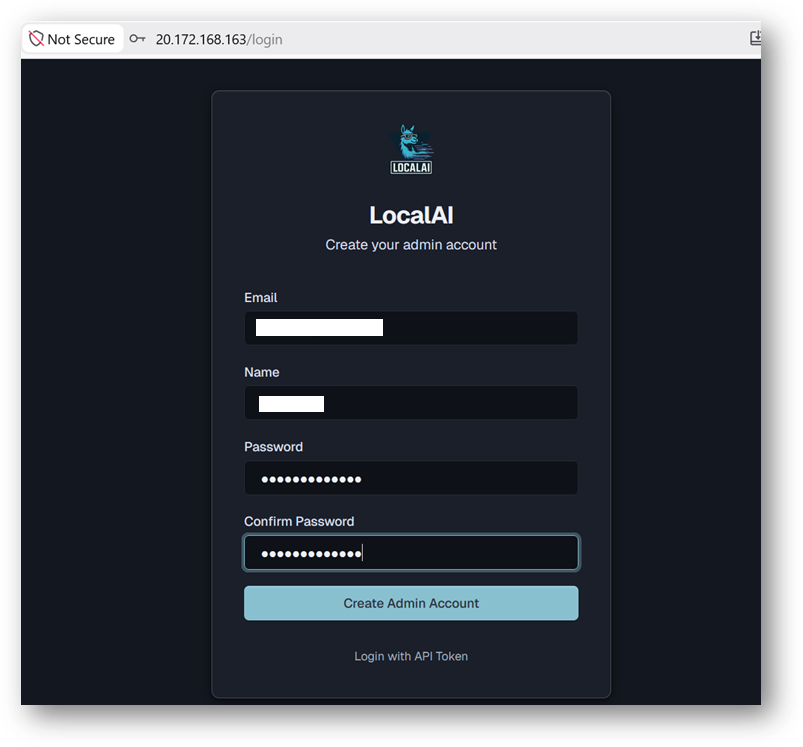
- It will open a Signup page. Provide the Email-ID, Username and Password of your choice and click Create Admin Account button.
- Now you are logged in to LocalAI Web Interface.
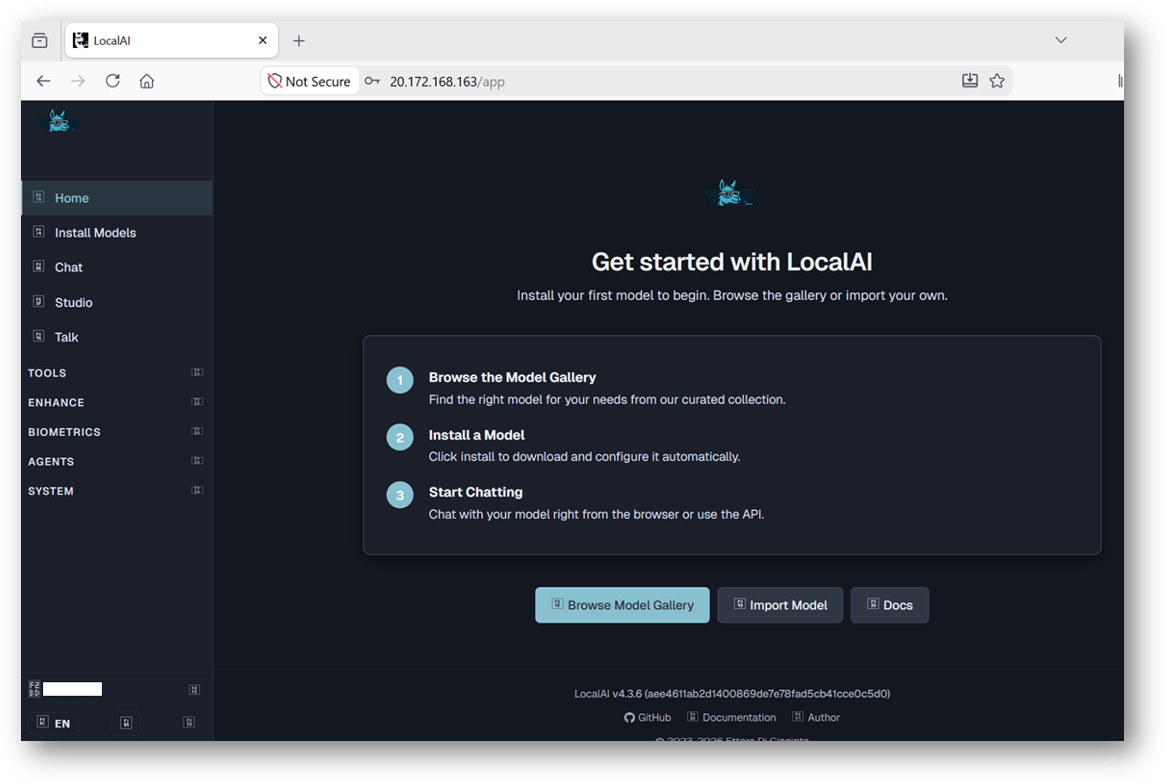
- The web interface lets you:
- Chat with any installed model
- Install models from the built-in gallery (Models page)
- Generate images, audio, and more
- Create and manage AI agents with MCP tool support
- Monitor system resources and loaded models
- Configure settings including GPU acceleration
- To get started, navigate to the Models page, browse the gallery, and install a model of your choice. Once installed, head to the desired page e.g chat, studio etc.
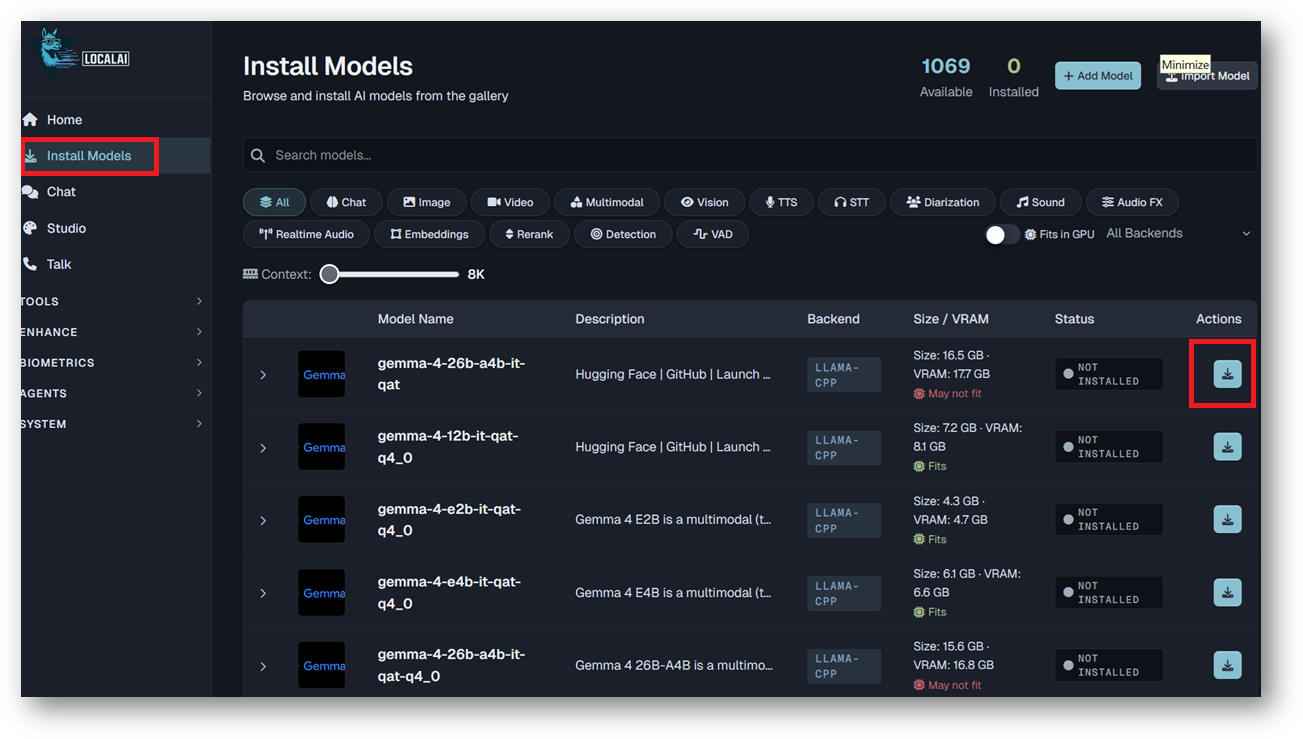
- When browsing the gallery or importing a model by URI, LocalAI can show estimated download size and estimated VRAM for models.

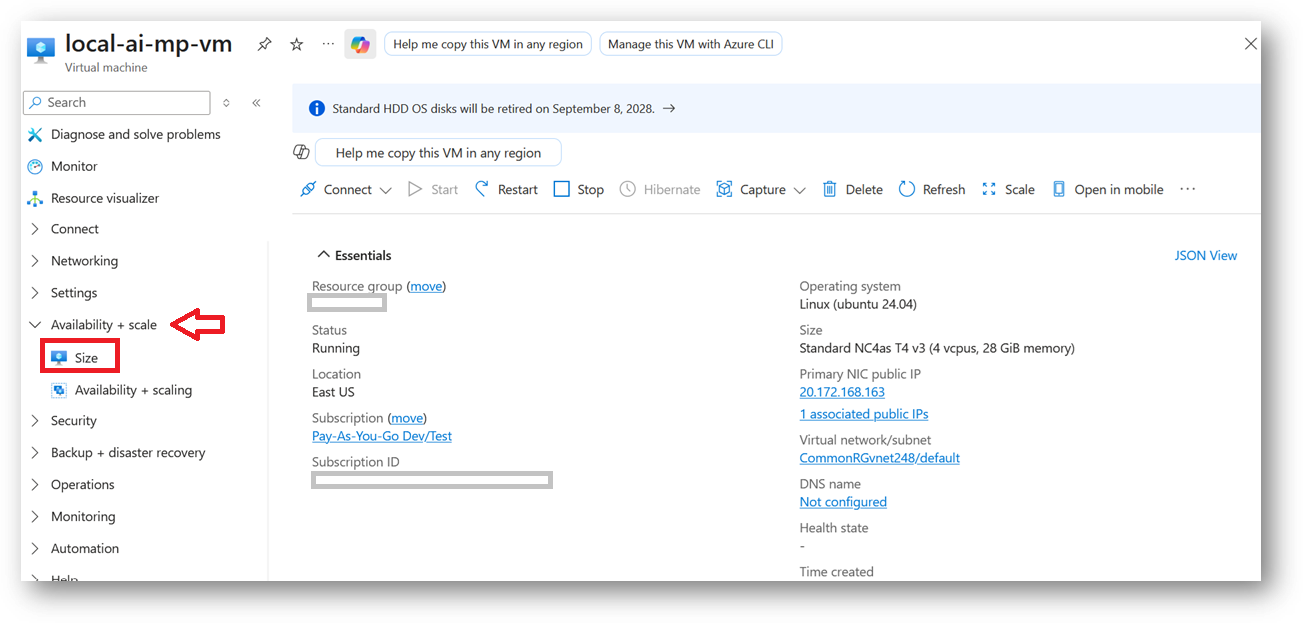
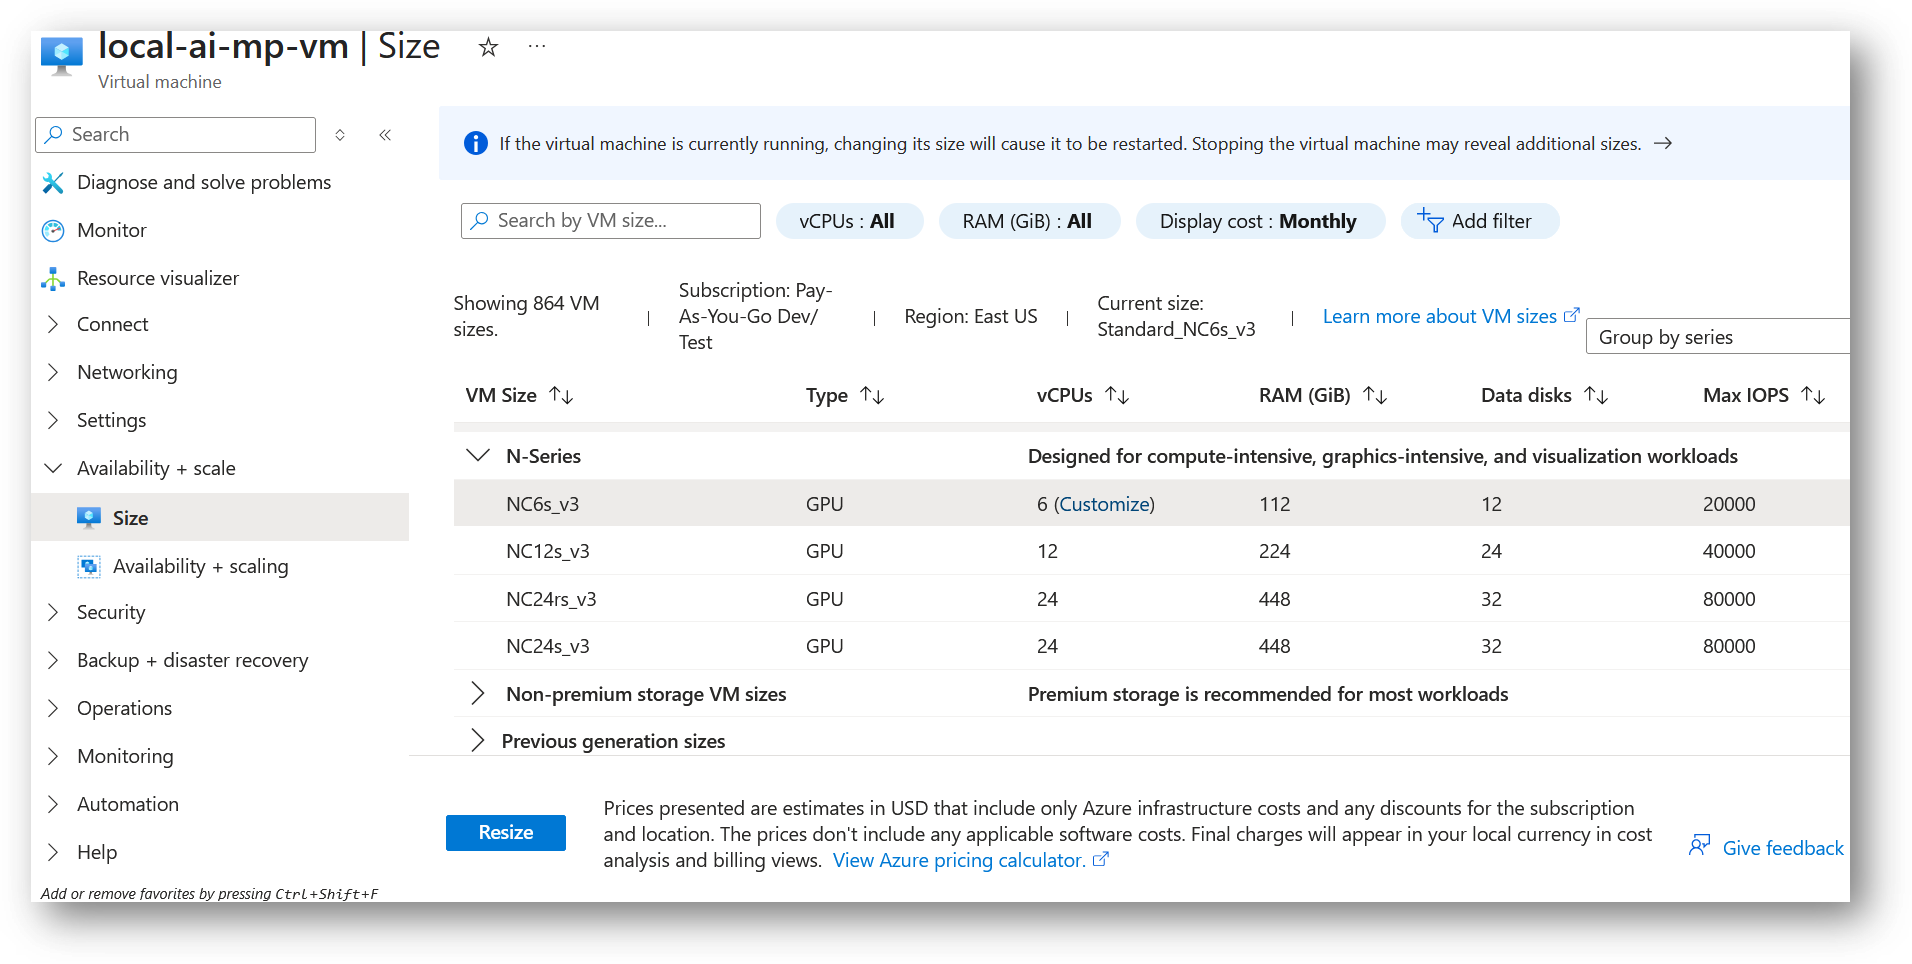
- If the estimated VRAM is insufficient for your desired model, stop the VM and increase the VM size. To do this, expand Availability + Scale and select Size from the left pane of the VM details page. Select the required VM size and click on Resize button. Once completed start the VM and install the model.
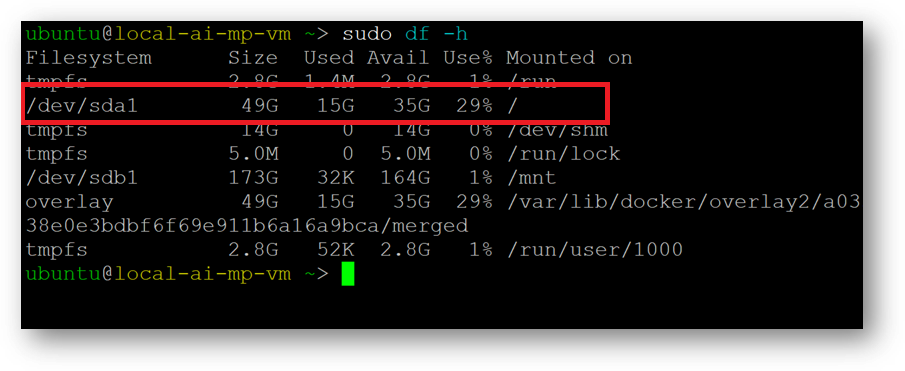
- By default VM comes with 50GB of Disk. You can check the free space available on this VM by running below command in SSH terminal.
sudo df -h
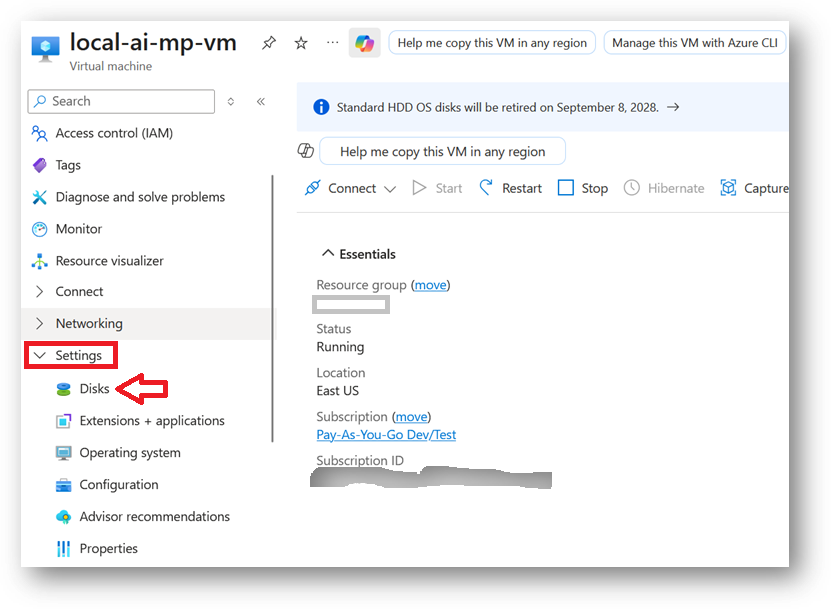
- If the VM runs low on disk space after installing models through the Web UI, stop the VM and increase the disk size.
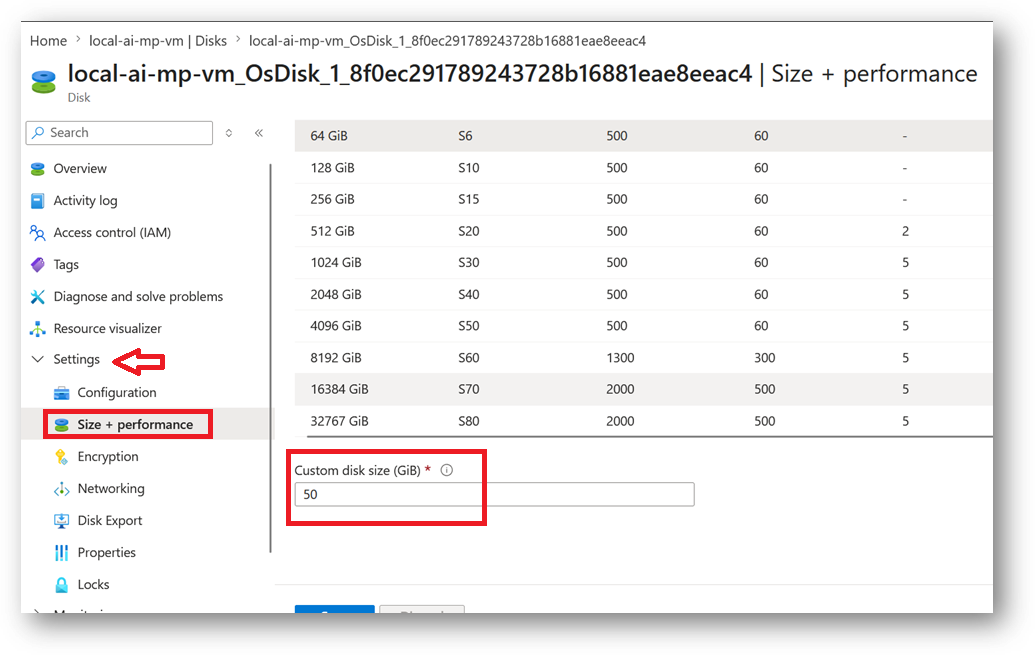
To do this, expand Settings and select Disks from the left pane of the VM details page. On the Disks page, click the disk name link to open the disk details page. In the left pane, expand the Settings menu and select Size + Performance.
Scroll down to Custom Disk Size, enter the desired size, and save the changes. After the disk has been resized, restart the VM.
For more details, please visit Official Documentation page