Go back

Setup and installation of 'KubeSphere for Cloud-Native Scalable DevOps' on GCP

This section describes how to provision and connect to ‘KubeSphere for Cloud-Native Scalable DevOps’ VM solution on GCP.

  1. Open KubeSphere for Cloud-Native Scalable DevOps listing on GCP Marketplace

  2. Click Get Started.

/img/gcp/kubesphere/marketplace.png

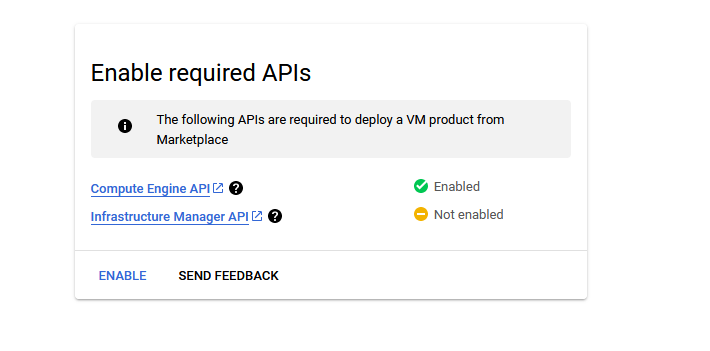
It will ask you to enable the API’s if they are not enabled already for your account. Please click on enable as shown in the screenshot.

/img/gcp/nvidia-ubuntu/enable-api.png

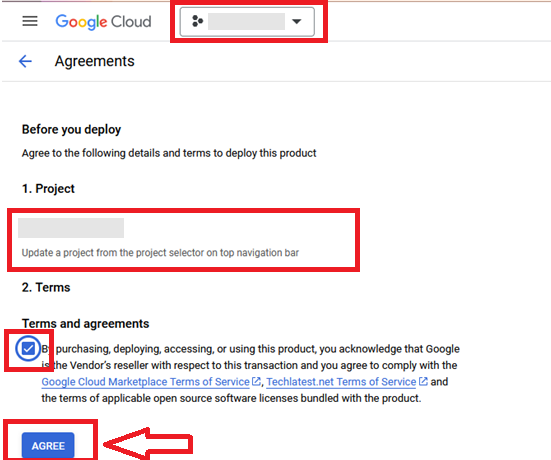
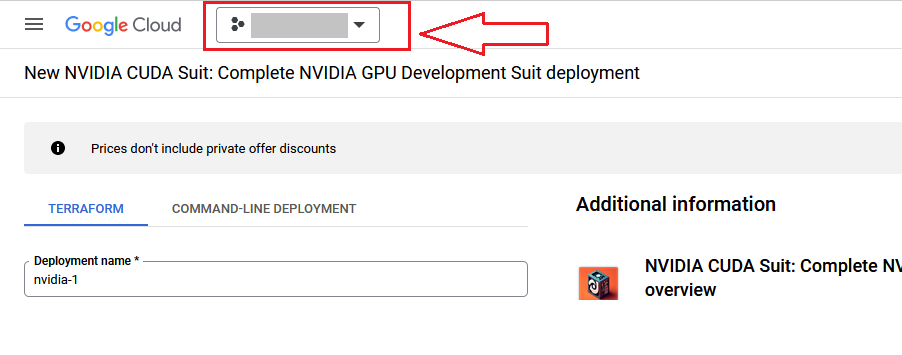
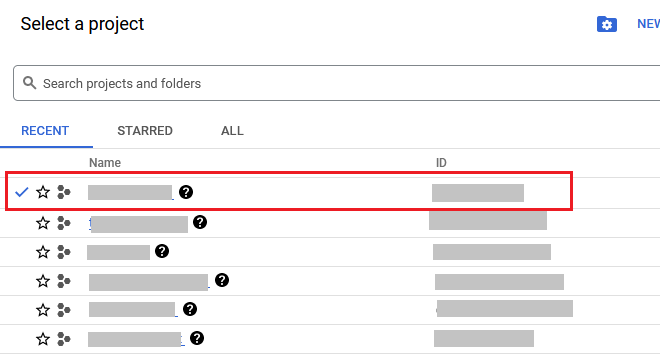
  • It will take you to the agreement page. On this page, you can change the project from the project selector on top navigator bar as shown in the below screenshot.

  • Accept the Terms and agreements by ticking the checkbox and clicking on the AGREE button. /img/common/gcp_agreement_page.png

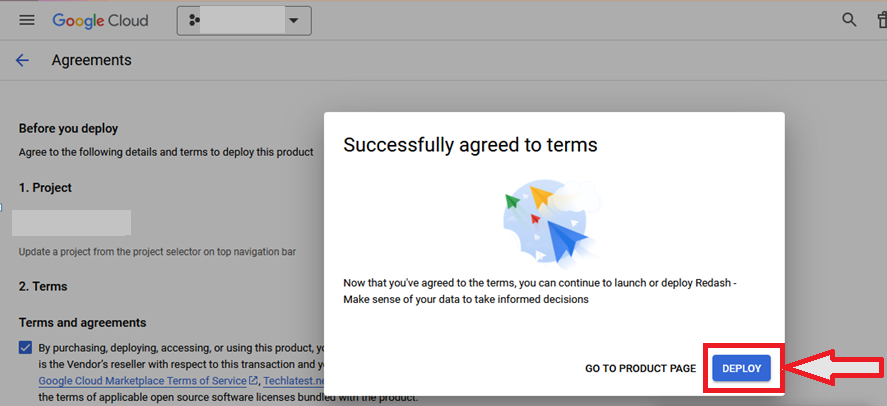
  • It will show you the successfully agreed popup page. Click on Deploy. /img/common/gcp_agreement_accept_page.png

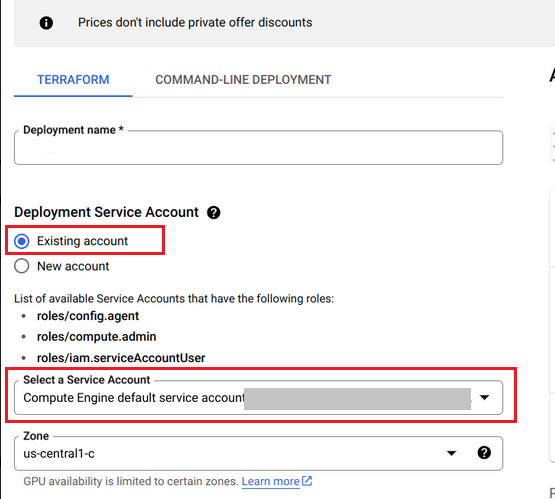
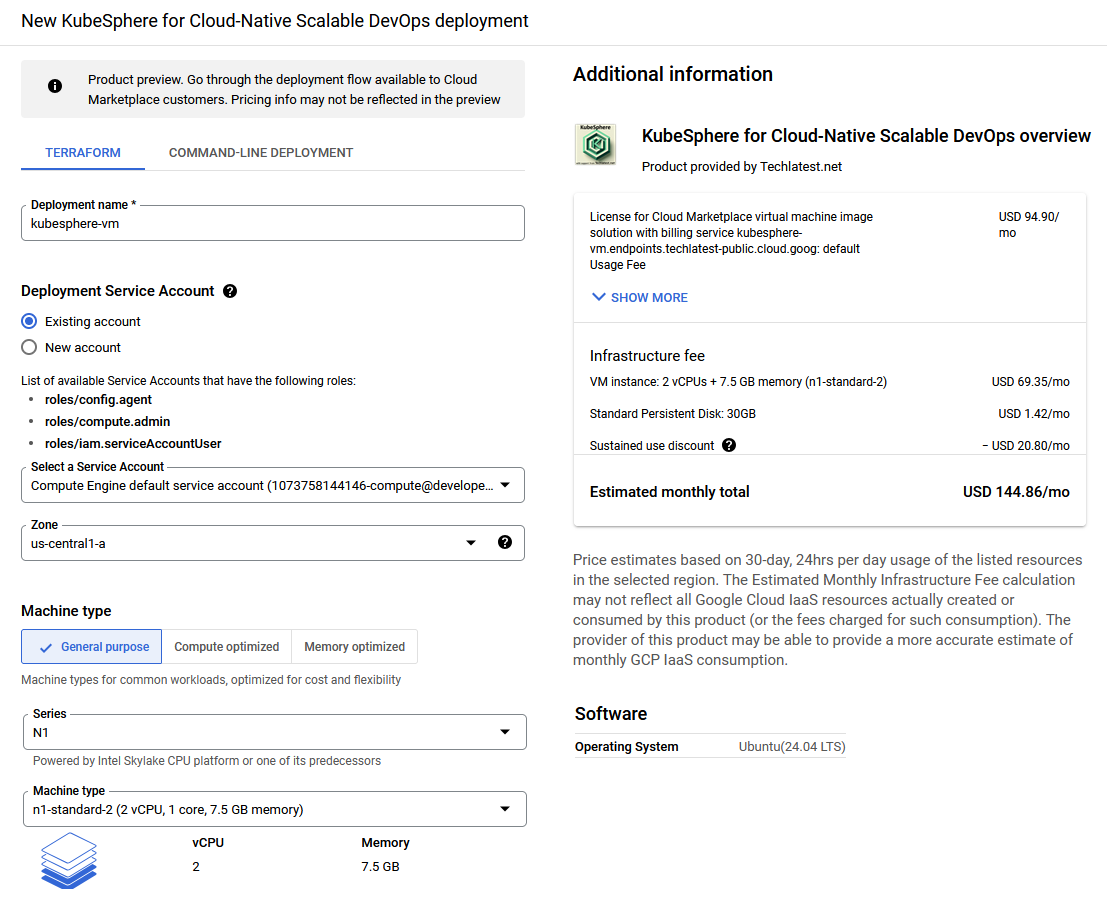
  • On deployment page, give a name to your deployment.

  • Tick the existing account radio button and select your existing service account from the "Select a service account" dropdown as shown below.
  • If you don't see the service account in "Select a service account" drop down, then please follow the below steps to add one. if you can see a service account in the dropdown, skip ahead to the next step to select the region for your deployment.
  • below steps are one time only and you need appropriate IAM permissions to execute these steps. If you encounter IAM permission errors, reach out to your organization's IAM admin to execute these steps :
    1. Note Project id : First note down the project-id of the project where you are deploying our solution . Project id can be found by clicking on the project dropdown and copying id from the poped up window.

    2. Activate cloud shell by clicking the shell icon at the top right corner.
    3. In the cloud shell, run below command to switch to the project where you are deploying this solution , replace PROJECT_ID with the actual project id copied in step a.
    4. gcloud config set project "PROJECT_ID"

    5. Then run below command to create new service account, replace highlighted bold text with suitable values.
    6. gcloud iam service-accounts create "your-service-account-name" --description="service account for your-google-cloud-login-emailid " --display-name="your-service-account-name"

    7. Then run below command to associate the newly created service account with your google cloud login id, replace highlighted bold text with values provided in above steps
    8. gcloud iam service-accounts add-iam-policy-binding your-service-account-name@projectid-copied-in-step-a.iam.gserviceaccount.com --member="user:your-google-cloud-login-emailid" --role="roles/iam.serviceAccountUser"

    9. Then run below 3 commands one after the other , replace highlighted bold text with your service account name provided in previous steps.
    10. gcloud projects add-iam-policy-binding PROJECT_ID --member=serviceAccount:your-service-account-name@projectid-copied-in-step-a.iam.gserviceaccount.com --role=roles/config.agent

      gcloud projects add-iam-policy-binding PROJECT_ID --member=serviceAccount:your-service-account-name@projectid-copied-in-step-a.am.gserviceaccount.com --role=roles/compute.admin

      gcloud projects add-iam-policy-binding PROJECT_ID --member=serviceAccount:your-service-account-name@projectid-copied-in-step-a.iam.gserviceaccount.com --role=roles/iam.serviceAccountUser

    11. Once the above steps are done, wait for 60 seconds then refresh the deployment page and you should see the newly created service account in "Select a service account". Continue with the next steps below.
  • Select a zone where you want to launch the VM(such as us-east1-a)

  • Optionally change the number of cores and amount of memory. ( This defaults to 2 vCPUs and 7.5 GB RAM)

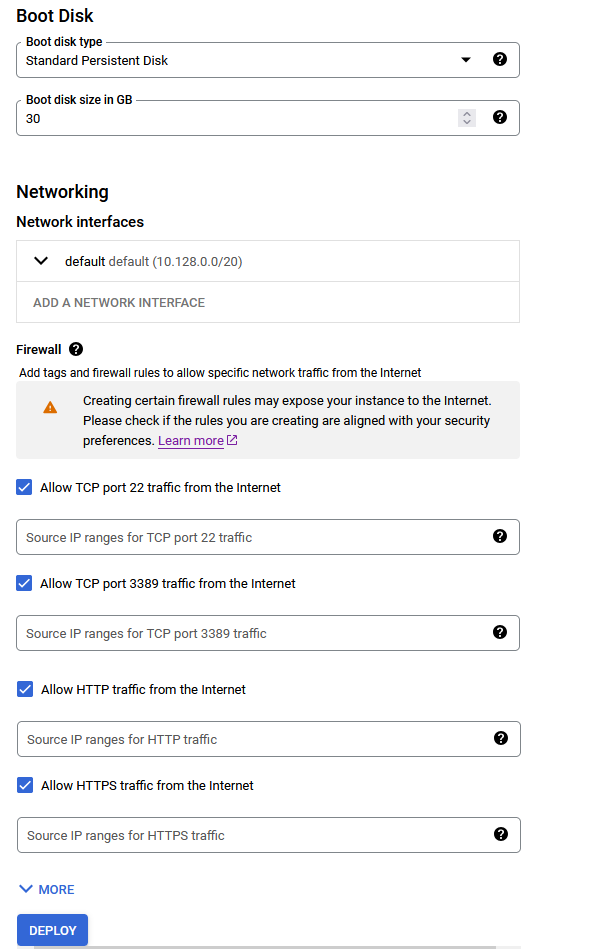
  • Optionally change the boot disk type and size. (This defaults to ‘Standard Persistent Disk’ and 30 GB respectively)

  • Optionally change the network name and subnetwork names. Be sure that whichever network you specify has ports 22 (for ssh), 3389 (for RDP), 80 (for HTTP) and 443 (for HTTPS) exposed.

  • Click Deploy when you are done.

  • KubeSphere for Cloud-Native Scalable DevOps will begin deploying.

/img/gcp/kubesphere/deployed-01.png

/img/gcp/kubesphere/deployed-02.png

  1. A summary page displays when the compute engine is successfully deployed. Click on the Instance link to go to the instance page .

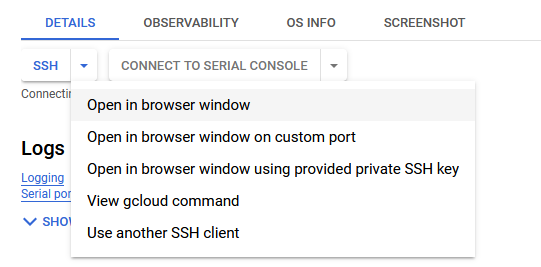
  2. On the instance page, click on the “SSH” button, select “Open in browser window”.

/img/gcp/rancher/ssh-option.png

  1. This will open SSH window in a browser. Switch to ubuntu user and navigate to ubuntu home directory.
sudo su ubuntu
cd /home/ubuntu/

/img/gcp/rancher/switch-ubuntu-user.png

  1. KubeSphere is being installed and configured in the background. This process may take a few minutes. You can monitor the installation progress by running the command below in your terminal.
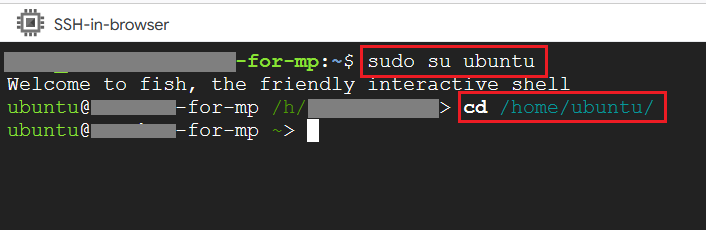
tail -f /var/log/cloud-init-output.log

/img/gcp/kubesphere/monitor-peronce-with-tail.png

  1. You will see following messages in the logs. Keep monitoring this process.
   ### STARTED EXECUTING PER-ONCE SCRIPT ####
   ### INSTALLING KUBESPHERE. IT WILL TAKE FEW MINUTES TO COMPLETE ###

/img/gcp/kubesphere/peronce-started.png

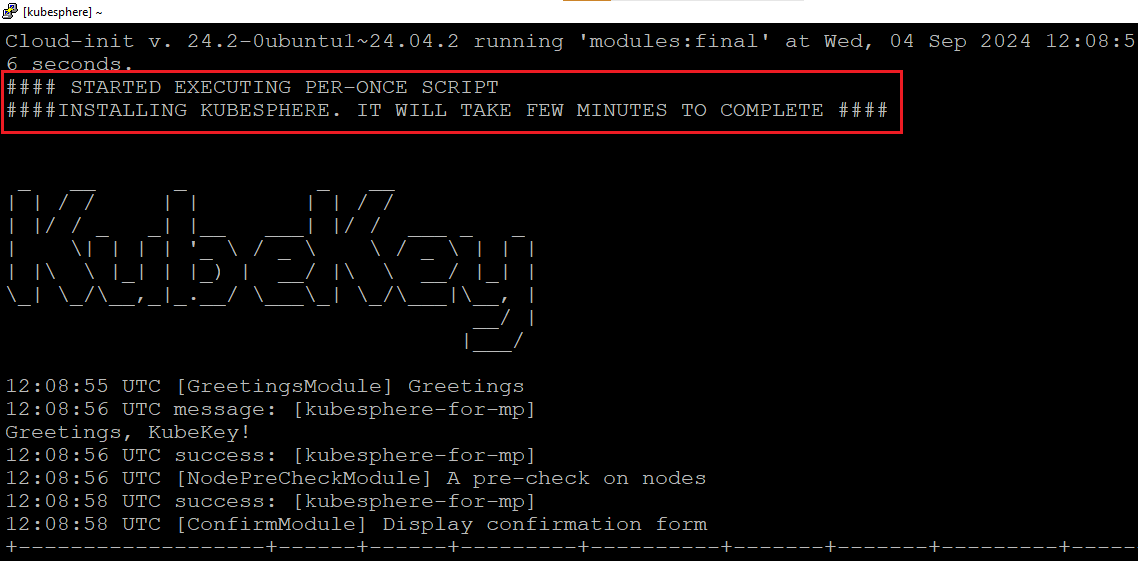
“Please wait for installation to complete »—> "

/img/gcp/kubesphere/peronce-kubesphere-in-progress.png

  1. Once installation is completed, you will see below messages. System will reboot after this and your SSH session will get disconnected.
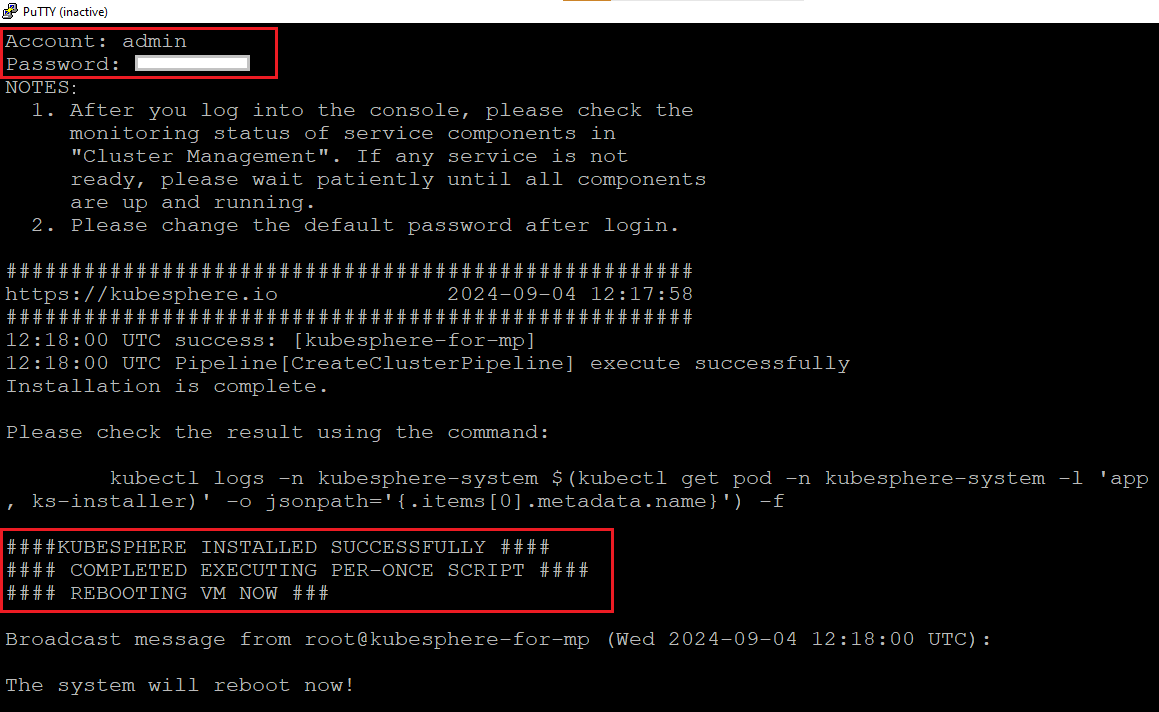
#### KUBESPHERE INSTALLED SUCCESSFULLY ####
#### COMPLETED EXECUTING PER-ONCE SCRIPT ####
#### REBOOTING VM NOW ###

/img/gcp/kubesphere/peronce-completed.png

  1. Connect again to SSH terminal and switch to ubuntu user, change the password for ubuntu user using below command
sudo passwd ubuntu

/img/gcp/jupyter-python-notebook/ssh-passwd.png

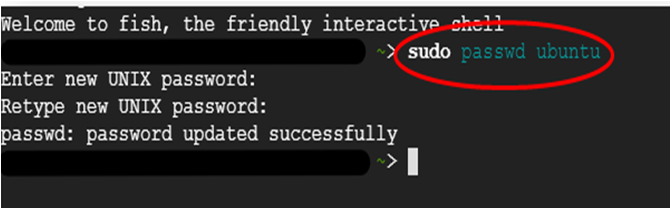
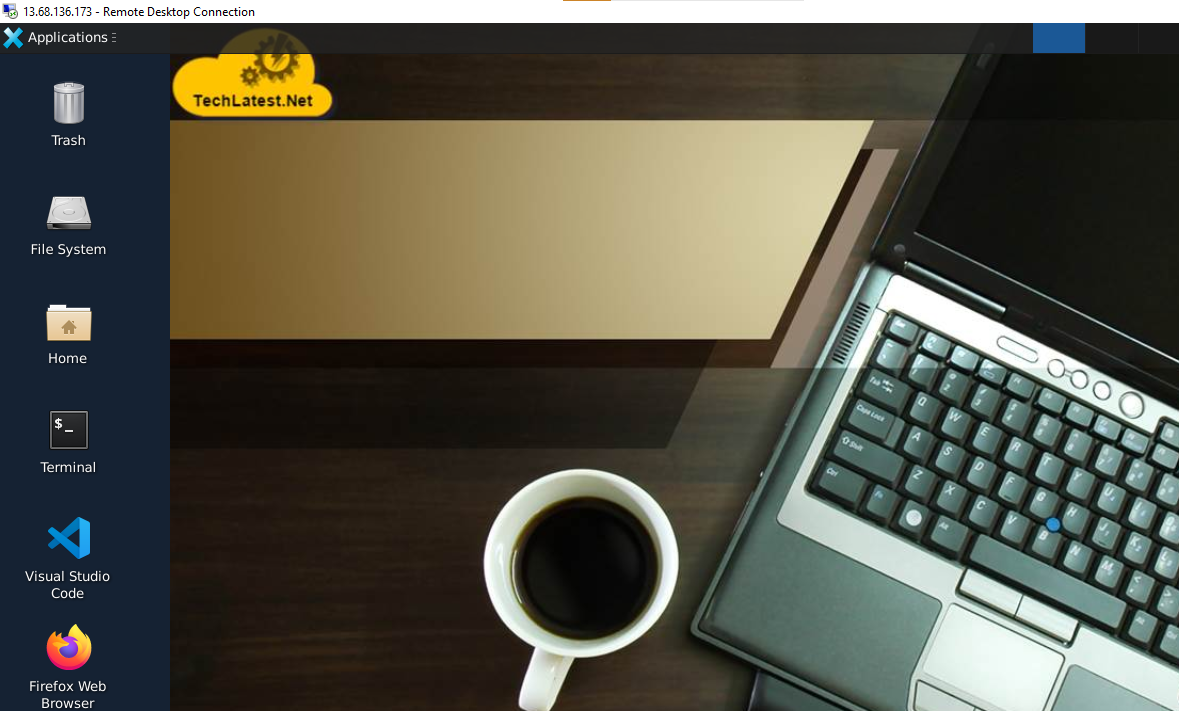
  1. Now the password for ubuntu user is set, you can connect to the VM’s desktop environment from any local windows machine using RDP or linux machine using Remmina.

  2. To connect using RDP via Windows machine, first note the external IP of the VM from VM details page as highlighted below

/img/gcp/rancher/public-ip.png

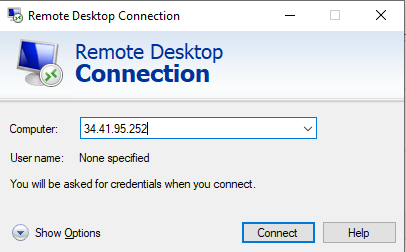
  1. Then From your local windows machine, goto “start” menu, in the search box type and select “Remote desktop connection”

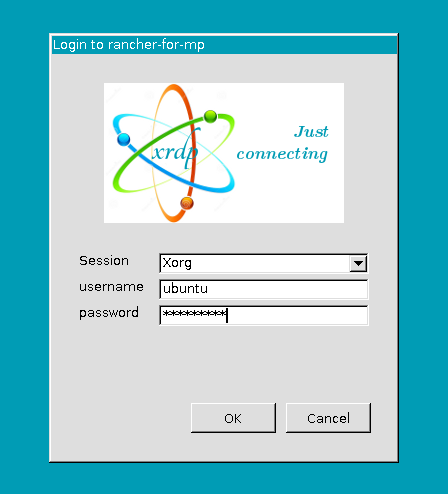
  2. In the “Remote Desktop connection” wizard, paste the external ip and click connect

/img/gcp/rancher/rdp.png

  1. This will connect you to the VM’s desktop environment. Provide “ubuntu” as the userid and the password set in step 9 to authenticate. Click OK

/img/gcp/rancher/rdp-login.png

  1. Now you are connected to out of box KubeSphere for Cloud-Native Scalable DevOps VM’s desktop environment via Windows machines.

/img/azure/minikube/rdp-desktop.png

  1. To connect using RDP via Linux machine, first note the external IP of the VM from VM details page,then from your local Linux machine, goto menu, in the search box type and select “Remmina”.

    Note: If you don’t have Remmina installed on your Linux machine, first Install Remmina as per your linux distribution.

/img/gcp/common/remmina-search.png

  1. In the “Remmina Remote Desktop Client” wizard, select the RDP option from dropdown and paste the external ip and click enter.

/img/gcp/common/remmina-external-ip.png

  1. This will connect you to the VM’s desktop environment. Provide “ubuntu” as the userid and the password set in step 9 to authenticate. Click OK

/img/gcp/common/remmina-rdp-login.png

  1. Now you are connected to out of box KubeSphere for Cloud-Native Scalable DevOps VM’s desktop environment via Linux machine.

/img/azure/minikube/rdp-desktop.png

  1. To connect to KubeSphere UI, copy the Public IP of the VM and paste it in your Browser and hit enter. Browser warning will come up. Click on advance, accept the risk and continue to login page.

/img/gcp/kubesphere/browser-warning.png

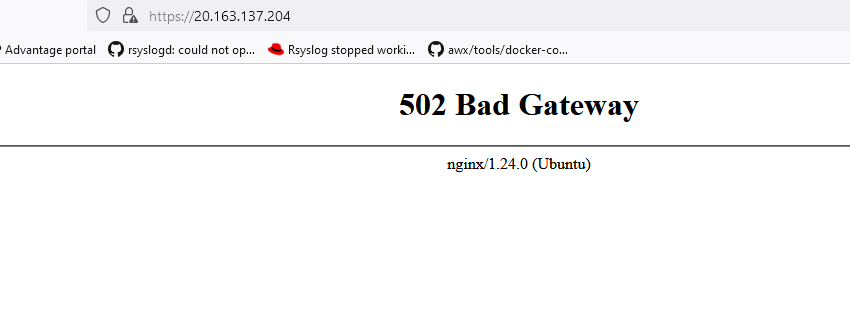
Note: If you see 502 Bad Gateway error message in your browser then wait for few minutes (10-15 minutes) and refresh the web browser.

/img/azure/kubesphere/bad-gateway-error.png

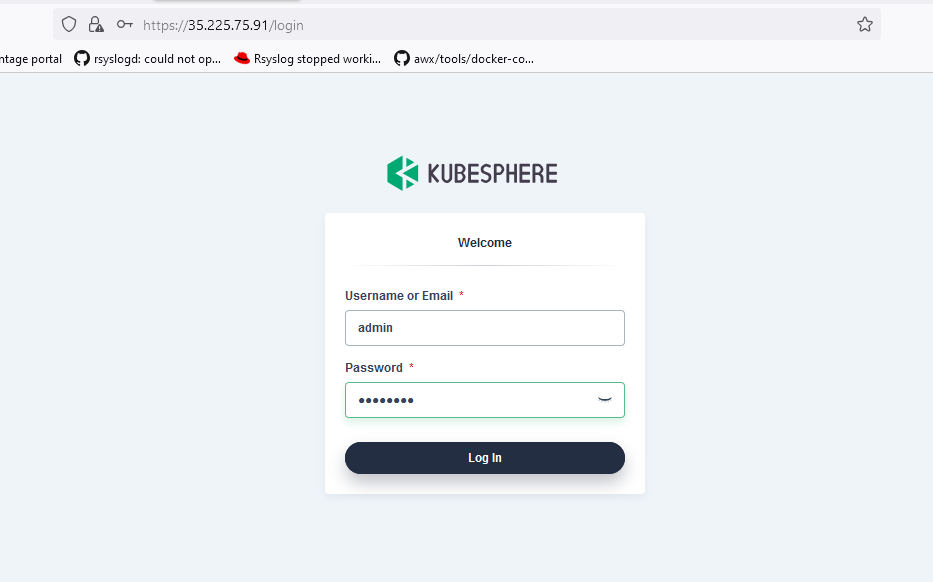
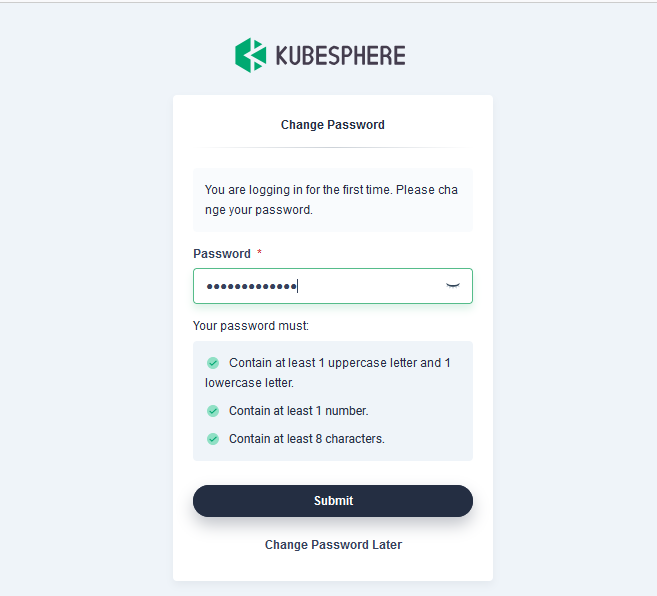
  1. On KubeSphre Login page, login with below credentials. On Next page, update your password.

    Usernam: admin

    Password: P@88w0rd

/img/gcp/kubesphere/kubesphere-ui.png

/img/gcp/kubesphere/update-password.png

  1. Or you can update it later from inside the User Interface. For that, click on “Change Password later” option. It will take you to the KubeSphere dashboard. Click on Admin dropdown from top right corner and select User Settings. On this page, select Password Settings from left pane and update your password. Once done click on Tick at the bottom as shown below.

/img/gcp/kubesphere/admin-settings.png /img/gcp/kubesphere/update-password-after-login.png

  1. Relogin with your new password.

/img/gcp/kubesphere/kubesphere-ui.png


For more information, please visit KubeSphere for Cloud-Native Scalable DevOps Documentation Page

Go back