This section describes how to launch and connect to Cloud IDE for Python using Jupyter & Visual Studio Code on Alibaba Cloud environment.


You will be redirected to Basic Configurations Page.
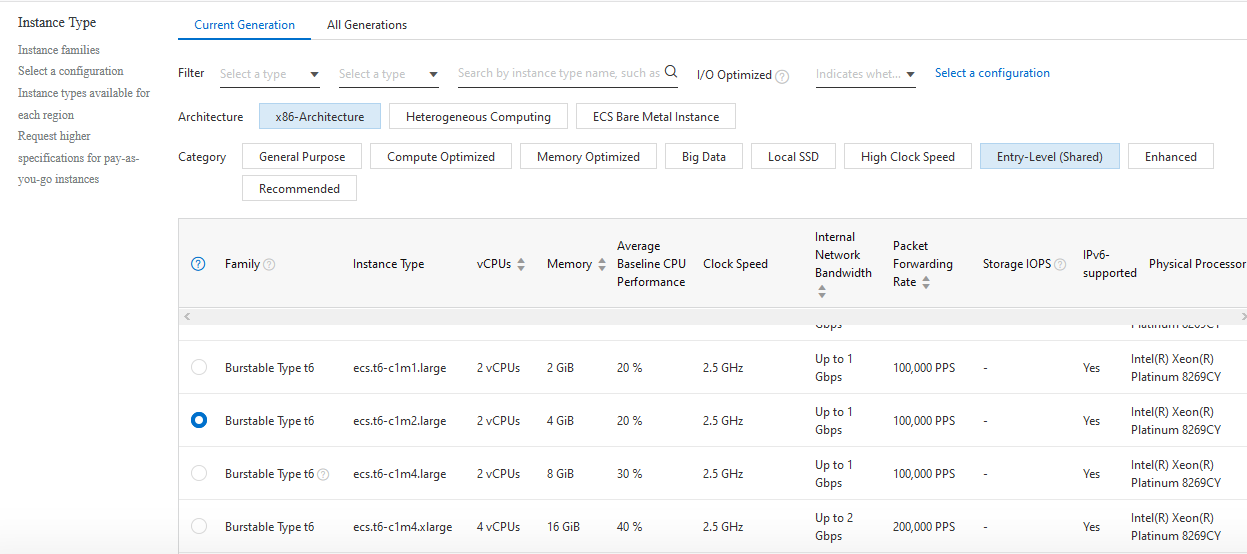
Select the Billing Method, Region and Zone where you want to launch the VM(such as Singapore, Zone A)
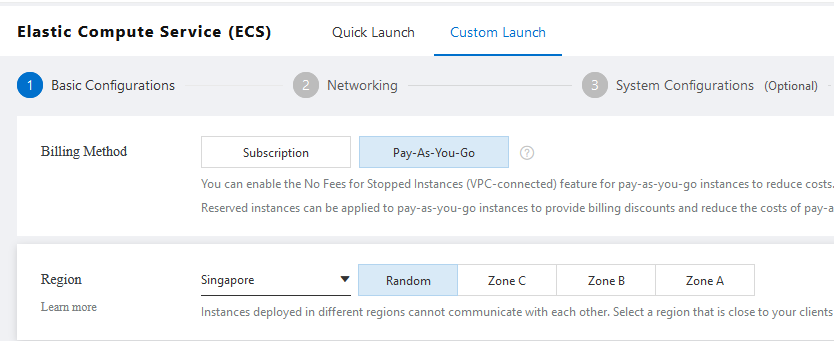
Optionally change the number of cores and amount of memory.
Optionally change the Sytem Disk and size.

On Networking tab, Optionally change the VPC, Bandwidth Billing and Bandwidth Options. Select the Security Group.Be sure that whichever Security Group you specify has ports 22 (for ssh), 80 (for http) and 3389 (for RDP) exposed.

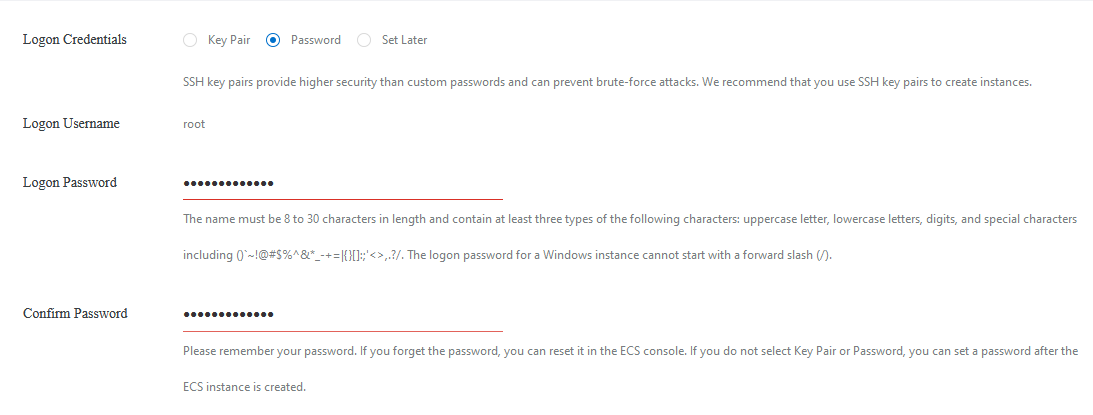
On System Configurations tab, Select Logon Credentials as Password and enter the password.
On Grouping tab, Optionally change the Resource Group and other settings.
Click Preview and Create Instance when you are done.
Cloud IDE for Python using Jupyter & Visual Studio Code will begin deploying.

sudo passwd ubuntu

Now the password for ubuntu user is set, you can connect to the VM’s desktop environment from any local windows machine using RDP or linux machine using Remmina.
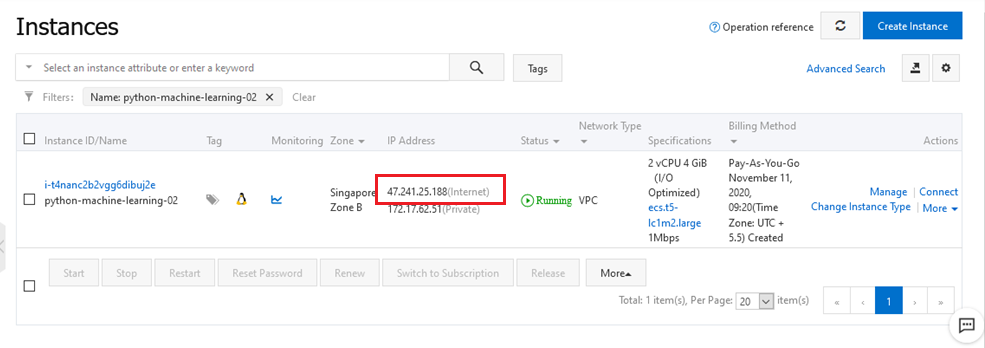
To connect using RDP via Windows machine, first note the Public IP of the VM
Then From your local windows machine, goto “start” menu, in the search box type and select “Remote desktop connection”
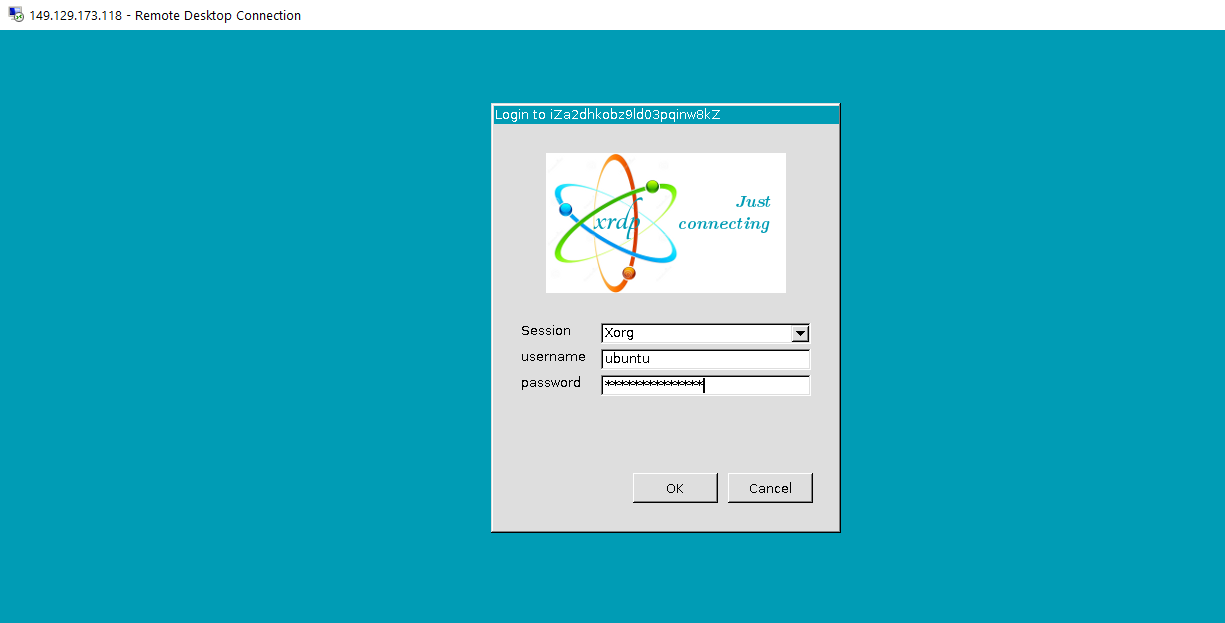
In the “Remote Desktop connection” wizard, paste the Public IP and click connect


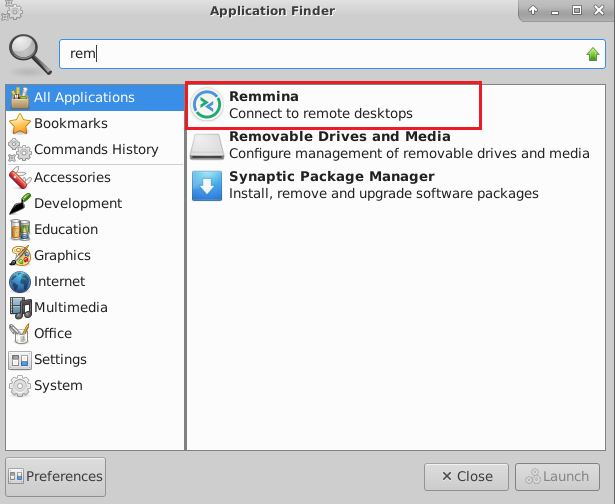
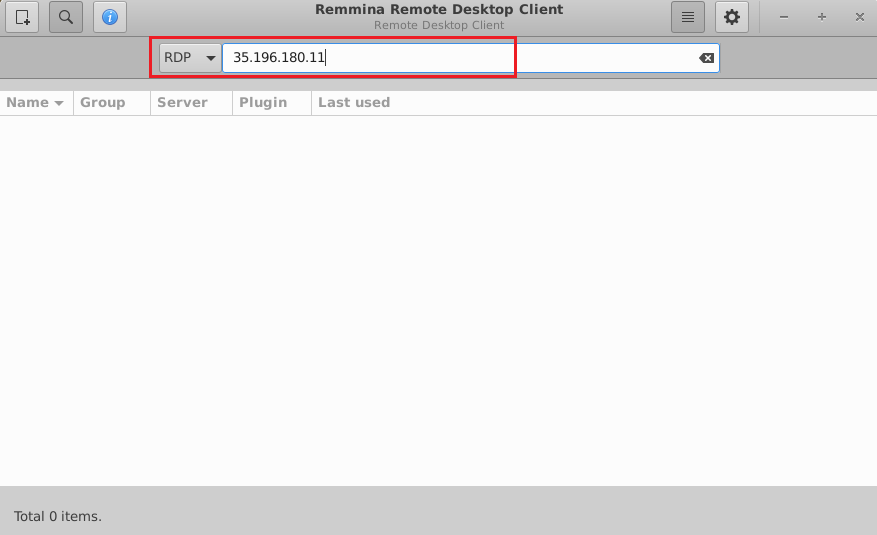
To connect using RDP via Linux machine, first note the external IP of the VM from VM details page,then from your local Linux machine, goto menu, in the search box type and select “Remmina”.
Note: If you don’t have Remmina installed on your Linux machine, first Install Remmina as per your linux distribution.
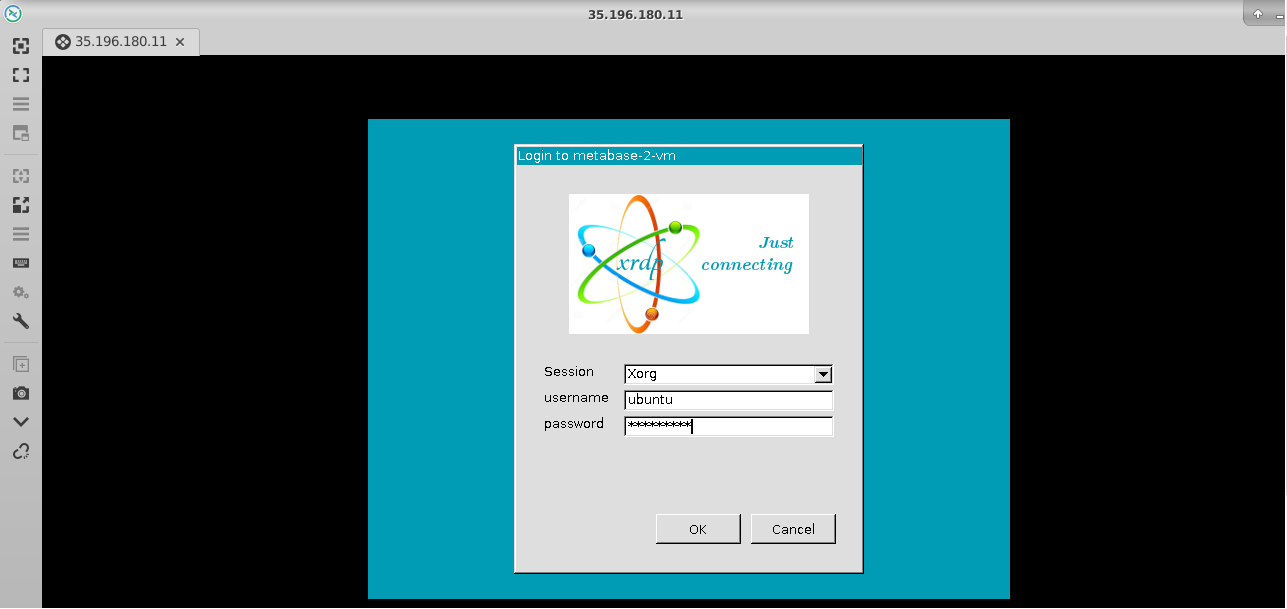


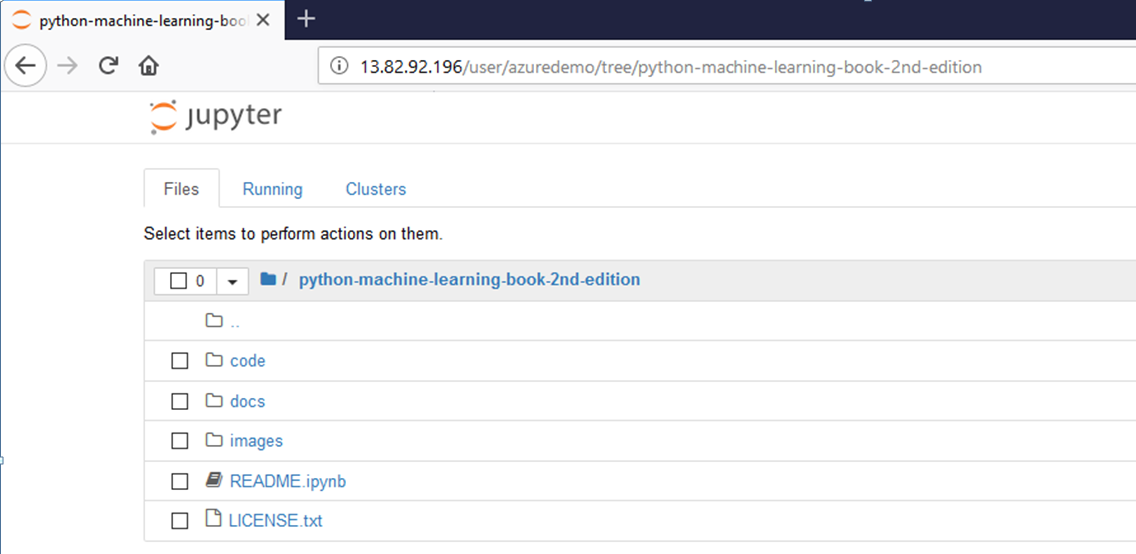
You can use the remote desktop you connected in above step for using the VM, however, more convenient and better method is to use the Jupyter/Ipython notebook which comes with the VM .
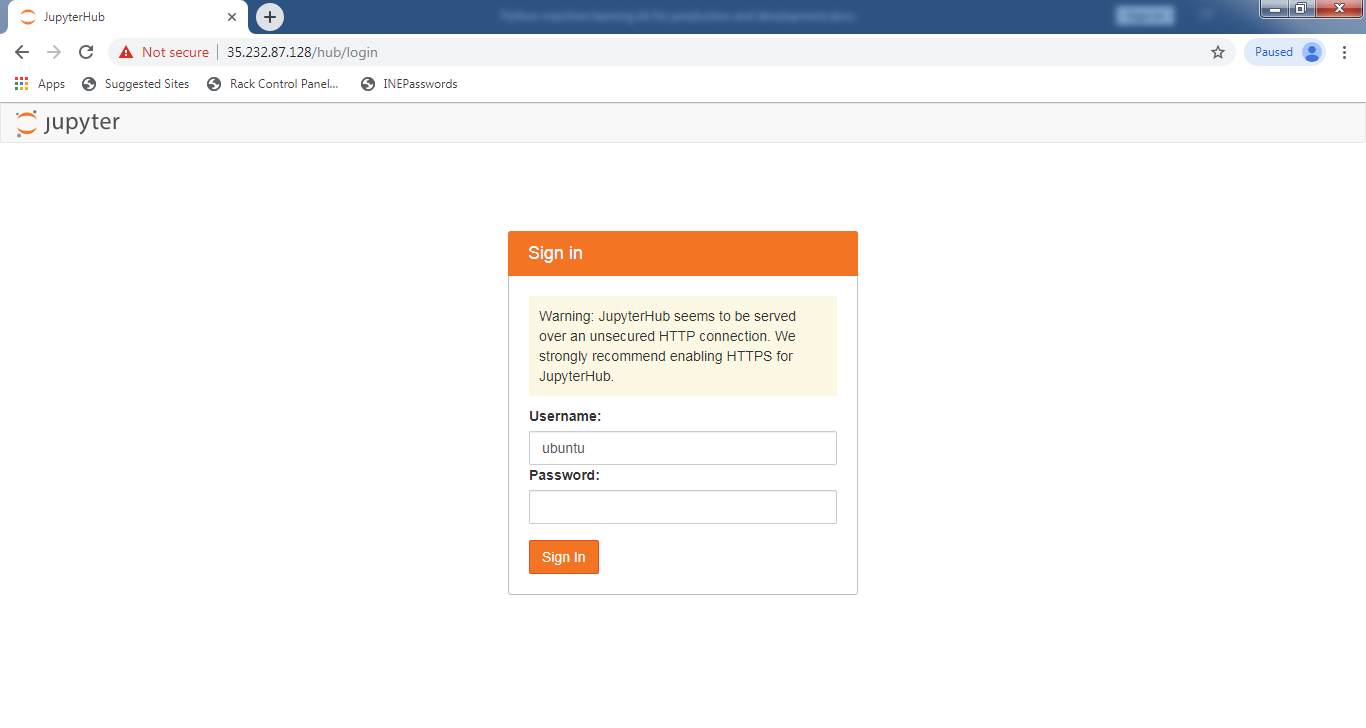
The Notebook is available on the same public IP you used for remote desktop and accessible via any browser. Just open the browser and type the public IP address (e.g http:// 35.232.87.128 ) and you will get below screen for login . Use “ubuntu” as username and the password you set in step 8 to login.
Note: Make sure you use “http” and not “https” in the url
