Setup and installation of 'BTCPay Server: Bitcoin Payments Made Easy' on AWS
This section describes how to launch and connect to ‘BTCPay Server: Bitcoin Payments Made Easy’ VM solution on AWS.
Note: The VM requires a DNS name to configure BTCPay Server. Please create and allocate an Elastic IP after the instance is up and running. If you have a DNS name, create an A record pointing to the VM’s Elastic IP. Make sure to use a Elastic IP, as a dynamic IP will change after a VM reboot. If you do not have a DNS Name, you can create Dynamic DNS and configure BTCPay Server. Steps to created DDNS(Dynamic DNS) are covered below.
- Open BTCPay Server: Bitcoin Payments Made Easy VM listing on AWS marketplace
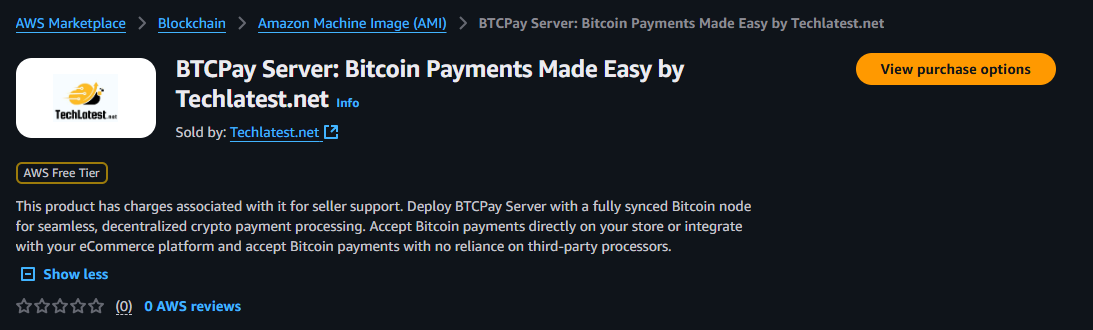
- Click on View purchase options.
- Login with your credentials and follow the instruction.
- Subscribe to the product and click on Continue to configuration button.
- Select a Region where you want to launch the VM(such as US East (N.Virginia))

- Click on Continue to Launch Button.
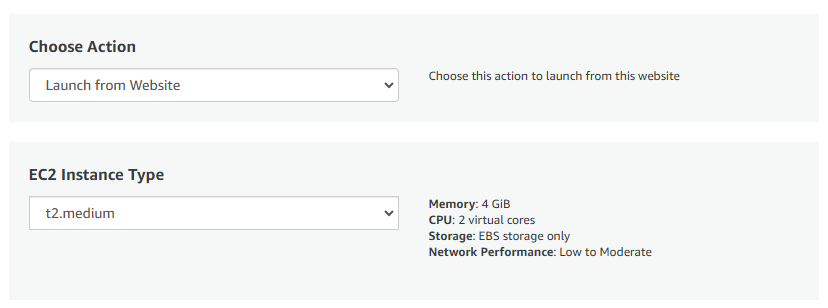
- Choose Action: You can launch it through EC2 or from Website.(Let’s choose Launch from website)
-
Optionally change the EC2 instance type. (This defaults to t2.large instance type, 2 vCPUs and 8 GB RAM). For faster syncing of Bitcoin Ledger select atleast 2vCPUs/8GB RAM configuration.
-
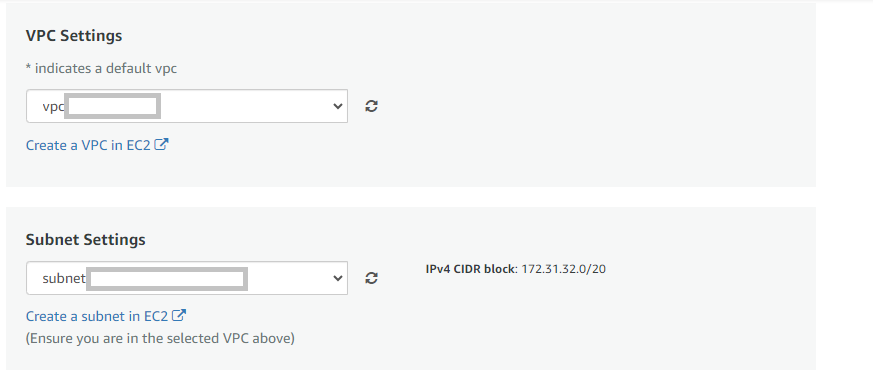
Optionally change the network name and subnetwork names.
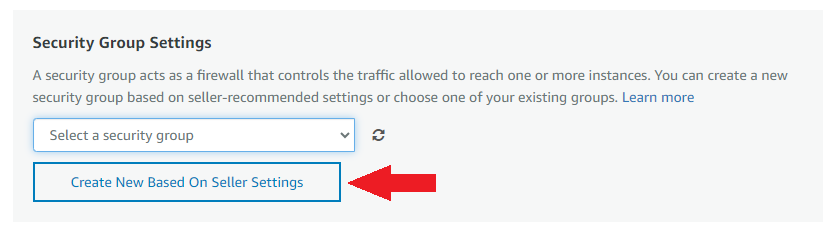
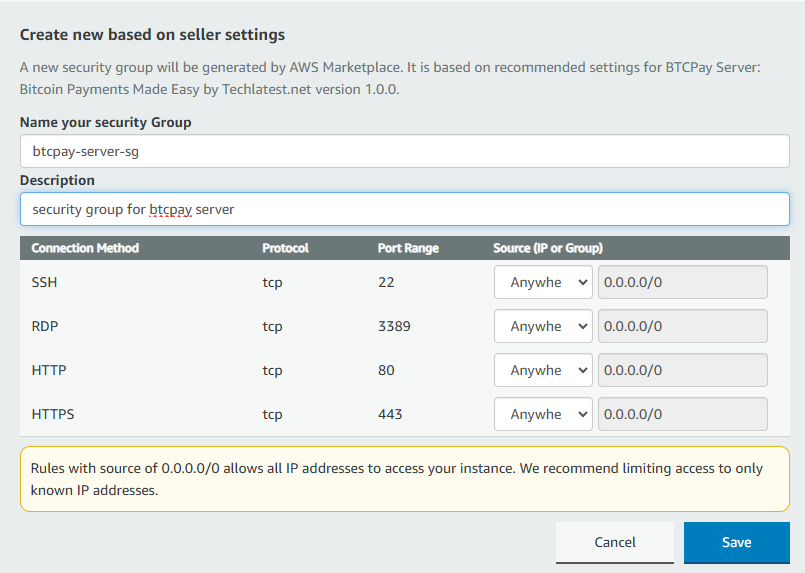
- Select the Security Group. Be sure that whichever Security Group you specify have ports 22 (for SSH), 3389 (for RDP), 80 (for HTTP) and 443 (for HTTPS) exposed. Or you can create the new SG by clicking on “Create New Based On Seller Settings” button. Provide the name and description and save the SG for this instance.
-
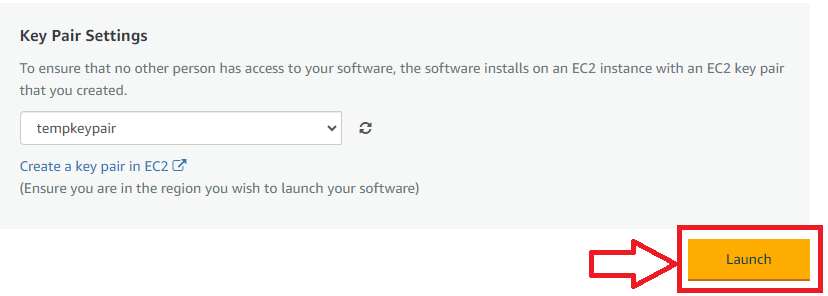
Be sure to download the key-pair which is available by default, or you can create the new key-pair and download it.
-
Click on Launch..
-
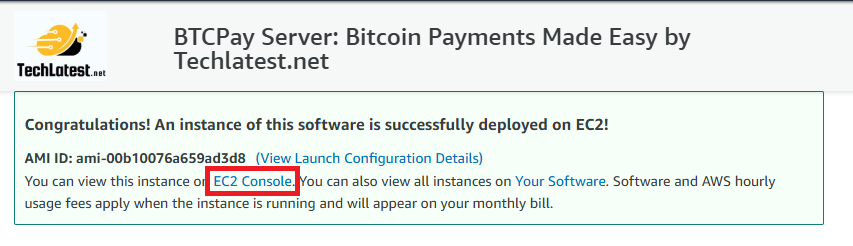
BTCPay Server: Bitcoin Payments Made Easy will begin deploying.
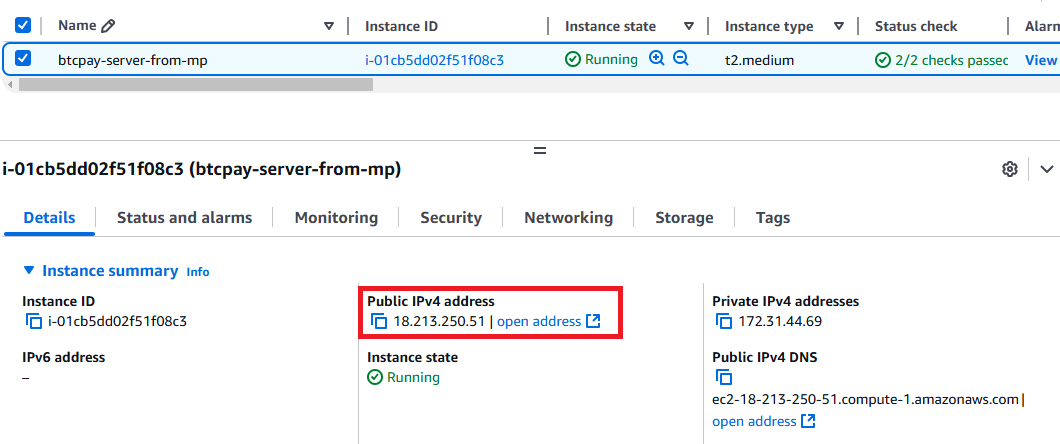
- A summary page displays. To see this instance on EC2 Console click on EC2 Console link.
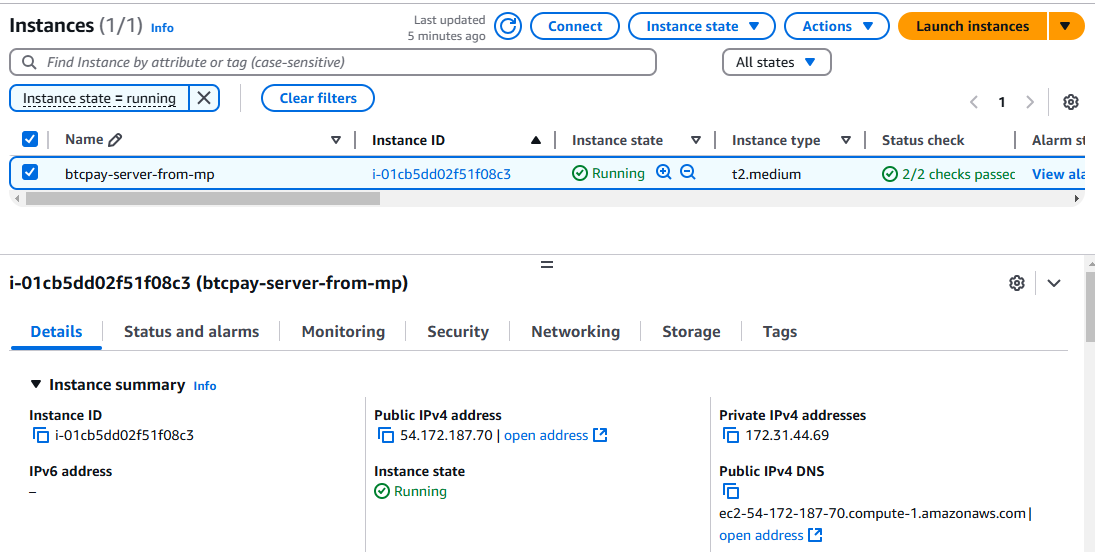
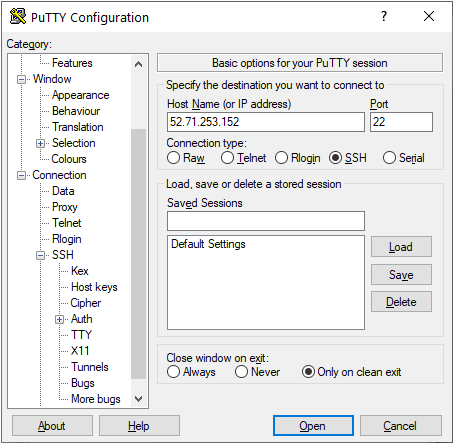
- To connect to this instance through putty, copy the IPv4 Public IP Address from the VM’s details page.
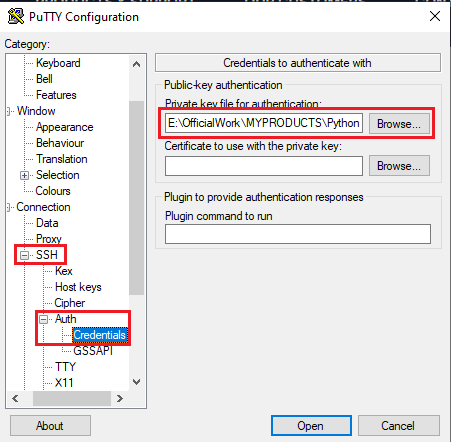
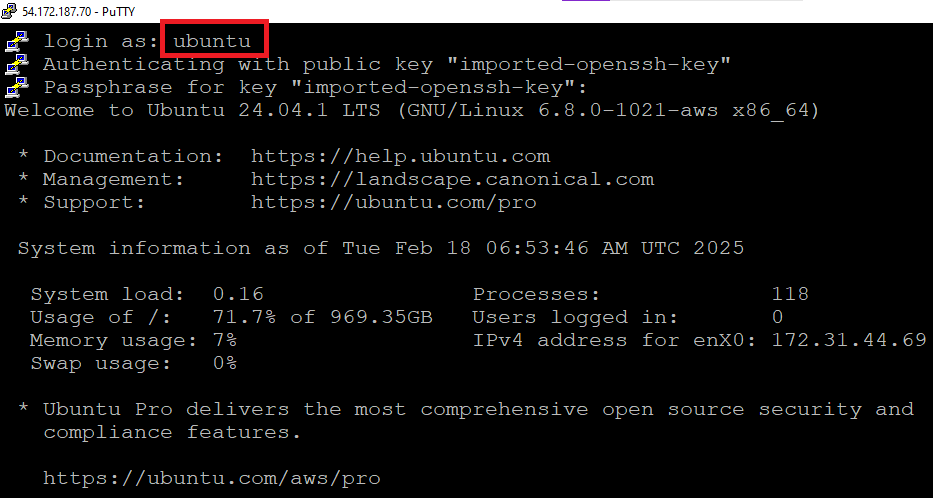
- Open putty, paste the IP address and browse your private key you downloaded while deploying the VM, by going to SSH->Auth->Credentials, click on Open. Enter ubuntu as userid
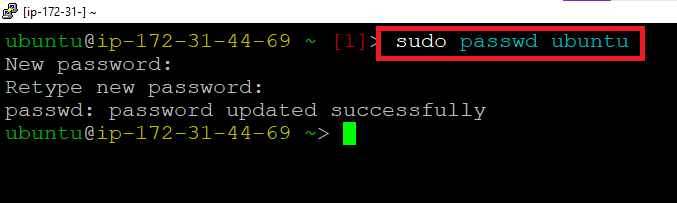
- Once connected, change the password for ubuntu user using below command
- Now the password for ubuntu user is set, you can connect to the VM’s desktop environment from any local Windows Machine using RDP protocol or Linux Machine using Remmina.
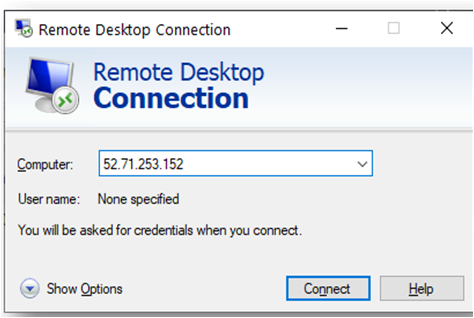
From your local windows machine, goto “start” menu, in the search box type and select “Remote desktop connection”. In the “Remote Desktop connection” wizard, copy the public IP address and click connect
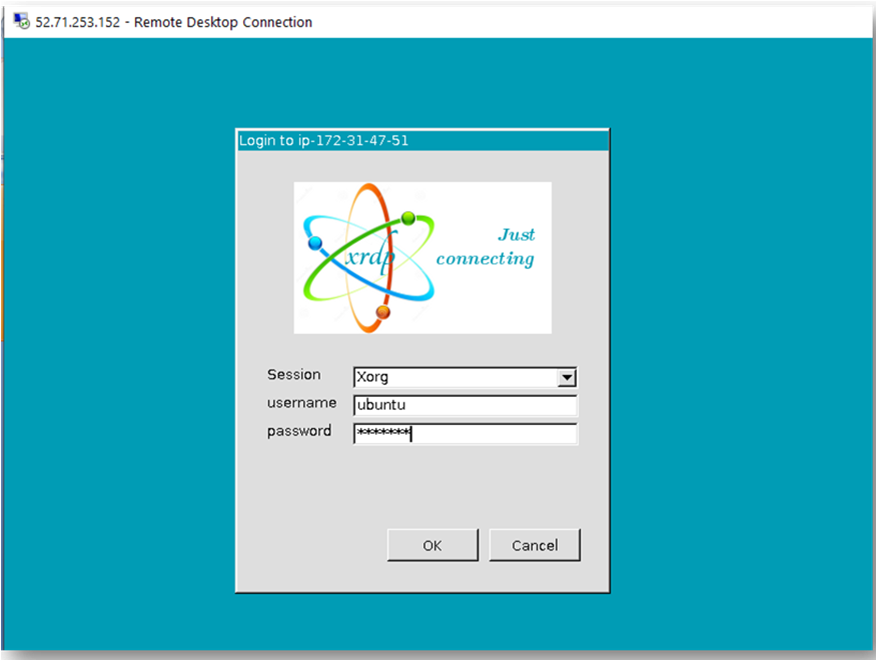
- This will connect you to the VM’s desktop environment. Provide the username “ubuntu” and the password set in the above “Reset password” step to authenticate. Click OK
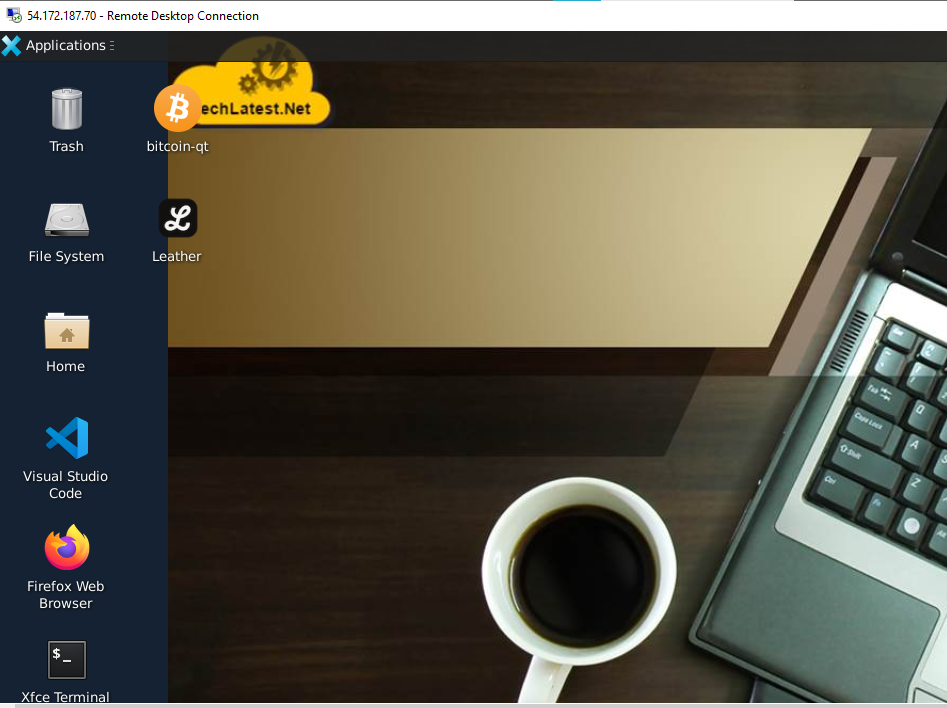
- Now you are connected to the out of box BTCPay Server: Bitcoin Payments Made Easy VM’s desktop environment via Windows Machine.
- To connect using RDP via Linux machine, first note the external IP of the VM from VM details page,then from your local Linux machine, goto menu, in the search box type and select “Remmina”.
Note: If you don’t have Remmina installed on your Linux machine, first Install Remmina as per your linux distribution.

- In the “Remmina Remote Desktop Client” wizard, select the RDP option from dropdown and paste the external ip and click enter.

- This will connect you to the VM’s desktop environment. Provide “ubuntu” as the userid and the password set in above reset password step to authenticate. Click OK

- Now you are connected to out of box BTCPay Server: Bitcoin Payments Made Easy VM’s desktop environment via Linux machine.
-
To access the BTCPay Server Web Interface, you will need DNS name of the VM instance. To use the DNS name , you need to assign Elastic IP for you instance. For more details please visit Working with EIPS in AWS page. This will keep your DNS static and will not change after vm restart.
-
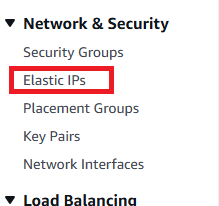
To do so, select Elastic IP option available under Network and Security group in the left pane.
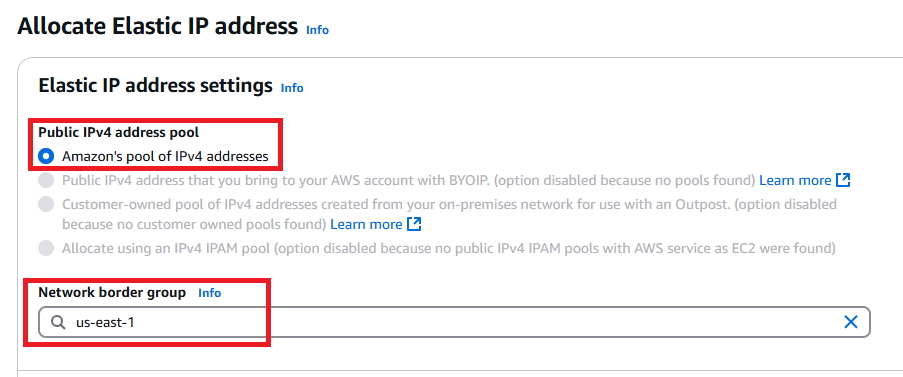
- On Elastic IP page, click on Allocate Elastic IP Address button available on top right corner.

- On this page, select Amazon’s pool of IPv4 addresses radio button and select the same region as that of your BTCPay server VM instance and Click on Allocate button at the bottom to save the changes.
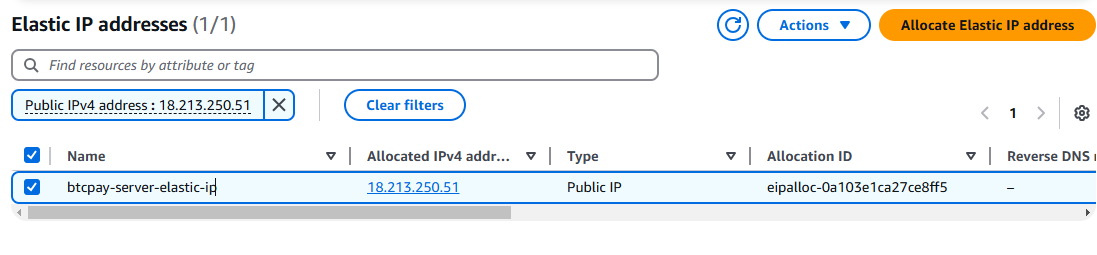
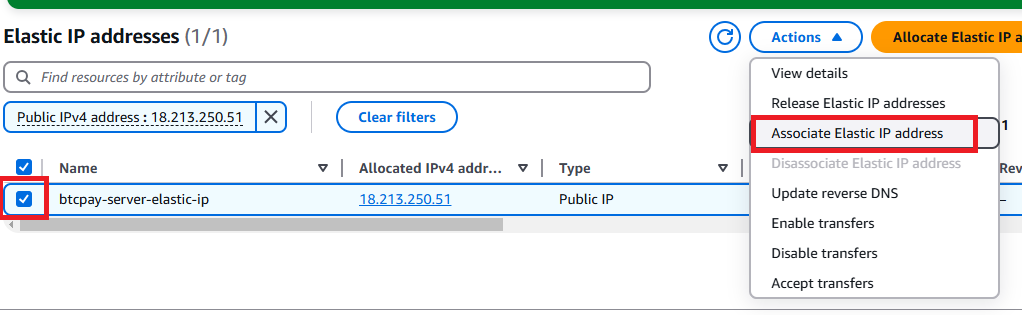
- This will generate a new Elastic IP. Now on Elastic IP page, select the newly generated IP click on Associate Elastic IP Address option available under Actions dropdown as shown below.
- On Associate EIPs page, provide the instance ID and its private IP. It will pop up automatically once you click in the empty box.
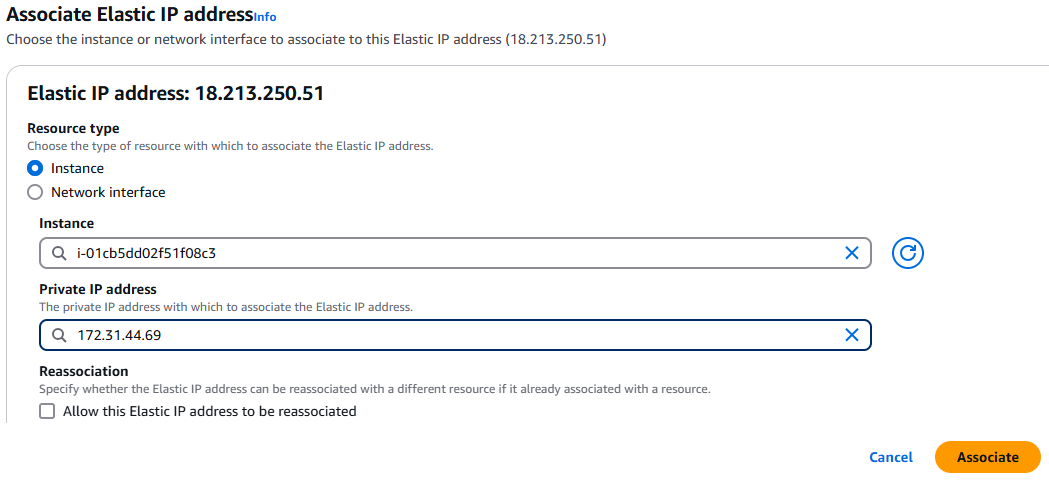
- Now the Elastic IP is assigned to your instance.
- To configure BTCPay Server we need DNS Name. If you do not have a DNS Name , then a Dynamic DNS Providers allows you to have a free domain like example.ddns.net for your server. Additionally Dynamic DNS Providers expose a simple API to update the DNS record automatically when your BTCPay Server instance changes its external IP address.
BTCPay Server, when configured to use Dynamic DNS, will periodically check and update the DNS record if an external IP change is detected. However as we are using Elastic IP for our Ec2 instance, we will not need this extra step.
-
Please refer to Dynamic DNS Provider list to create a (Free/NonFree) DDNS for this instance. First, create an account on a Dynamic DNS provider of your choice (Free/NonFree) , Once you’ve created an account, you can create a free domain name through their website. Provide the Elastic IP of the instance when prompted and create a DNS Host A record. Proceed to next step when you are ready with your DNS Name.
-
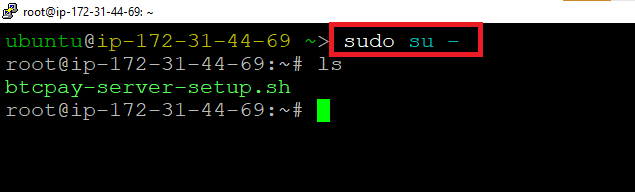
Connect via SSH terminal using public IP of the VM with ubuntu user as explained in above steps. Switch to root user using -
- Run the btcpay-server-setup.sh script using below command. This scrip will ask you for the DNS Name. Copy the DNS Name and paste it when prompted.
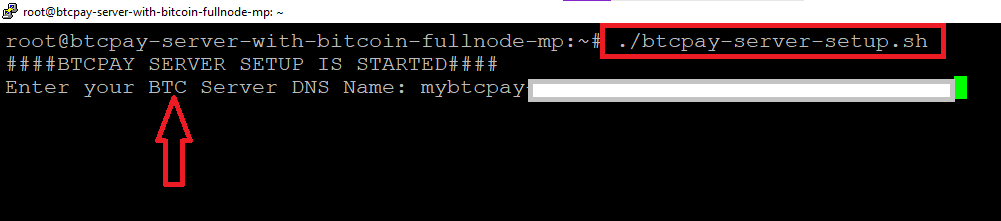
- This will start configuring the BTCPay Server. Wait for 5-7 minutes to finish. Once the setup is done the VM will reboot and the SSH connection will lost.
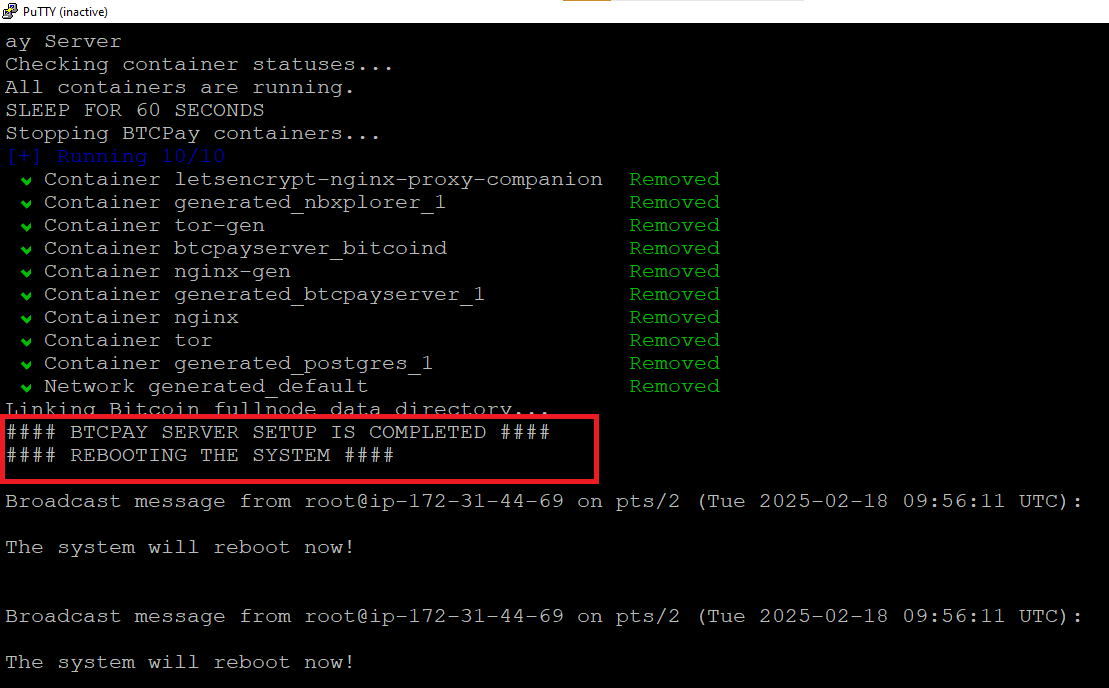
- Wait for few minutes to restart the VM. connect via SSH terminal again and check if all the container are up and running using -
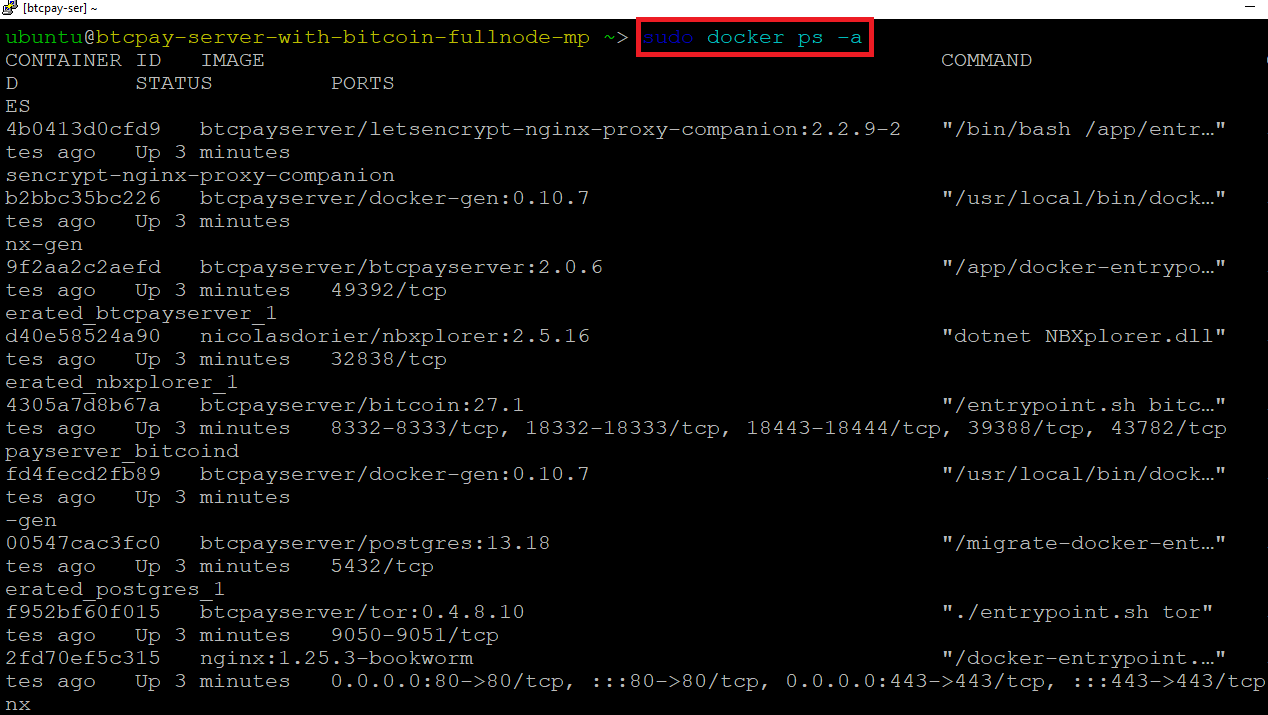
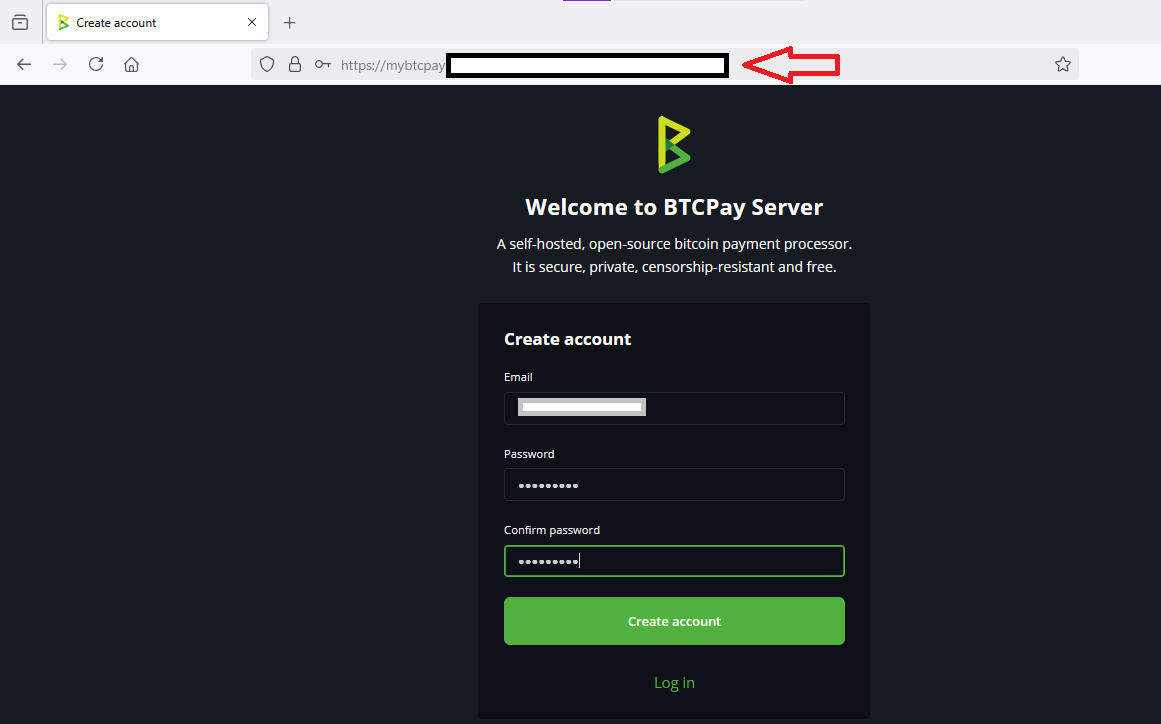
- If all the containers are up and running then you are good to access BTCPay Server Web Interface. To do so, Copy the DNS Name of the VM and paste it in your favorite browser. For the first time, it will ask you to create admin account. Provide the onscreen details and create your first admin account.
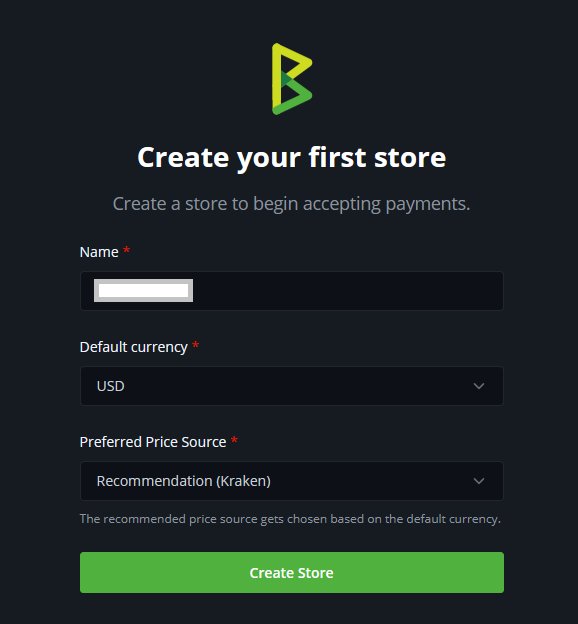
- On next page, it will ask you to create a store. Provide the details here for your first store and save the changes.
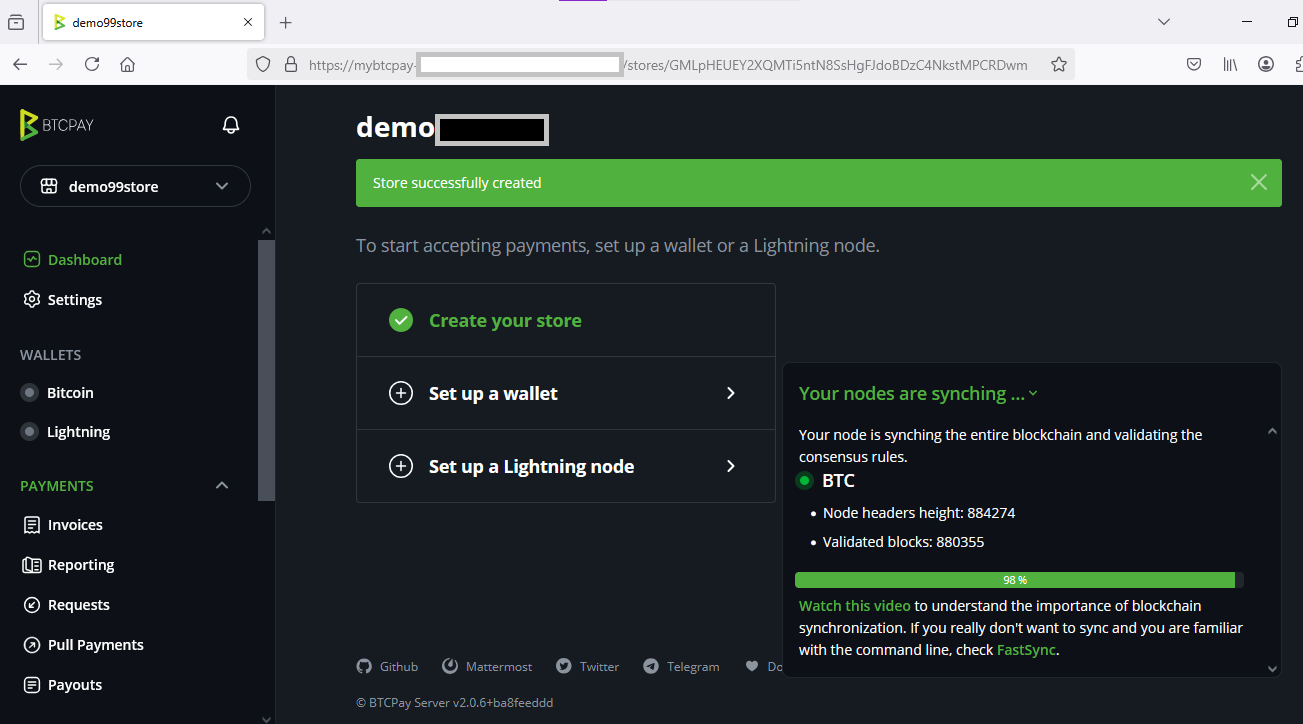
- Now you are in the BTCPay Server Dashboard Page. In the right Pane , you can see the Bitcoin Full Node Syncing Status. As the VM comes with Full Node synced till the VM publication date, the ledger is nearly 99% synced and it will take few minutes to finish the remaining syncing. Once the sync is completed, this popup will disappear.
For more details, please visit Official Documentation page
For video tutorials on this solution, please visit Free course on ‘BTCPay Server: Bitcoin Payments Made Easy’