Login with your credentials and follow the instruction.
Subscribe to the product and click on Continue to configuration button.
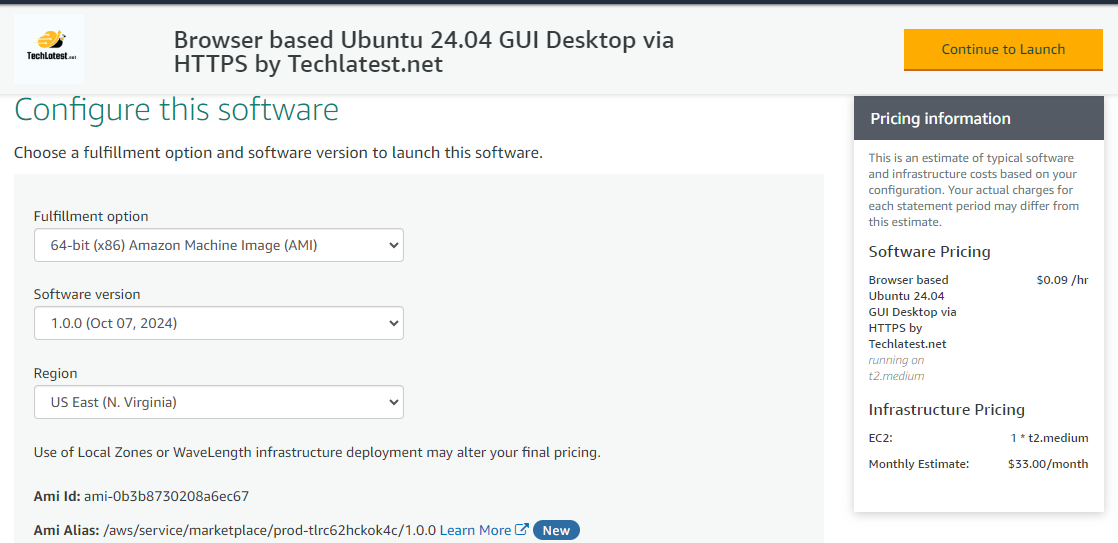
Select a Region where you want to launch the VM(such as US East (N.Virginia))
Click on Continue to Launch Button.
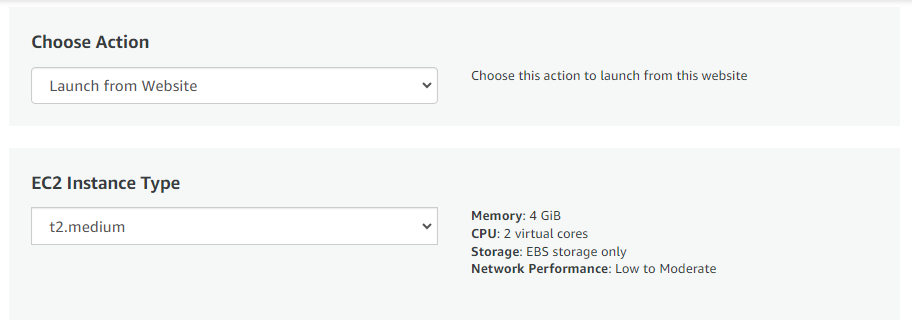
Choose Action: You can launch it through EC2 or from Website.(Let’s choose Launch from website)
Optionally change the EC2 instance type. (This defaults to t2.medium instance type, 2 vCPUs and 4 GB RAM.)
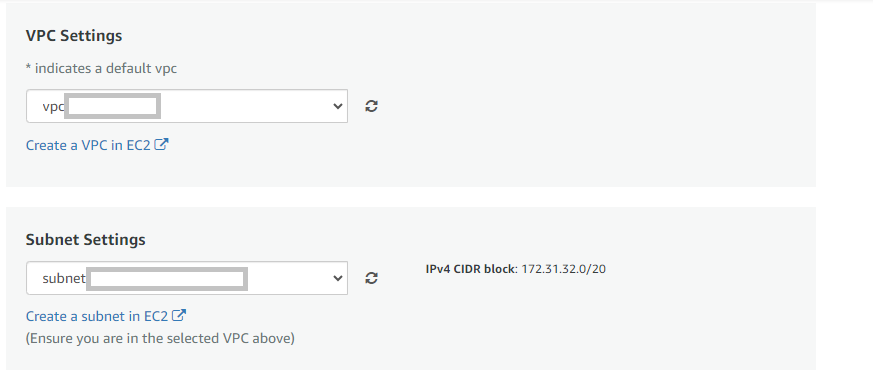
Optionally change the network name and subnetwork names.
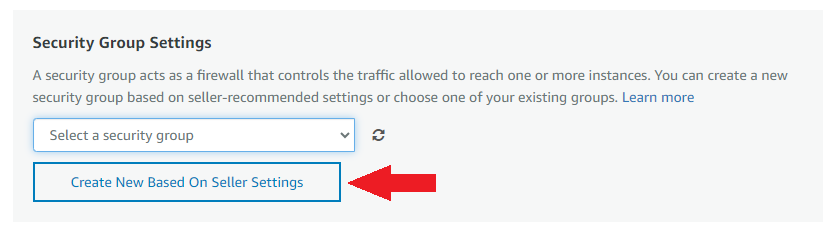
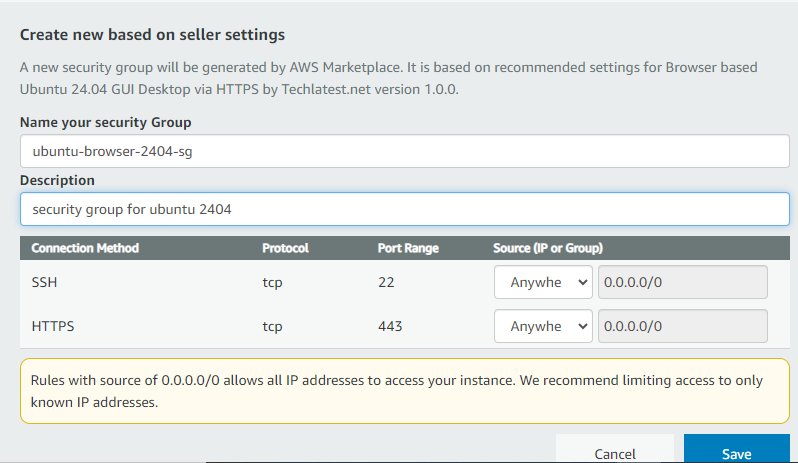
Select the Security Group. Be sure that whichever Security Group you specify have ports 22 (for SSH) and 443 (for HTTPS) exposed. Or you can create the new SG by clicking on “Create New Based On Seller Settings” button. Provide the name and description and save the SG for this instance.
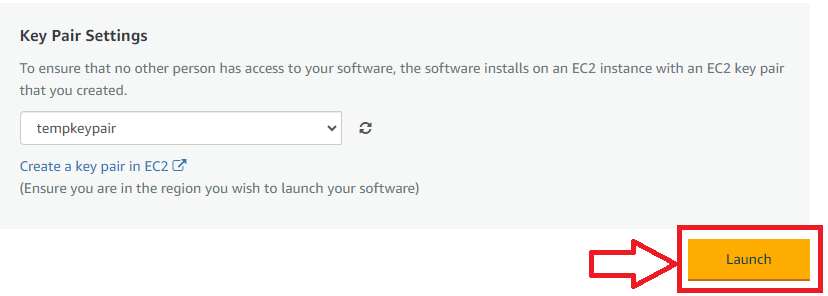
Be sure to download the key-pair which is available by default, or you can create the new key-pair and download it.
Click on Launch..
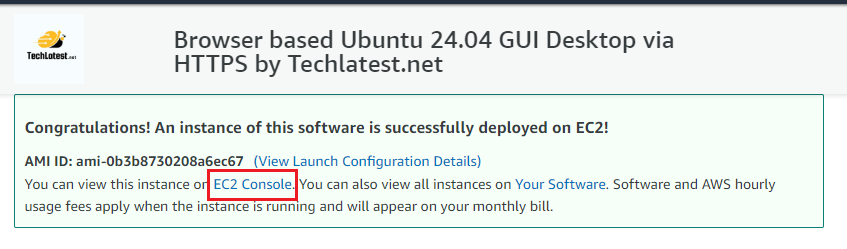
Browser based Ubuntu 24.04 GUI Desktop accessible via HTTPS will begin deploying.
A summary page displays. To see this instance on EC2 Console click on EC2 Console link.
On the EC2 Console page, instance is up and running. To connect to this instance through putty, copy the IPv4 Public IP Address
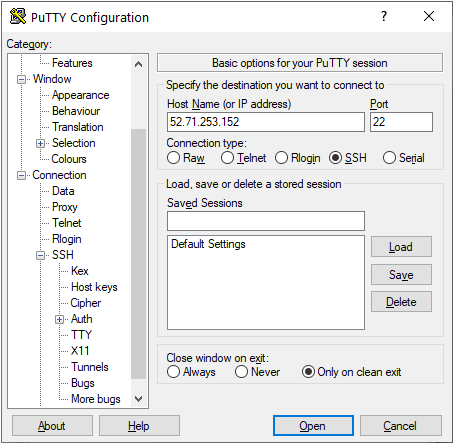
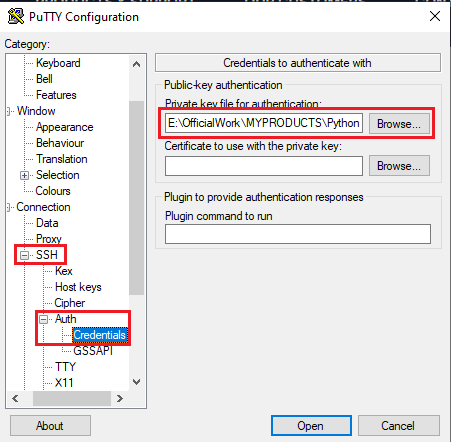
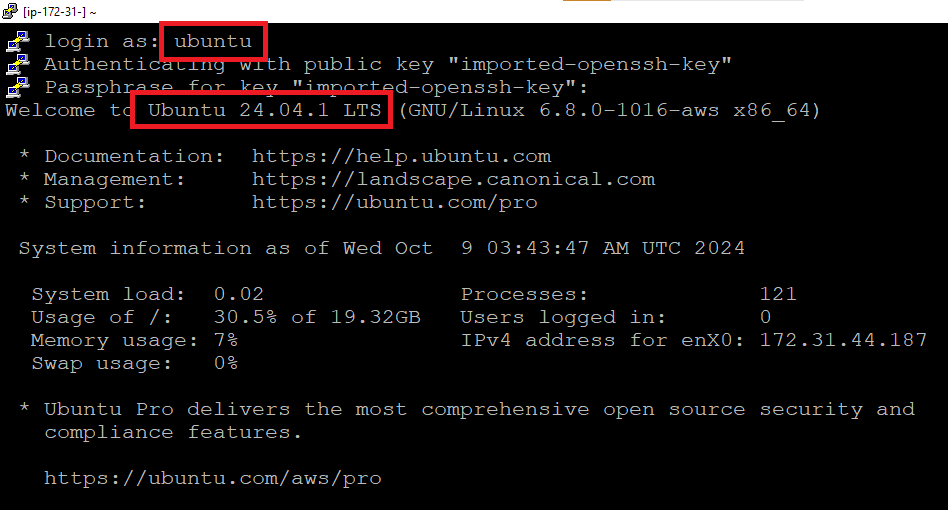
Open putty, paste the IP address and browse your private key you downloaded while deploying the VM, by going to SSH->Auth->Credentials, click on Open. Enter ubuntu as userid
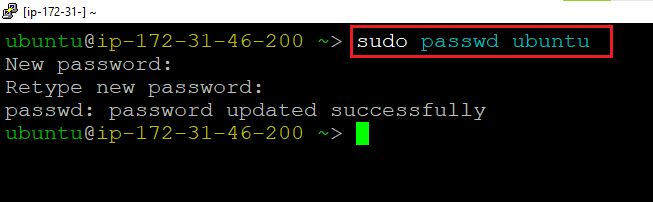
Once connected, change the password for ubuntu user using below command
sudo passwd ubuntu
Now the password for ubuntu user is set, you can connect to the VM’s desktop environment from any Browser. To do so first note the external IP of the VM from VM details page as highlighted below.
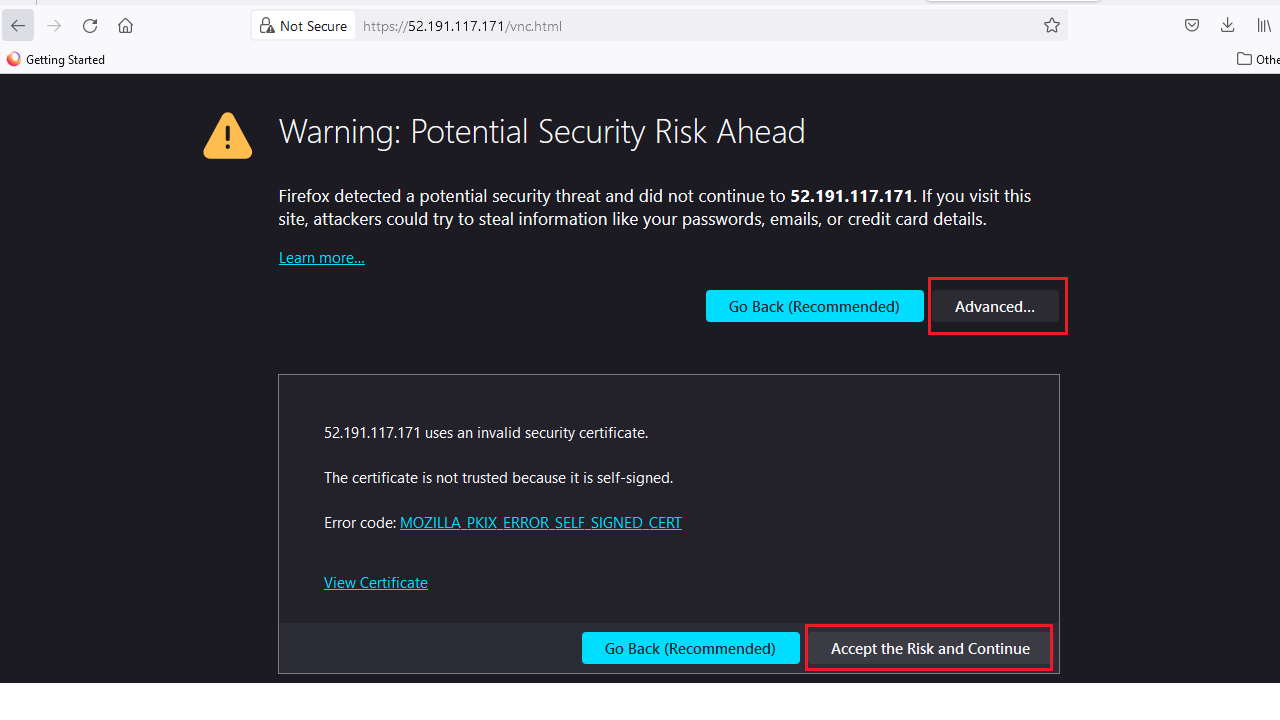
Then Go to your favorite browser and enter the IP address as https://public_ip_of_vm and hit enter. Make sure to use HTTPS and not HTTP in the URL. The browser will show you SSL warning message. Click on Advance, Accept the risk and continue.
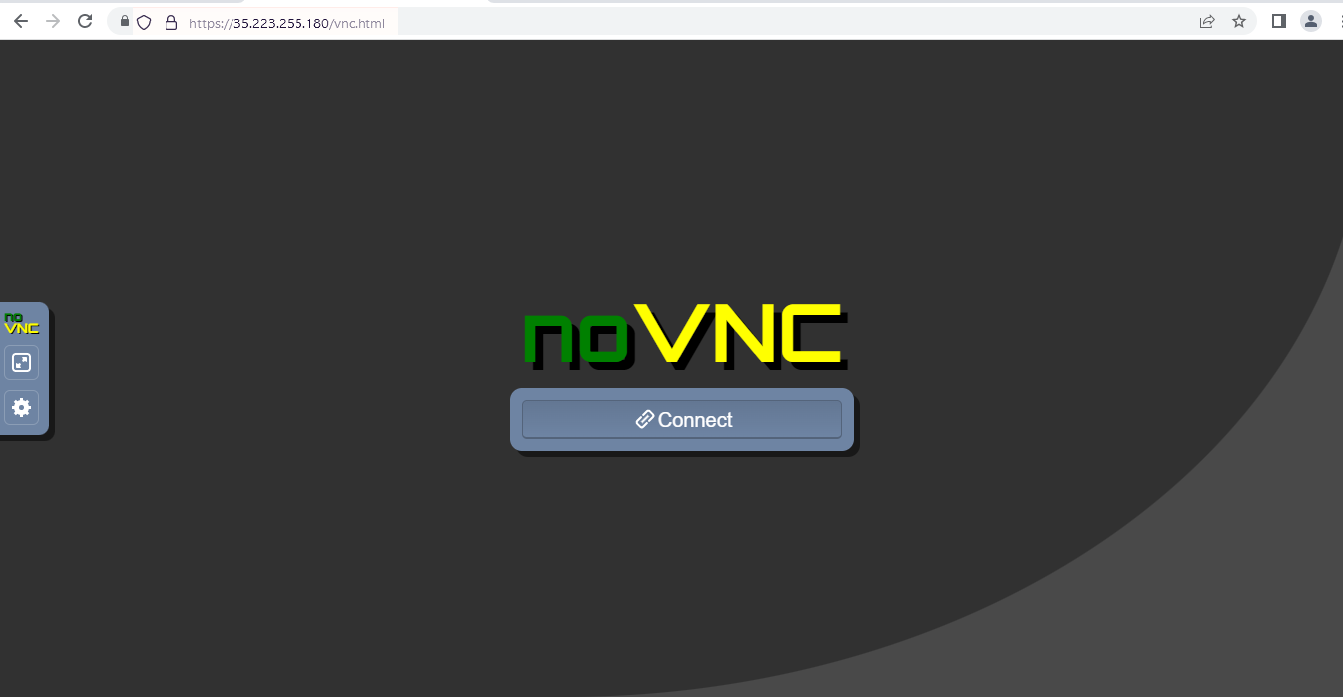
After accepting the ssl certification warning it will show you the below NOVNC screen. Click on Connect button.
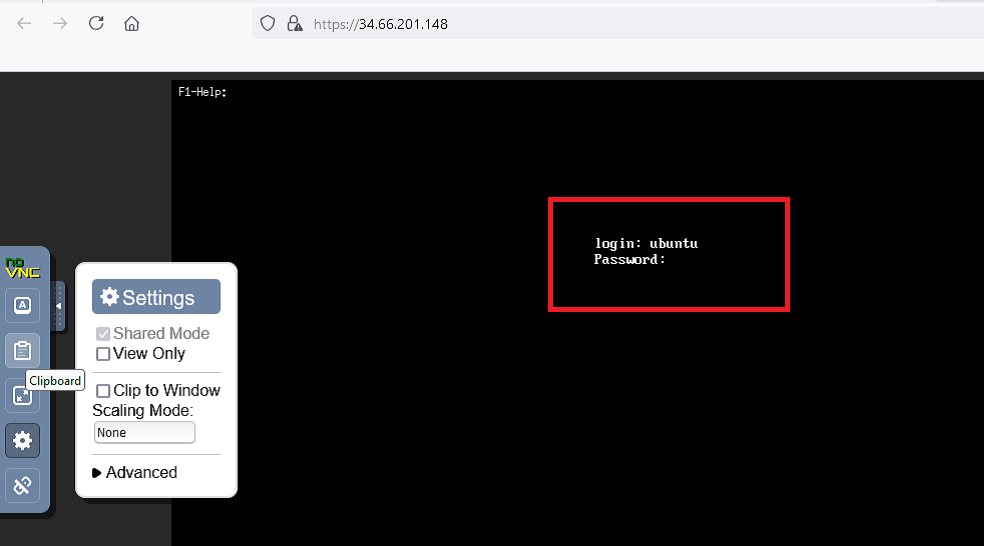
On Login screen , enter ubuntu as user name and password of ubuntu user you set in above steps.
Note: If after entering the ubuntu user and password it takes you back to the Connect screen then please click on Connect and enter the username and password again. It should connect you successfully.
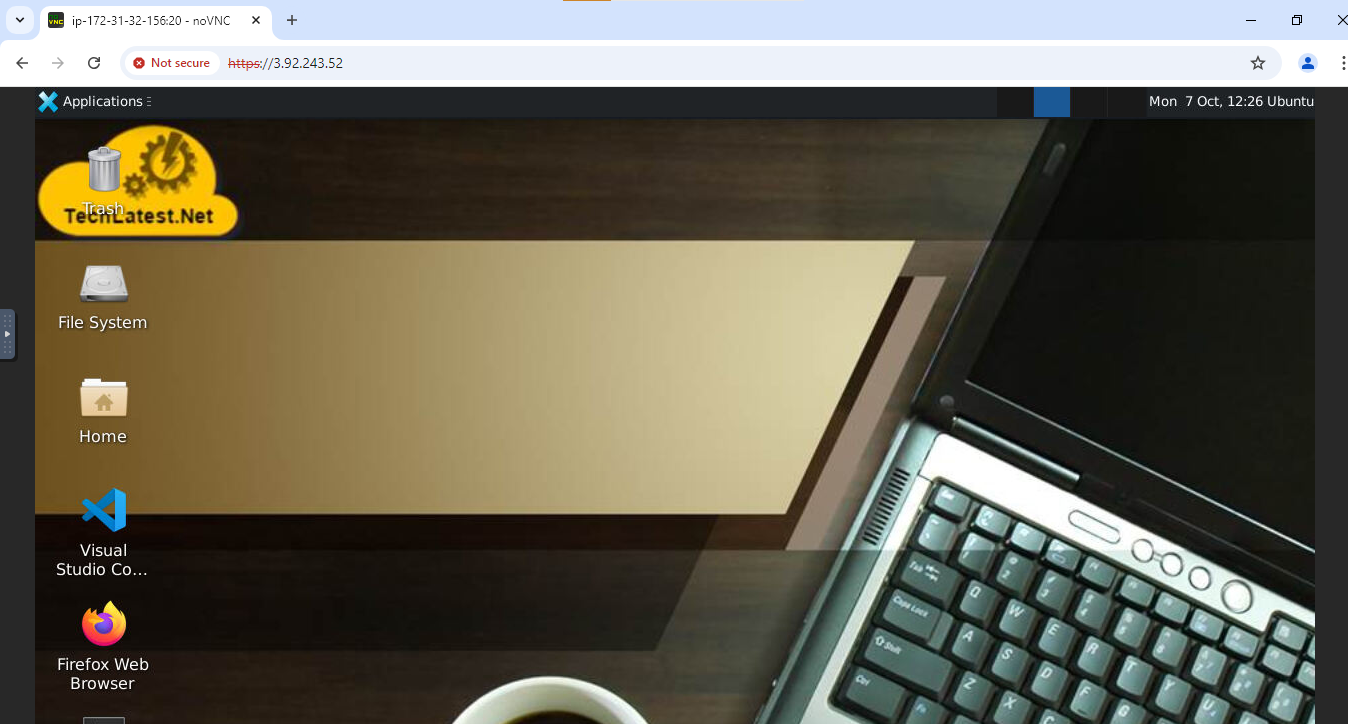
Now you are connected to out of box ‘Browser based Ubuntu 24.04 GUI Desktop’ environment via browser.
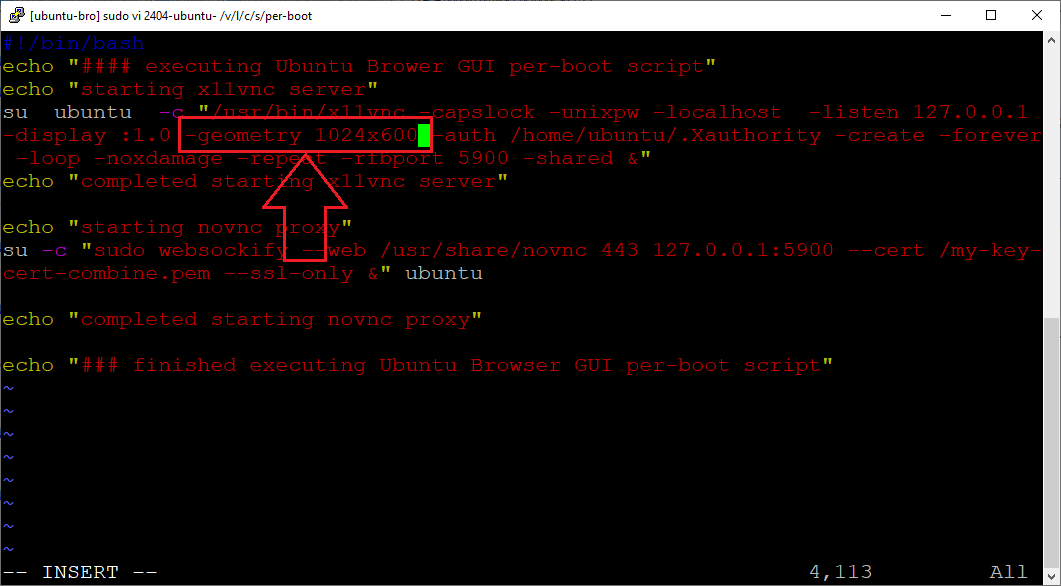
By default , resolution of GUI screen is set to 1024x600. If you want to change this resolution you can update the perboot file available in this VM. For that open terminal and run below commands.
cd /var/lib/cloud/scripts/per-boot/
sudo vi 2404-ubuntu-browser-perboot.sh
It will open a perboot script. Press “i” key to get into the edit mode. Update the -geometry 1024x600 flag and set it as per your requirement or you can completely remove this flag from the script. Save the changes by pressing ESC Key then :wq. Make sure to Reboot the VM after making changes in the perboot file. If you completely remove the -geometry flag then it will set the default resolution for your Ubuntu GUI desktop as shown below.
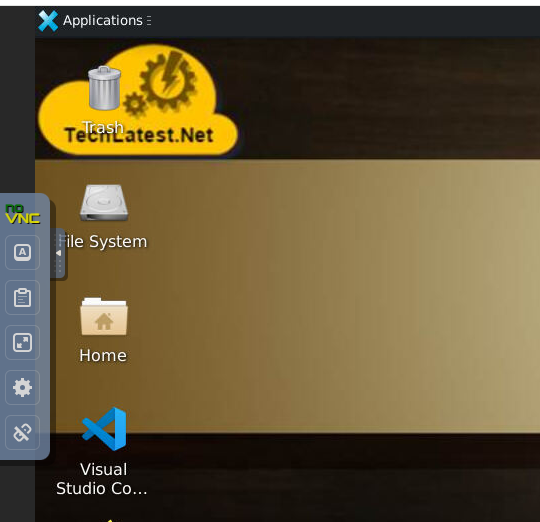
There are many settings in the noVNC interface, including local cursor, scaling, clipping mode for viewport panning and automatic reconnection. To use various noVNC settings and options, open control bar by clicking on arrow in the middle left corner.
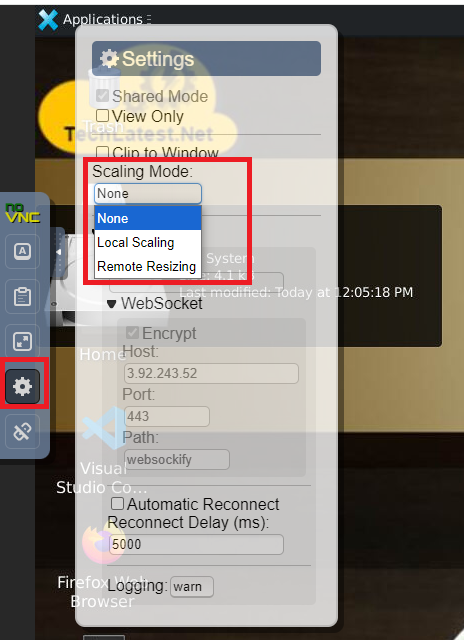
Under settings menu , you can set the desktop scaling as none, local or remote.
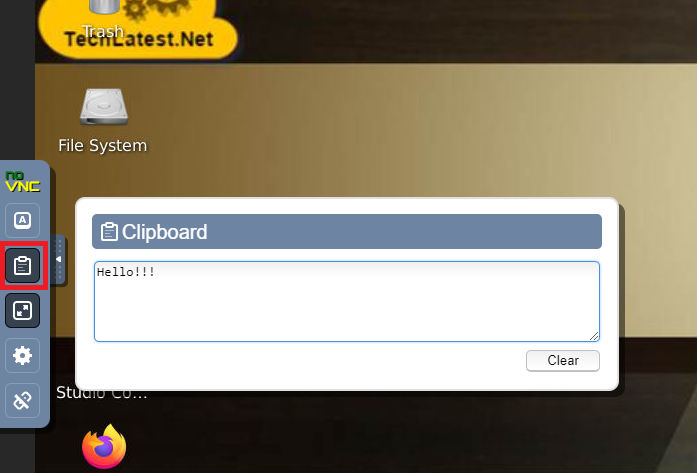
A solution for clipboard transfer is available. Text copied in the remote desktop will appear in the clipboard box in noVNC’s interface. You can then copy the text from that box to access it in your local clipboard. Any text put into the clipboard box will be sent to the remote clipboard as well.
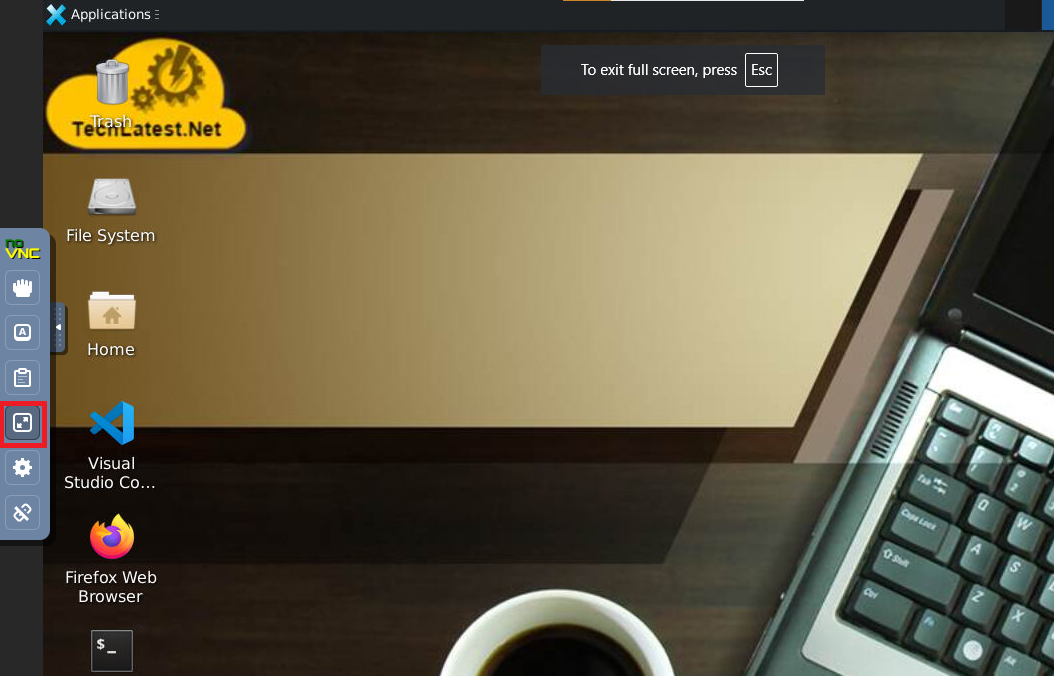
You can also get the full screen mode by clicking the fullscreen option from the control bar as shown below.
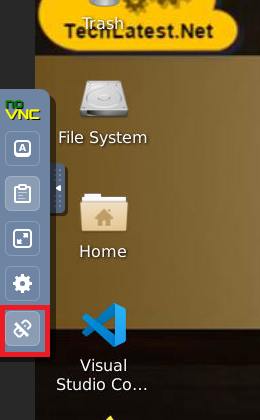
To disconnect the session, simple click the disconnect button from control bar.