Setup and installation of 'DevOps Automation Powered by License Free Ansible & Semaphore web UI' on AWS
This section describes how to launch and connect to ‘DevOps Automation Powered by License Free Ansible & Semaphore web UI’ VM solution on AWS.
- Open DevOps Automation Powered by License Free Ansible & Semaphore web UI VM listing on AWS marketplace
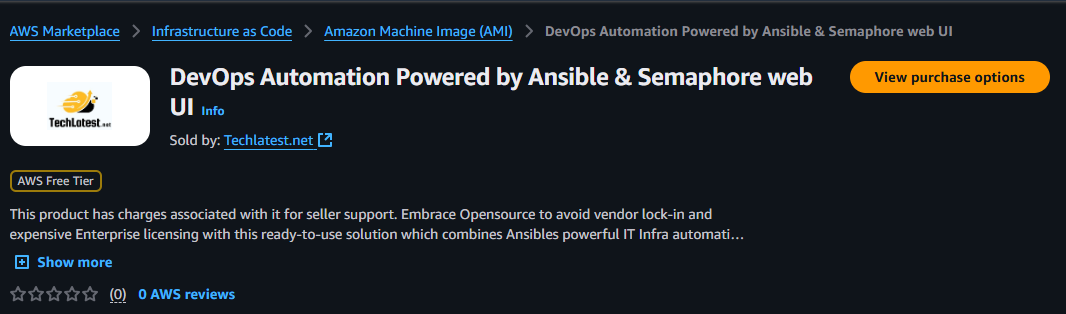
- Click on View purchase options.
- Login with your credentials and follow the instruction.
- Subscribe to the product and click on Continue to configuration button.
- Select a Region where you want to launch the VM(such as US East (N.Virginia))
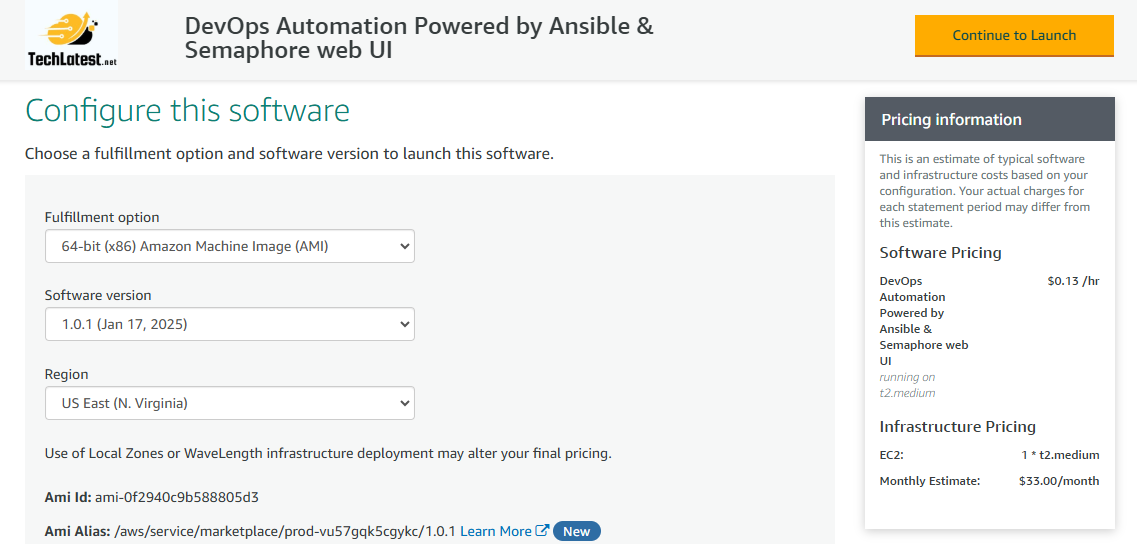
- Click on Continue to Launch Button.
- Choose Action: You can launch it through EC2 or from Website.(Let’s choose Launch from website)
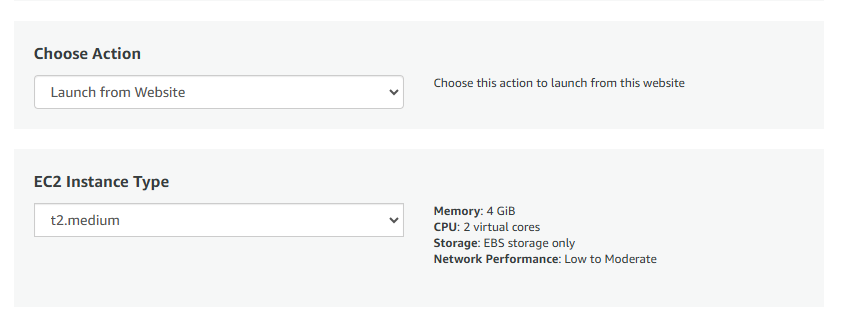
- Optionally change the EC2 instance type. (This defaults to t2.medium instance type, 2 vCPUs and 4 GB RAM.)
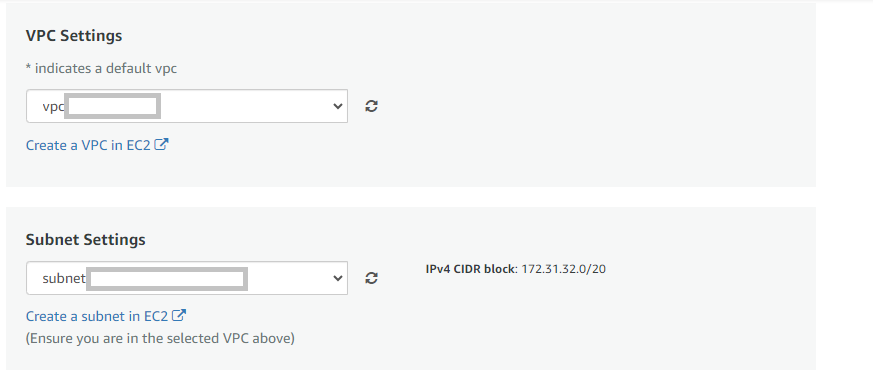
- Optionally change the network name and subnetwork names.
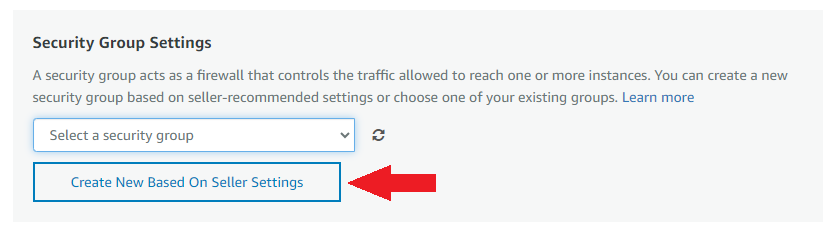
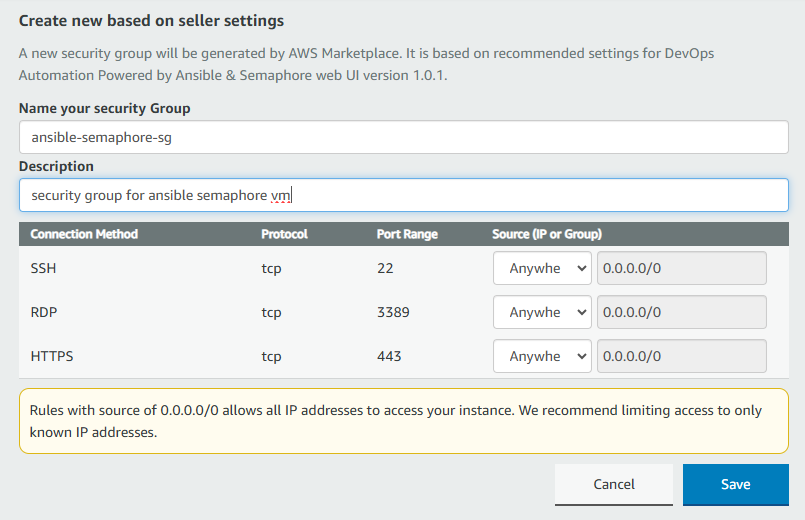
- Select the Security Group. Be sure that whichever Security Group you specify have ports 22 (for SSH), 3389 (for RDP) and 443 (for HTTPS) exposed. Or you can create the new SG by clicking on “Create New Based On Seller Settings” button. Provide the name and description and save the SG for this instance.
-
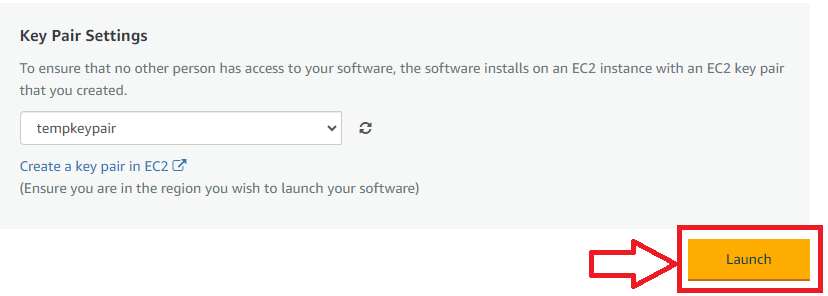
Be sure to download the key-pair which is available by default, or you can create the new key-pair and download it.
-
Click on Launch..
-
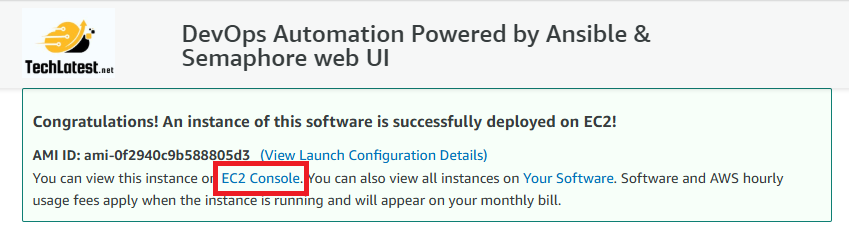
DevOps Automation Powered by License Free Ansible & Semaphore web UI will begin deploying.
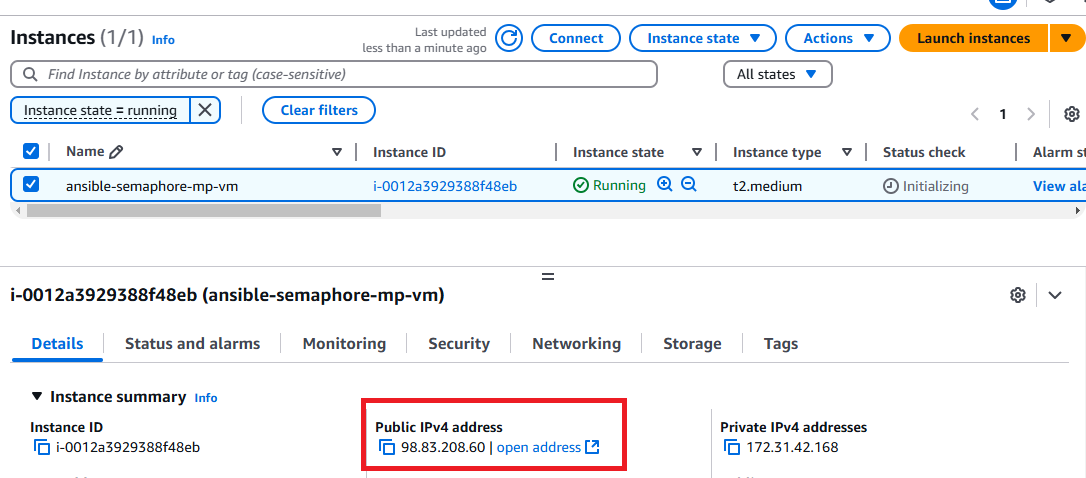
- A summary page displays. To see this instance on EC2 Console click on EC2 Console link.
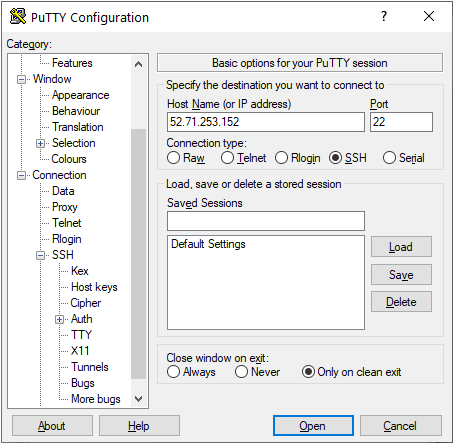
- To connect to this instance through putty, copy the IPv4 Public IP Address from the VM’s details page.
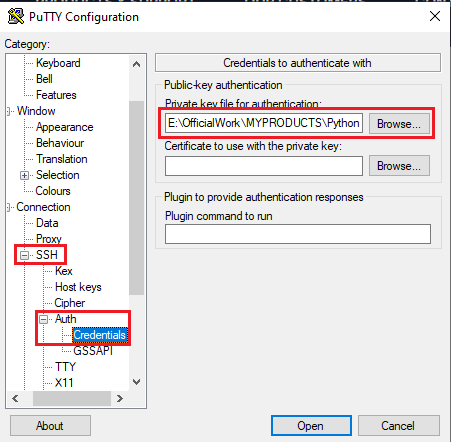
- Open putty, paste the IP address and browse your private key you downloaded while deploying the VM, by going to SSH->Auth->Credentials, click on Open. Enter ubuntu as userid
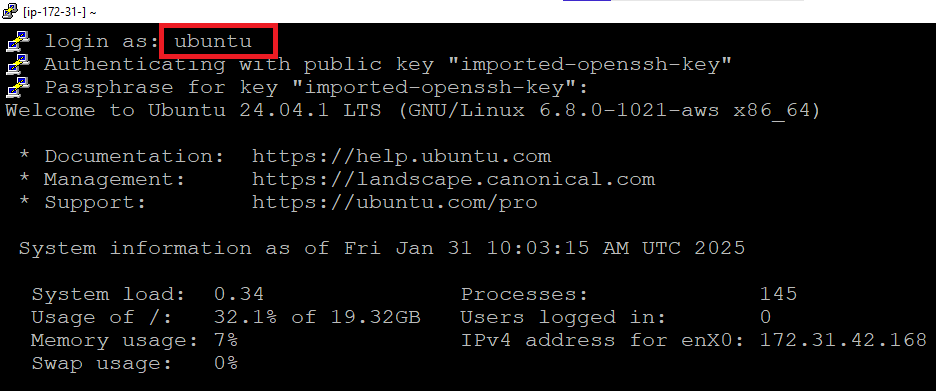
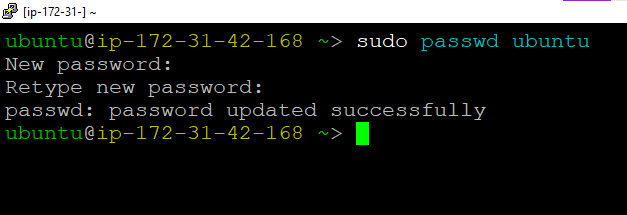
- Once connected, change the password for ubuntu user using below command
- Now the password for ubuntu user is set, you can connect to the VM’s desktop environment from any local Windows Machine using RDP protocol or Linux Machine using Remmina.
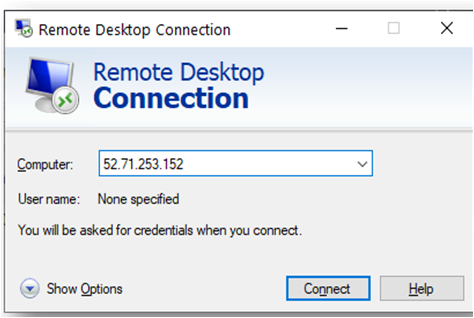
From your local windows machine, goto “start” menu, in the search box type and select “Remote desktop connection”. In the “Remote Desktop connection” wizard, copy the public IP address and click connect
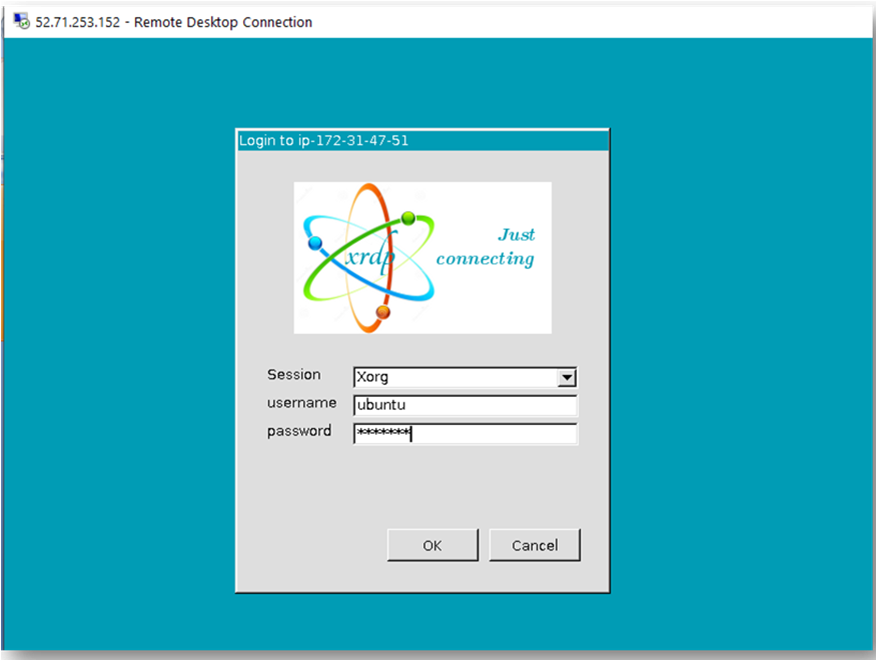
- This will connect you to the VM’s desktop environment. Provide the username “ubuntu” and the password set in the above “Reset password” step to authenticate. Click OK
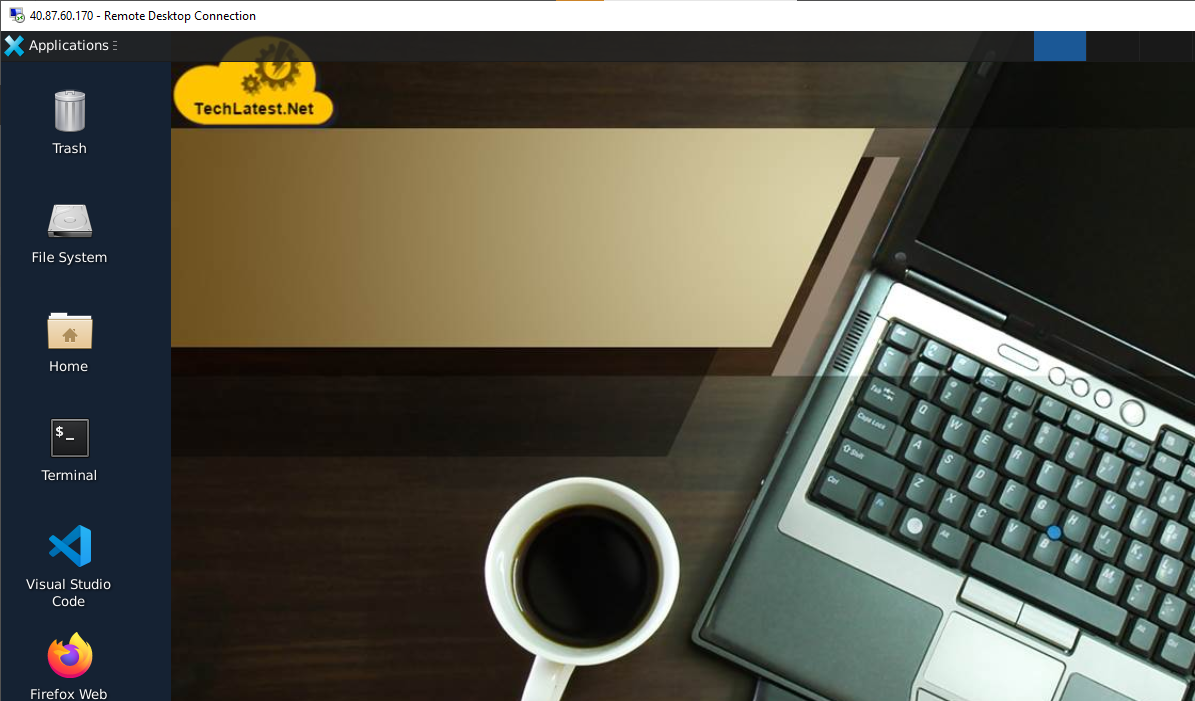
- Now you are connected to the out of box DevOps Automation Powered by License Free Ansible & Semaphore web UI VM’s desktop environment via Windows Machine.
- To connect using RDP via Linux machine, first note the external IP of the VM from VM details page,then from your local Linux machine, goto menu, in the search box type and select “Remmina”.
Note: If you don’t have Remmina installed on your Linux machine, first Install Remmina as per your linux distribution.

- In the “Remmina Remote Desktop Client” wizard, select the RDP option from dropdown and paste the external ip and click enter.

- This will connect you to the VM’s desktop environment. Provide “ubuntu” as the userid and the password set in above reset password step to authenticate. Click OK

- Now you are connected to out of box DevOps Automation Powered by License Free Ansible & Semaphore web UI VM’s desktop environment via Linux machine.
- To access the Semaphore Web Interface, first reset semaphore admin password by running below command in the SSH terminal -
Replace NEWPASSWORD with your desired password here.
semaphore user change-by-login --login admin --password NEWPASSWORD --config /home/ubuntu/semaphore/config.json

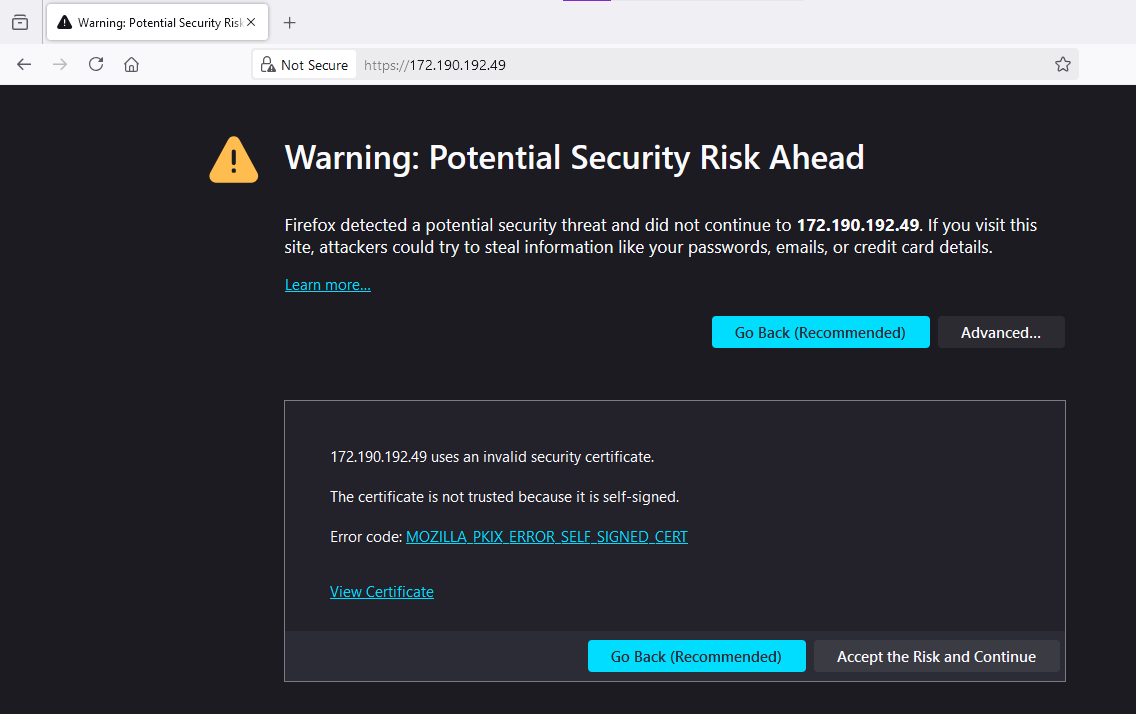
- Once Semaphore password is ready, copy the public ip of the vm from VM’s details page and paste it in the browser using https://VM_Public_IP. Make sure to use https and not http.
Browser will display a SSL certificate warning message. Accept the certificate warning and Continue.
- Login with admin user and provide the password set in above step.
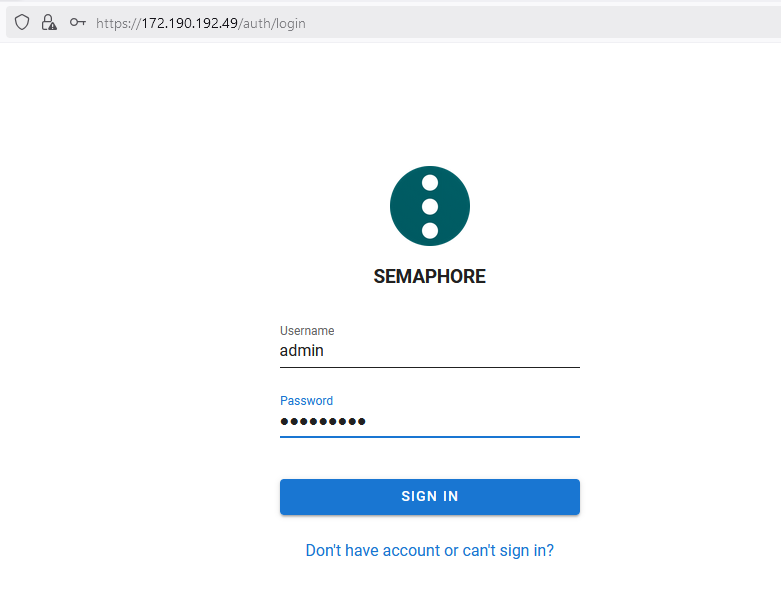
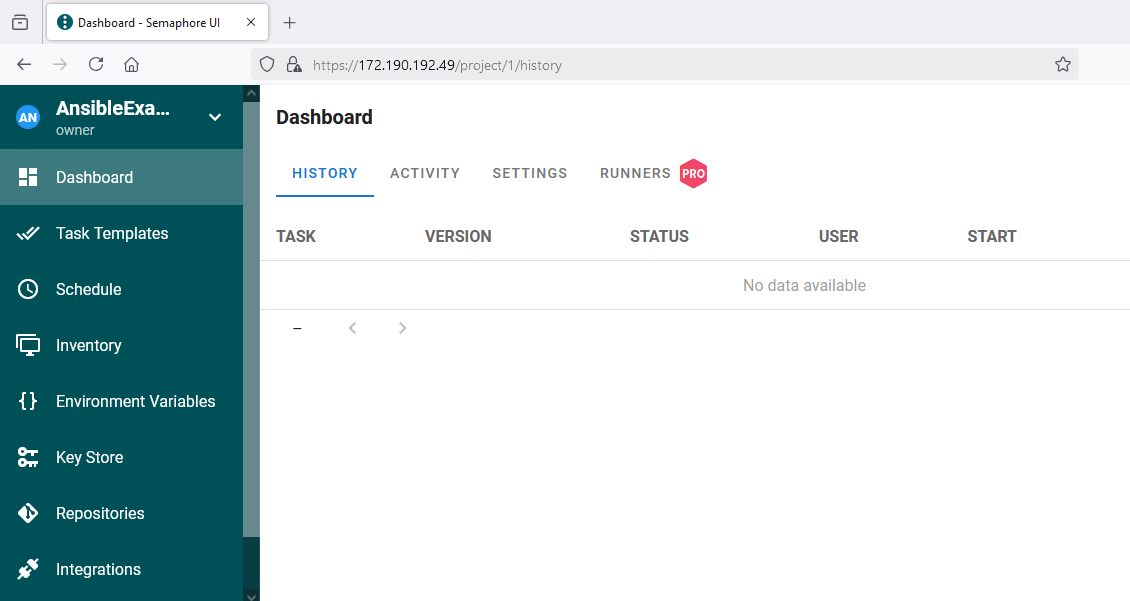
- Now you are logged in to Semaphore Web Interface where you can manage Ansible automation task.
- The VM comes with various Ansible modules preconfigured out of the box for you. The Ansible executable are located at /usr/bin/ directory. You can access these files and folders from SSH or RDP sessions.

ansible-community
- ansible-community allows users to manage, install, and use Ansible collections created and shared by the community, typically available through Ansible Galaxy.
ansible-config
- The ansible-config executable is a command-line tool in Ansible that helps manage configuration settings. It allows users to view, validate, and edit Ansible’s configuration files (ansible.cfg).
ansible-connection
- The ansible-connection is used to manage and handle connections between Ansible and remote systems. It helps configure the connection type (like SSH, local, or others) and allows troubleshooting or testing of connection-related issues during automation tasks.
ansible-console
- The ansible-console provides an interactive command-line interface (CLI) for running Ansible commands and playbooks. It allows users to interactively execute Ansible tasks, explore modules, and test playbooks in a live environment.
ansible-doc
- The ansible-doc is a command-line tool used to view documentation for Ansible modules, plugins, and other components. It allows users to quickly access detailed information about a module’s usage, options, and examples directly from the terminal.
ansible-galaxy
- The ansible-galaxy is a command-line tool used to interact with Ansible Galaxy, a hub for sharing and discovering Ansible roles, collections, and content. With this tool, users can search for, install, create, and manage roles and collections that can be used in Ansible playbooks to automate tasks across different systems.
ansible-inventory
- The ansible-inventory is a command-line tool used to manage and view Ansible inventories. It allows users to display, generate, and validate the inventory of managed hosts (either from static files or dynamic sources).
ansible-playbook
- The ansible-playbook is used to run Ansible playbooks, which are YAML files that define a series of automation tasks. This tool allows users to execute configurations, deployments, and orchestrations across multiple systems by reading the playbook and applying the defined tasks to the target hosts.
ansible-pull
- The ansible-pull is used to pull Ansible playbooks from a remote repository (like Git) and apply them to the local machine. It runs the playbooks in reverse from the typical Ansible model: instead of Ansible pushing configurations to remote machines.
ansible-vault
- The ansible-vault is used to encrypt and decrypt sensitive data in Ansible. It allows users to securely store secrets, such as passwords or API keys, within Ansible playbooks and variables.
ansible-test
- The ansible-test is used for testing and validating Ansible code, such as modules, plugins, and collections. It helps developers run unit tests, integration tests, and linting checks to ensure the quality and correctness of their Ansible code.
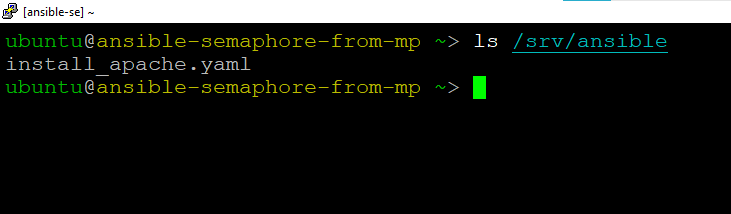
- Ansible base repository for ansible example playbook is localted at /srv/ansible.
- Semaphore config directory is /home/ubuntu/semaphore.
If you want to further configure Ansible then please visit How to run Ansible Playbooks from Semaphore UI page.
For more details on Ansible or Semaphore please refer to Official Documentation Page